MySQL Installation guide for Mac
1. Using Homebrew Service
To check the current version of MySQL by Homebrew:
brew info mysql
To install MySQL:
brew install mysql
When homebrew finished installing MySQL. start MySQL by running this:
brew services start mysql
Note: Please be sure to get brew services installed first:
brew tap homebrew/services
If you don’t want to install MySQL via homebrew, you can head over MySQL ownload page and install the package.
To set password for MySQL:
mysqladmin -u root password 'yourpassword'
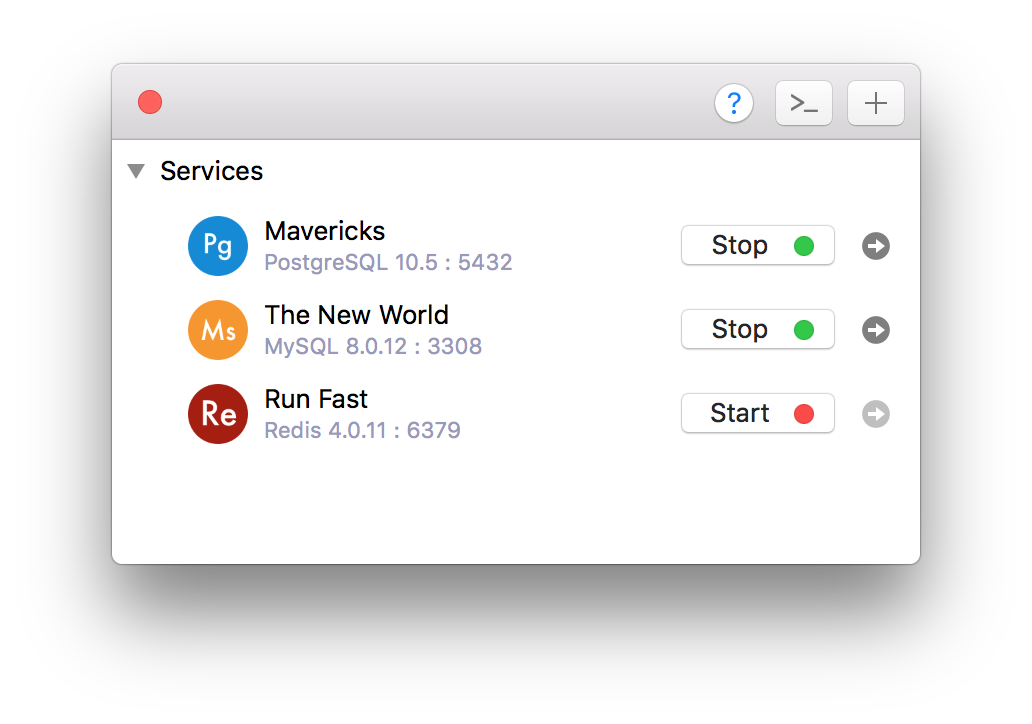
2. Using DBngin GUI Tool
DBngin is the easiest way to get started with MySQL. It allows you to create a local MySQL server within a click. You can then manage multiple local database servers with various verions and ports easily.
Download DBngin from DBngin website
- Install DBngin on your Mac
- Click + new server
- Choose MySQL and its version then hit create
- Wait for DBngin to load the binary and setup the local MySQL server
All done!
Then you can use a GUI tool such as TablePlus to work with your MySQL database. It’s native, beautiful, and available for free.
