PostgreSQL - How to install sample database on Mac for beginners?
Step by step guide to install PostgreSQL sample database on Mac for beginners.
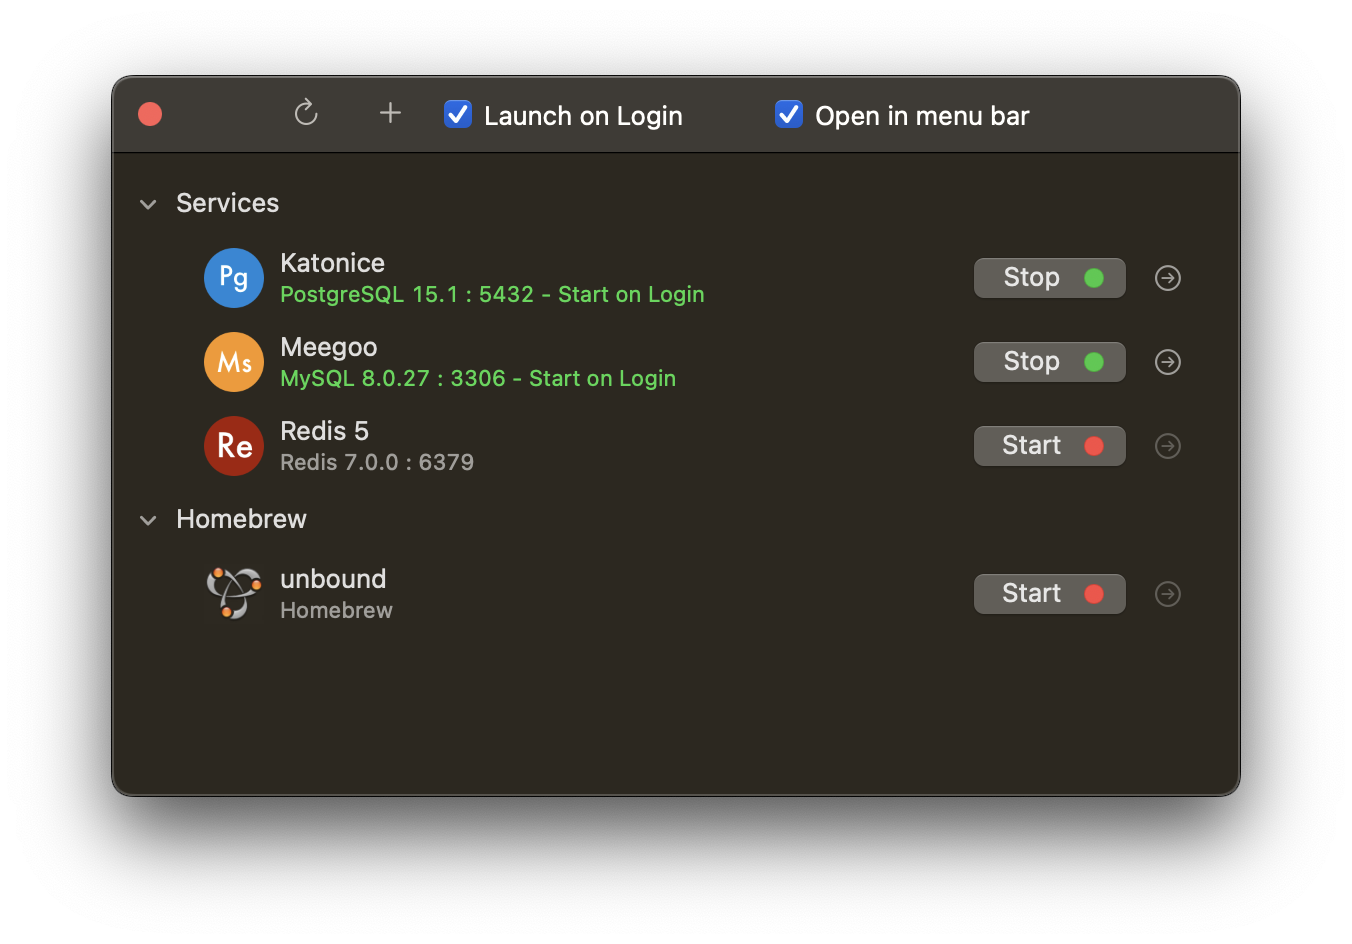
1. Install DBngin
If you haven’t installed PostgreSQL, you can download DBngin and install it. It’s the fast and hassle-free way to start a local PostgreSQL Server on Mac.
2. Open the command line tool:

3. Download the Sample Databases
You can choose sample databases to download from here. I’ll download the world sample data for this example.
Then unzip the downloaded file.
4. Load the sample database:
Run this command from Terminal:
psql postgres < path/to/sample_database_file.sql
Make sure that you already unzip the sample database file you just downloaded and provide the right path to it on your hard drive.
In this case, I’m loading sample data to the default database postgres. You can create a new database to load the sample data into it.
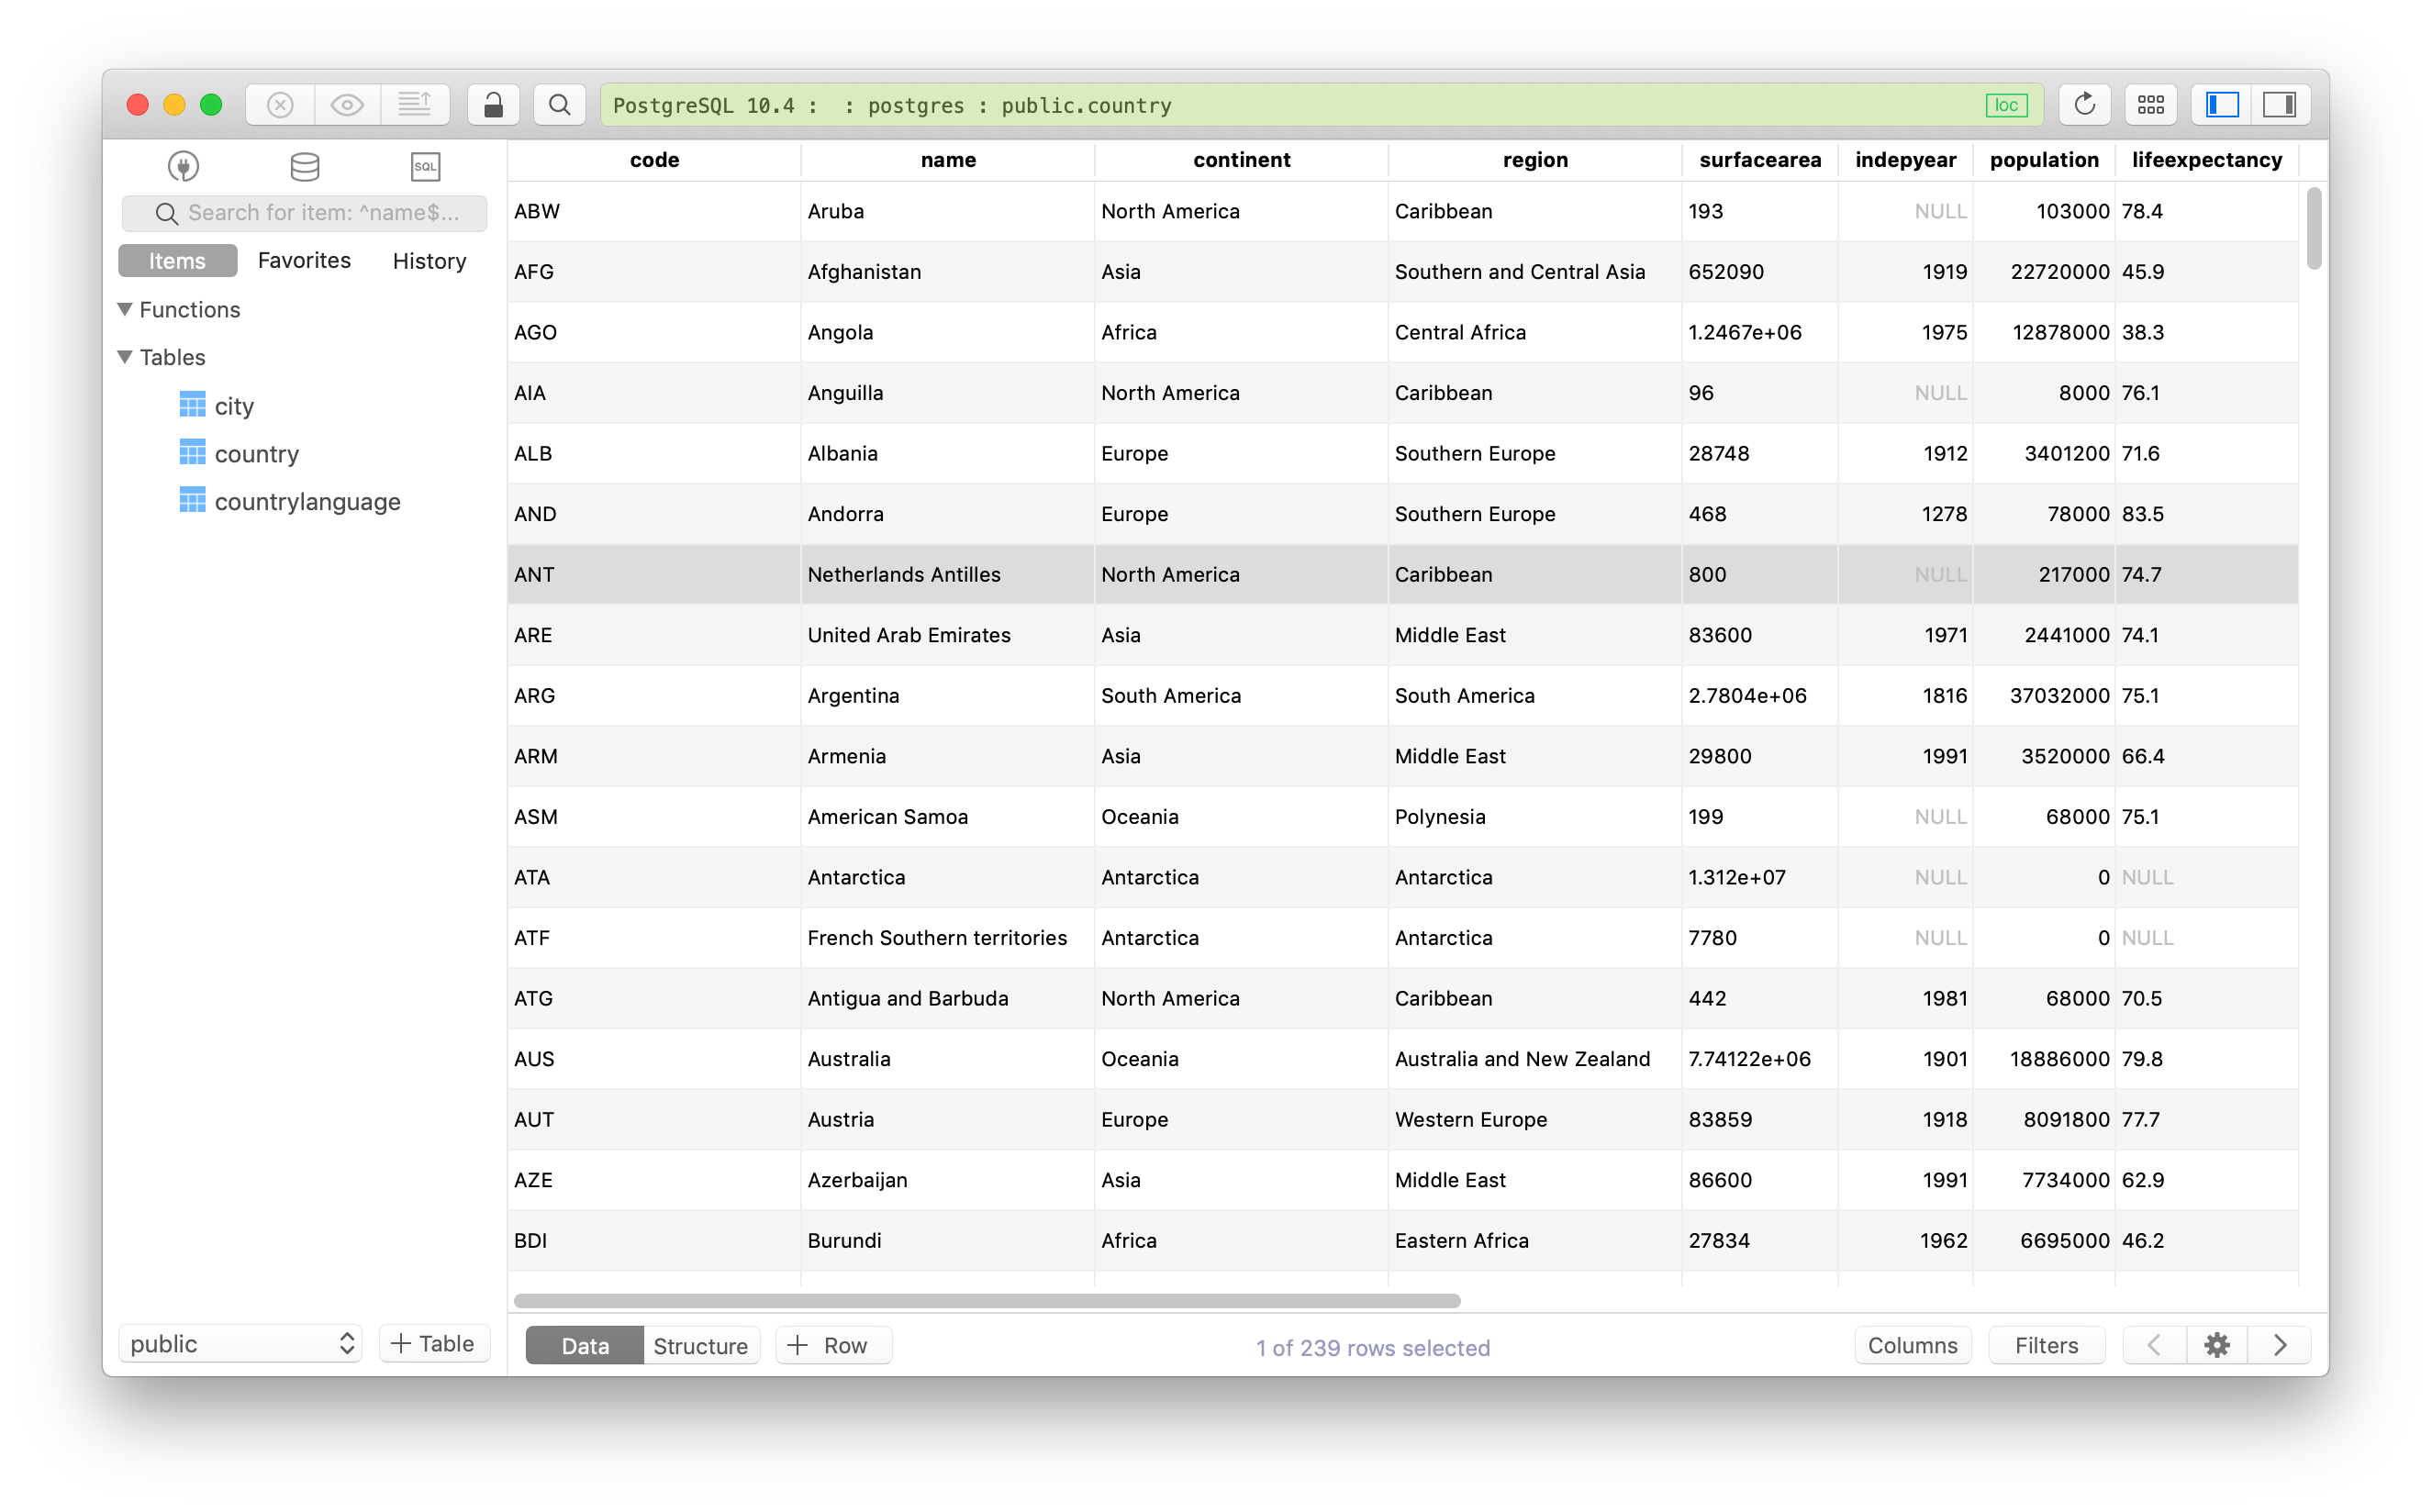
Now you have a new sample PostgreSQL database to play with.
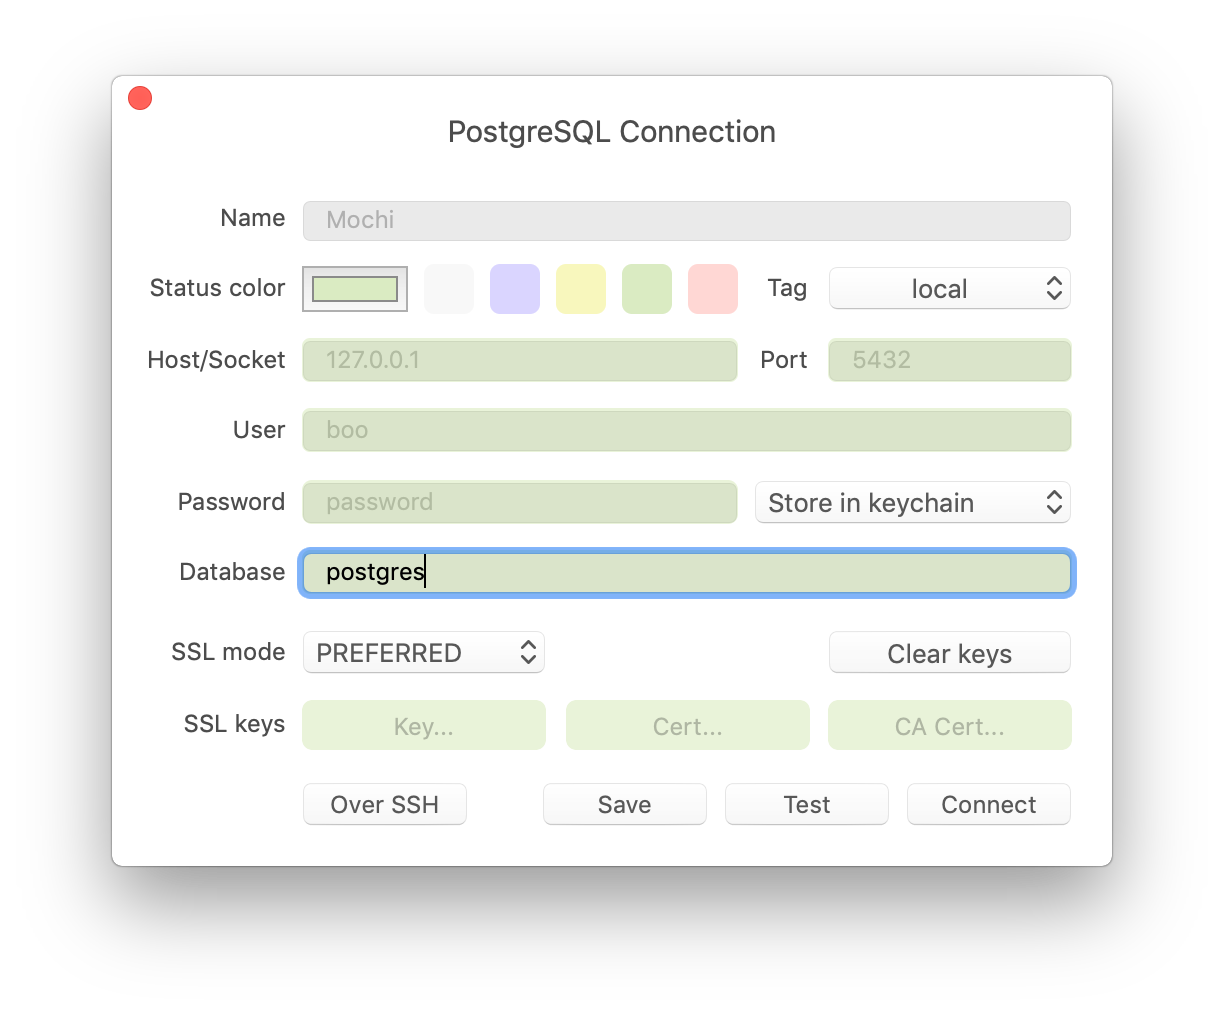
5. Install TablePlus GUI Client for PostgreSQL
TablePlus GUI Client will help you access, query, edit, and save your PostgreSQL database easier.
- Download TablePlus for free here.
- Install and open the app.
- Create a connection to your PostgreSQL local server. By default, you don’t have to config anything to connect to the local server initialized by Postgresapp.
TablePlus is a modern, native client with intuitive GUI tools to create, access, query & edit multiple databases: MySQL, PostgreSQL, SQLite, Microsoft SQL Server, Amazon Redshift, MariaDB, CockroachDB, Vertica, Cassandra, Oracle, Redis, and more.
It’s native, beautiful, and available for free.
Not on Mac? Download TablePlus for Windows.
On Linux? Download TablePlus for Linux
Need a quick edit on the go? Download TablePlus for iOS.