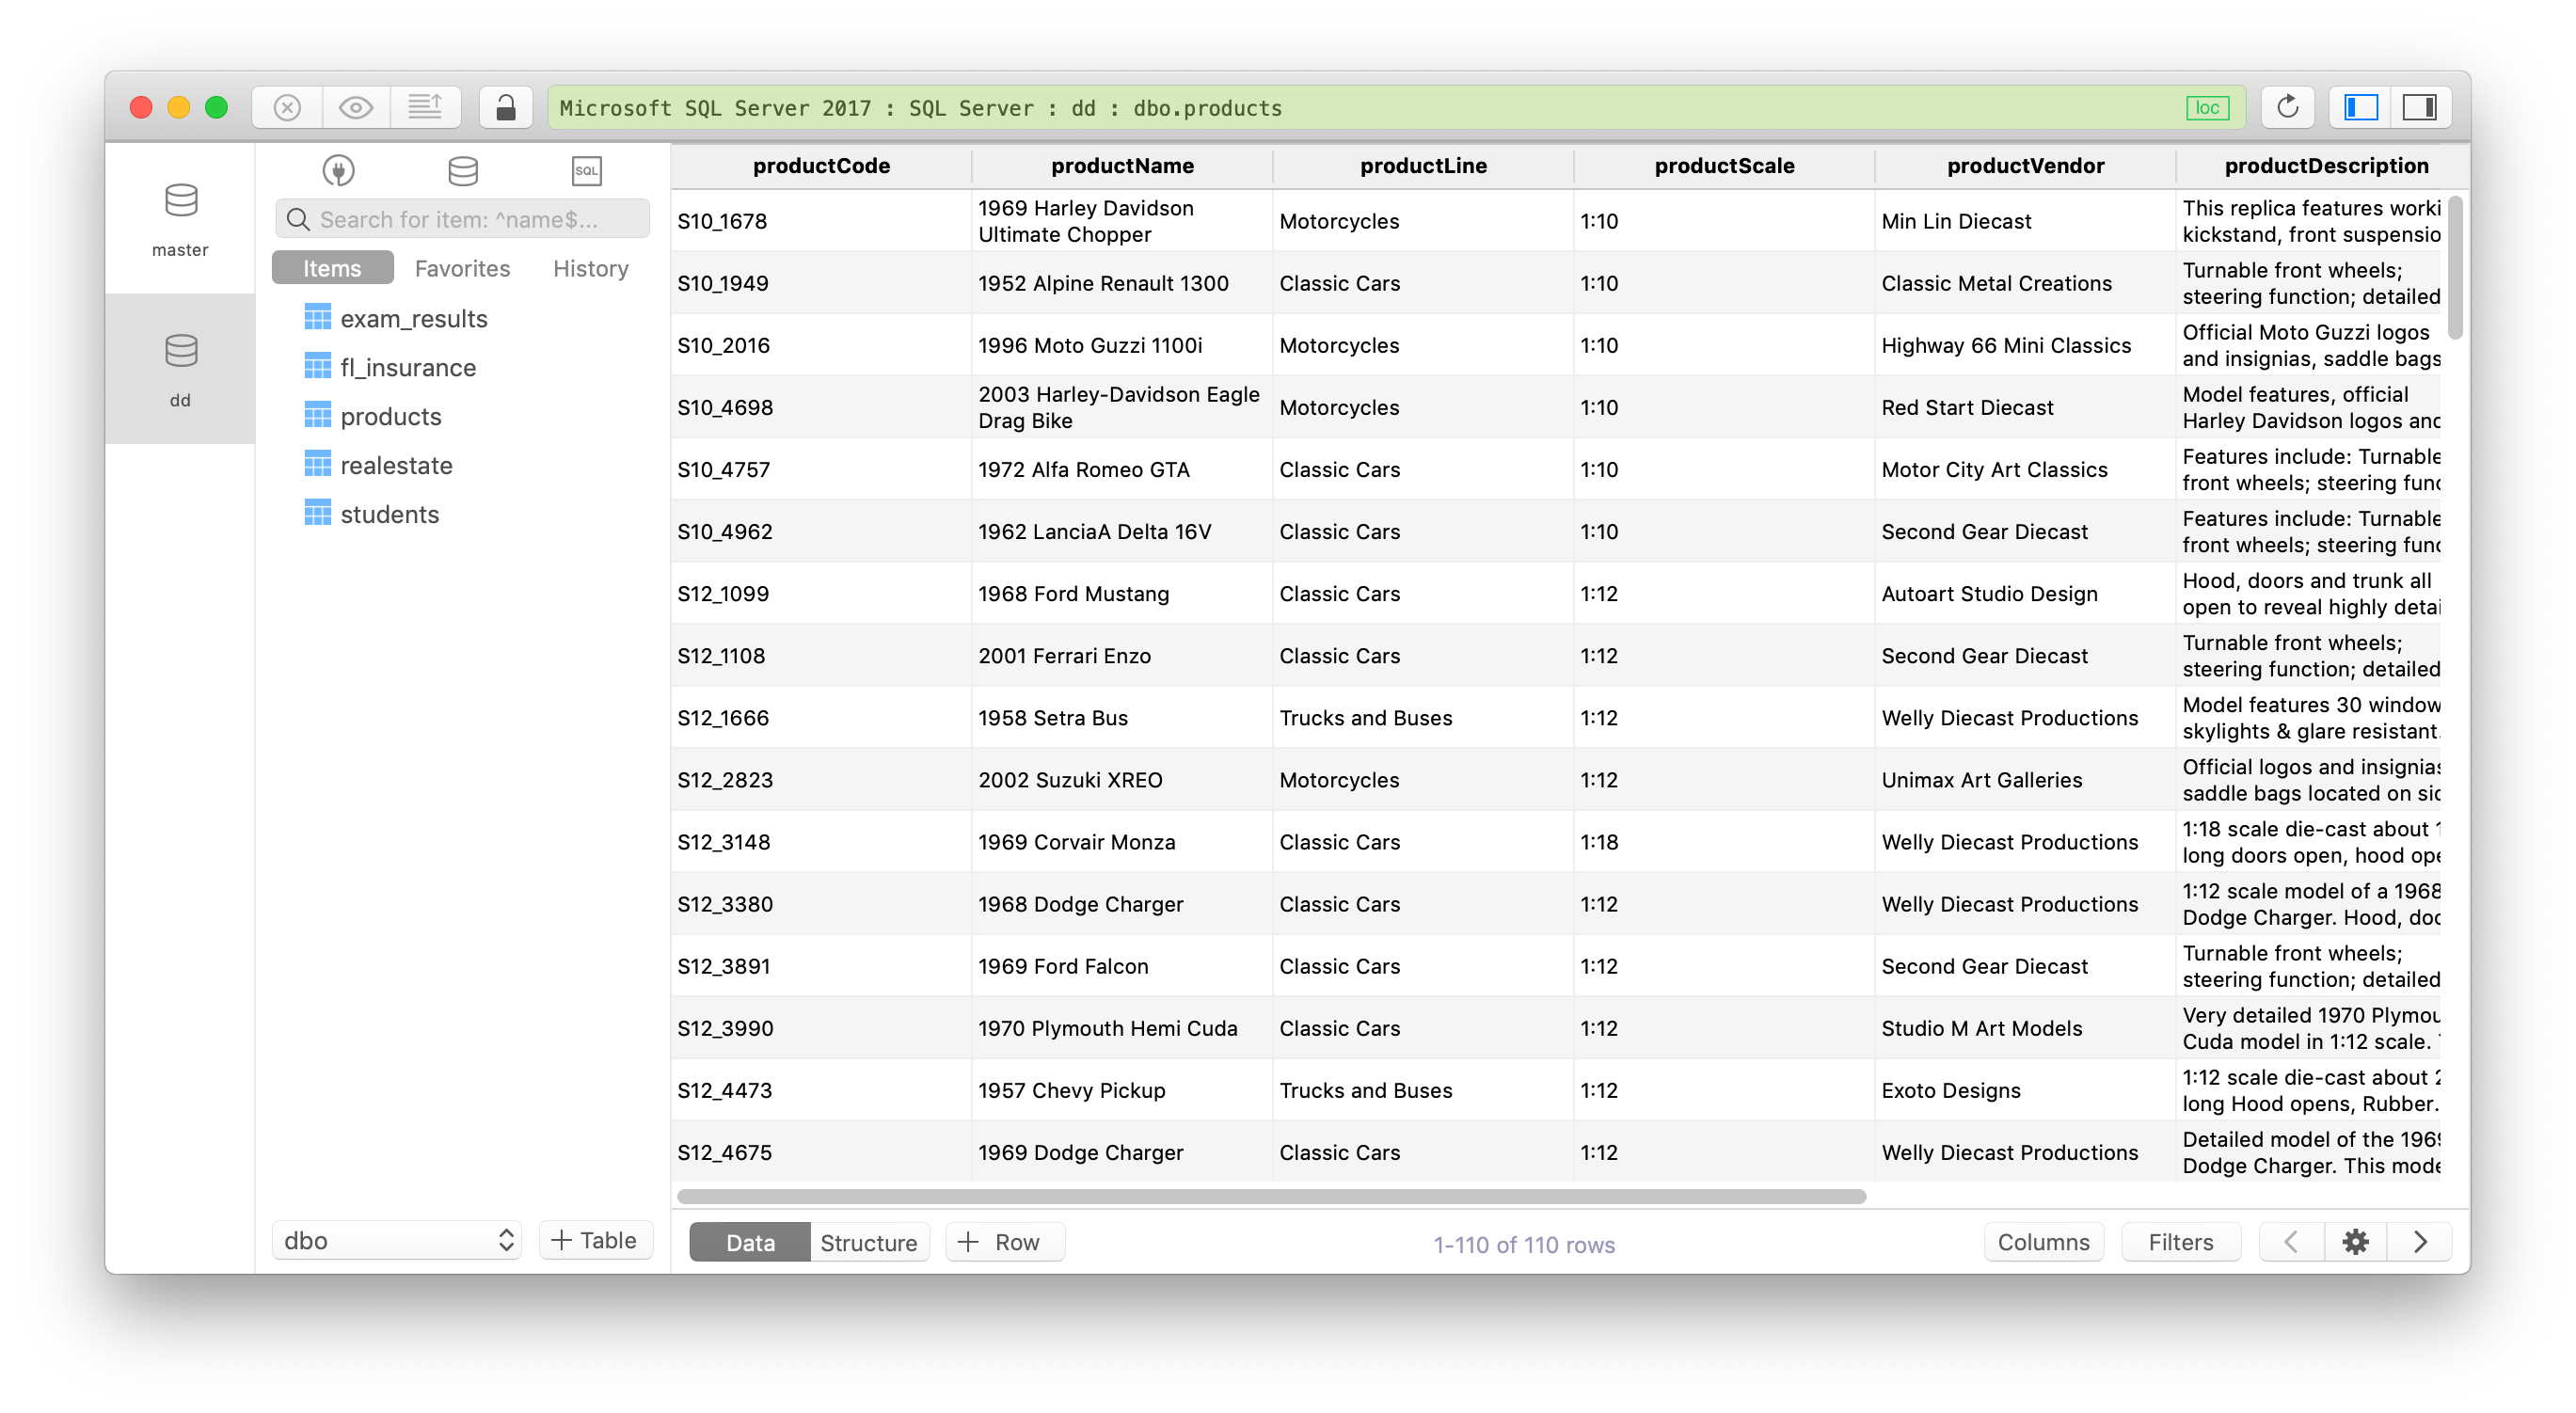
MS SQL Server - How to install a local server on Mac using Docker?
If you want to install an earlier version of SQL Server on Mac, a virtual machine is required but from SQL Server 2017, with its support for the Unix-based machine, you can install it directly without having to create a virtual machine.
In this post, we are going to create a local Microsoft SQL Server 2017 on Mac using Docker and its tool Kitematic.
1. First, you have to install Docker
Docker is a tool designed to make it easier to create, deploy, and run applications by using containers. Containers allow you to package up an application with all of the parts it needs, such as libraries and other dependencies, and ship it all out as one package.
-
Go to Docker download page and click Get Docker. You might need to create an account to download and later login to Docker on your Mac.
-
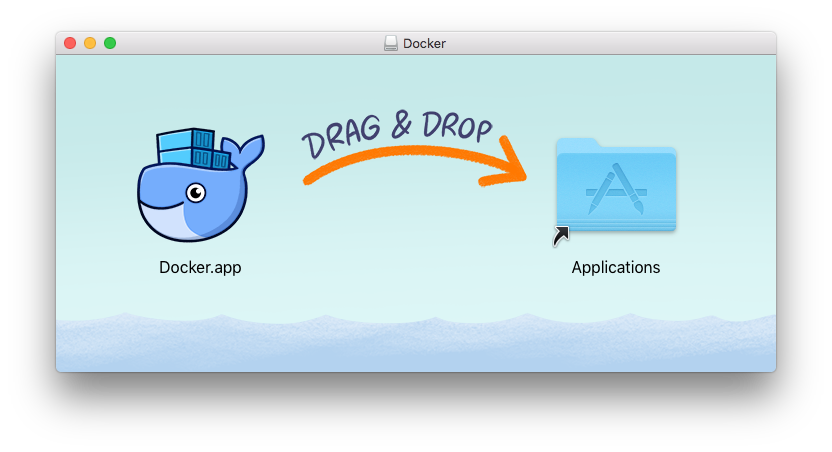
Install Docker on your Mac.
Then it comes the interesting part.
2. Install Kitematic
If you want a simple & friendly installing process instead of CLI, use Kitematic.
Kitematic is an open source project built to simplify and streamline using Docker on a Mac or Windows PC. Kitematic automates the Docker installation and setup process and provides an intuitive graphical user interface (GUI) for running Docker containers.
In short, Kitematic will help you install Docker containers easier with a GUI.
After Docker is installed, run Docker and choose Kitematic from its drop-down menu:
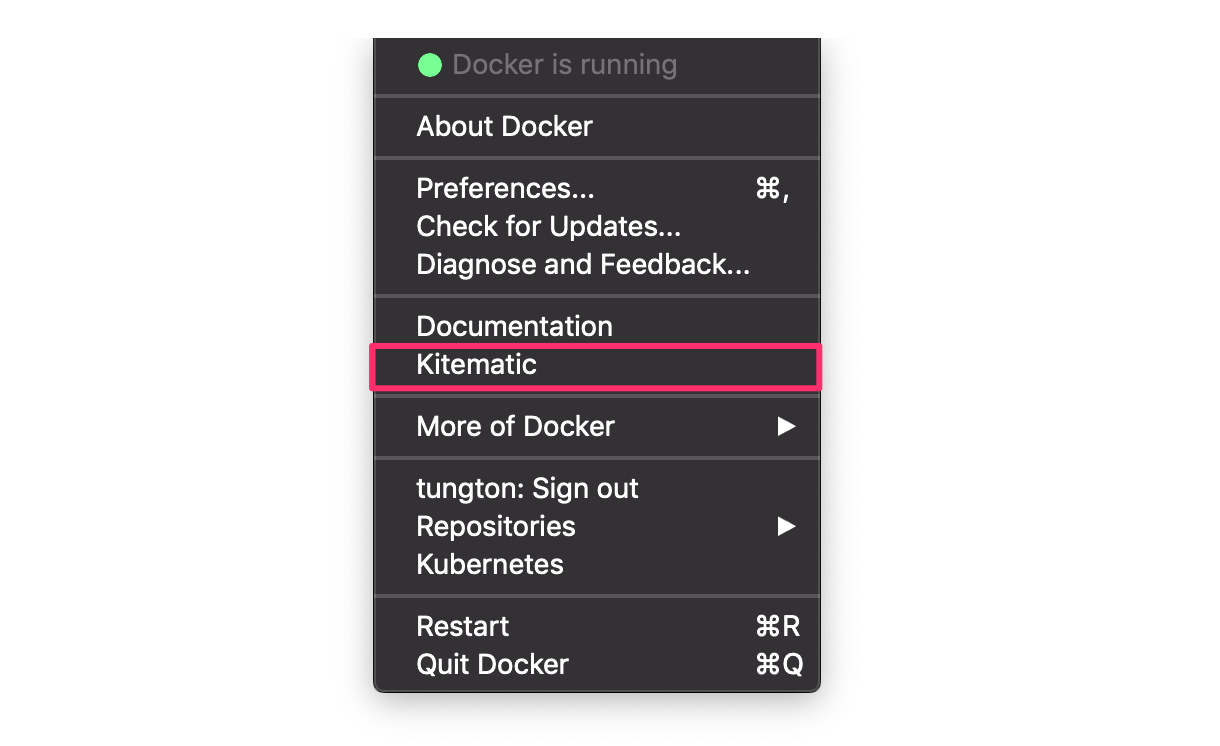
It will ask you to download Kitematic, you can go to Kitematic’s download page, download and install it.
3. Run Kitematic.
- Click
+ NEWbutton to install a new image - Search for
MS SQL Server - Choose the image you want to install and click
CREATE
I’m using the Official images from Microsoft.
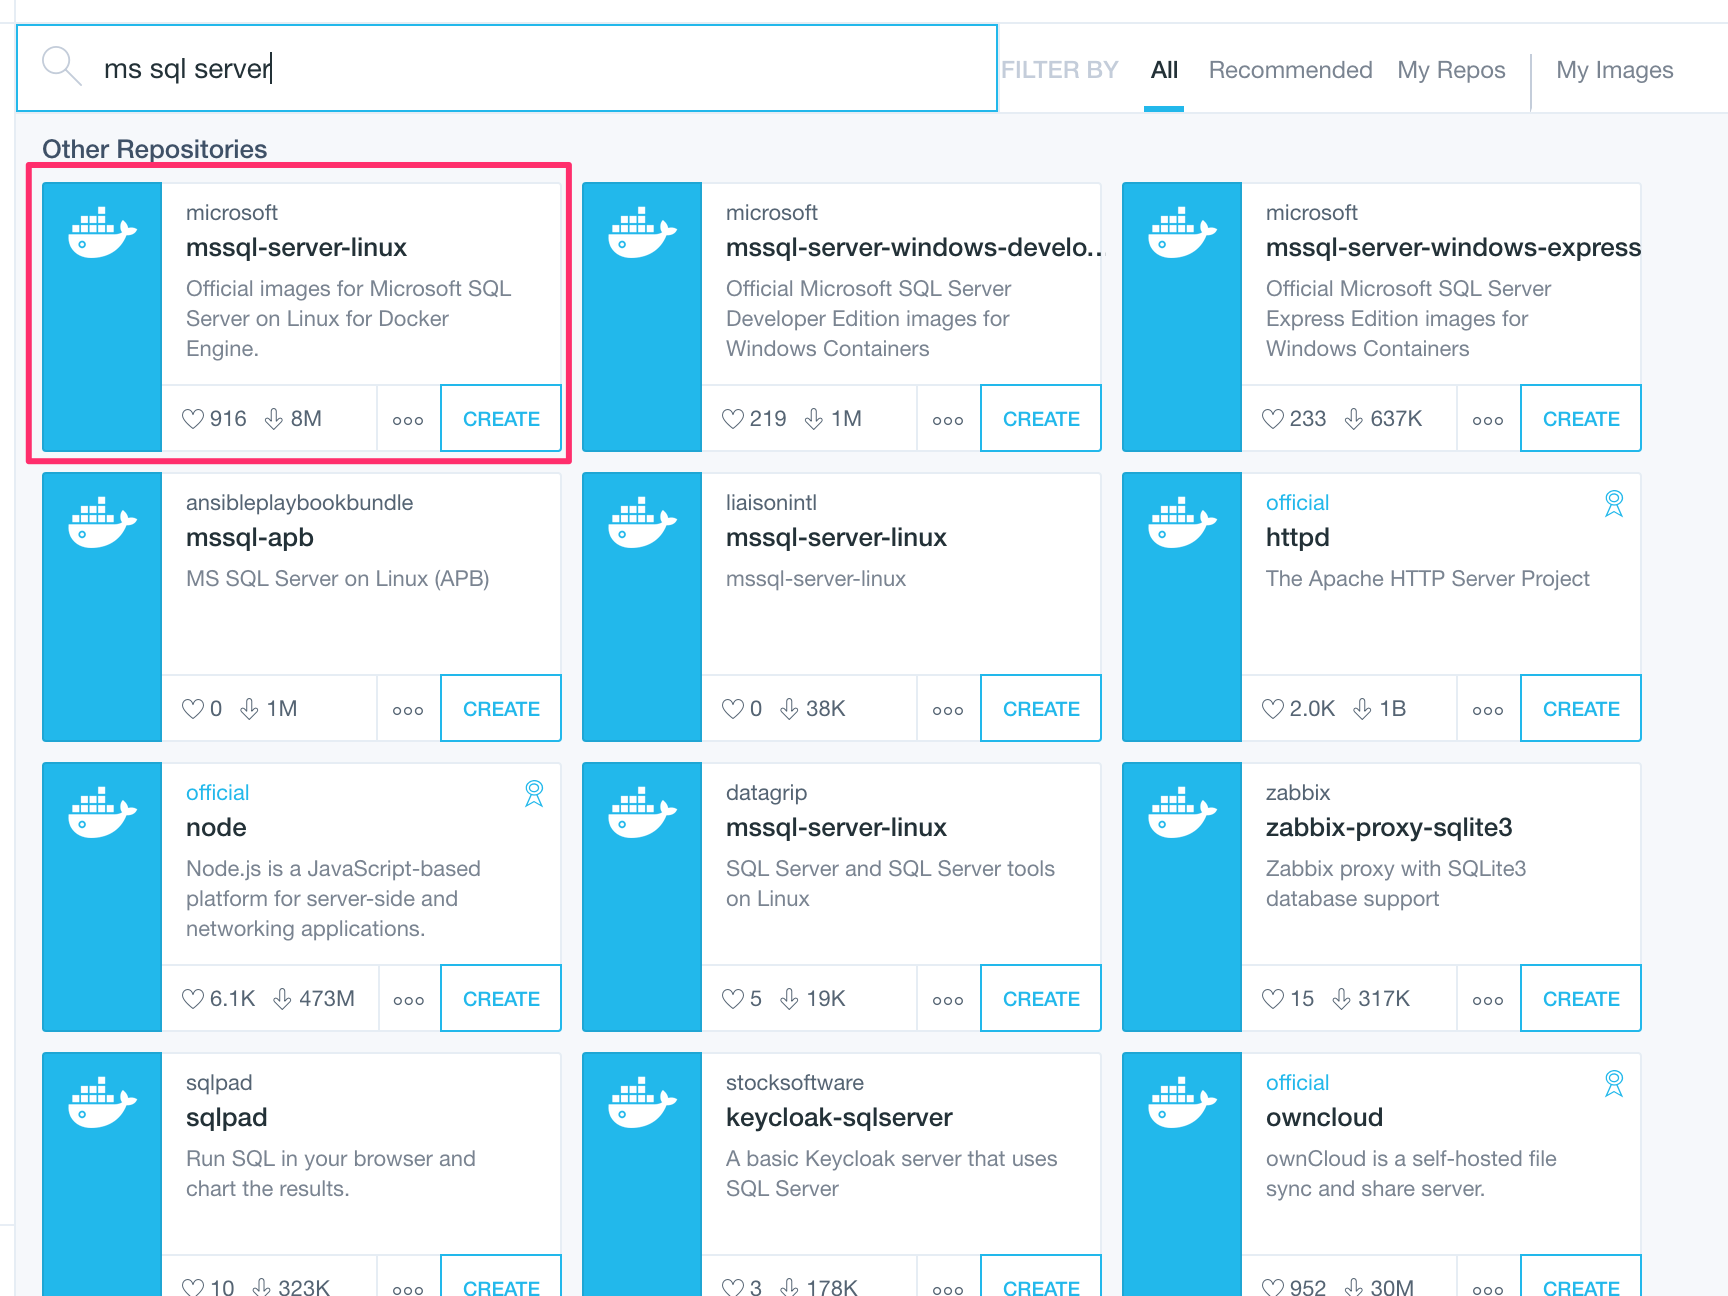
After you hit CREATE, Kitematic will automate the rest for you.
4. Configure local server
After SQL Server is installed, you go Setting and we have to config something from here:
ACCEPT_EULA: confirm your acceptance of the End-User Licensing Agreement.
SA_PASSWORD: the admin password used to connect to SQL Server once the container is running. This password needs to include at least 8 characters including uppercase letters, lowercase letters, numbers and non-alphanumeric symbols.
MSSQL_PID is the Product ID (PID) or Edition that the container will run with. Acceptable values:
- Developer: This will run the container using the Developer Edition (this is the default if no MSSQL_PID environment variable is supplied)
- Express: This will run the container using the Express Edition
- Standard: This will run the container using the Standard Edition
- Enterprise: This will run the container using the Enterprise Edition
- EnterpriseCore: This will run the container using the Enterprise Edition Core
For a complete list of environment variables that can be used, refer to the documentation here.
I’m gonna leave Developer for this field. So here is my full config:
ACCEPT_EULA: Y
SA_PASSWORD: P@ssword12
MSSQL_PID: Developer
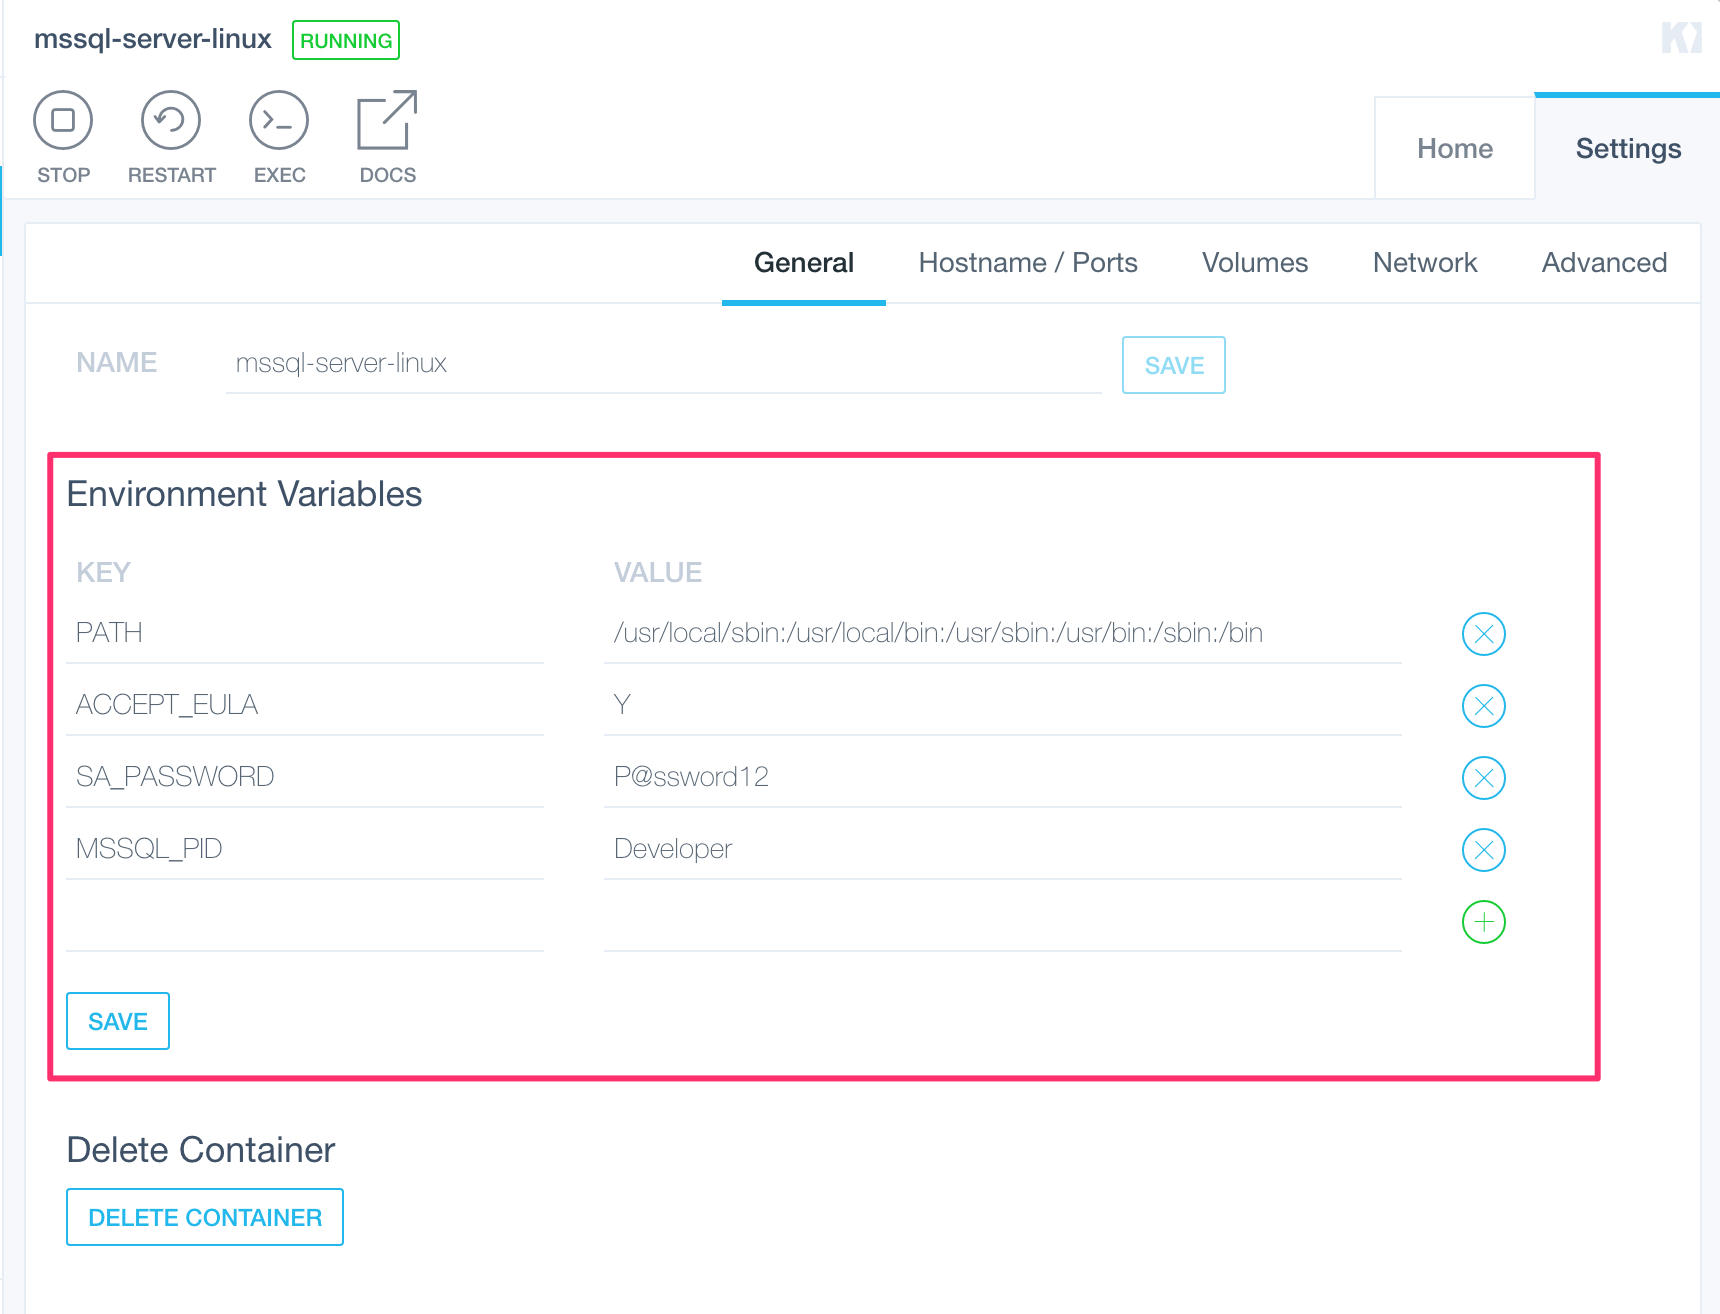
Save and go back to home screen, restart the server.
From home screen, take a look at the ACCESS URL, this is gonna be helpful for setting up your connection later.
Now you have a local SQL Server installed and running. The next step is to create a connection and start managing the local database.
5. Connect to the local server
Download TablePlus. It’s a modern, native GUI for multiple relational databases which offers a great support for MS SQL Server.
You can download the latest version of TablePlus directly from here.
Install TablePlus and run it.
- From the welcome screen, choose to create a new connection
- Choose Microsoft SQL Server from the driver list
- Configure the connection:
- Name: This is the name for your connection, you can name it the way you like.
- Host: localhost
- Port: Remember the ACCESS URL from Kitematic? Put it here.
- User: sa
- Password: The password you set in Kitematic
- Database: You don’t need to fill this, it will open the default database.
Click Test button, it should be all green, which means, the connection is good to go.
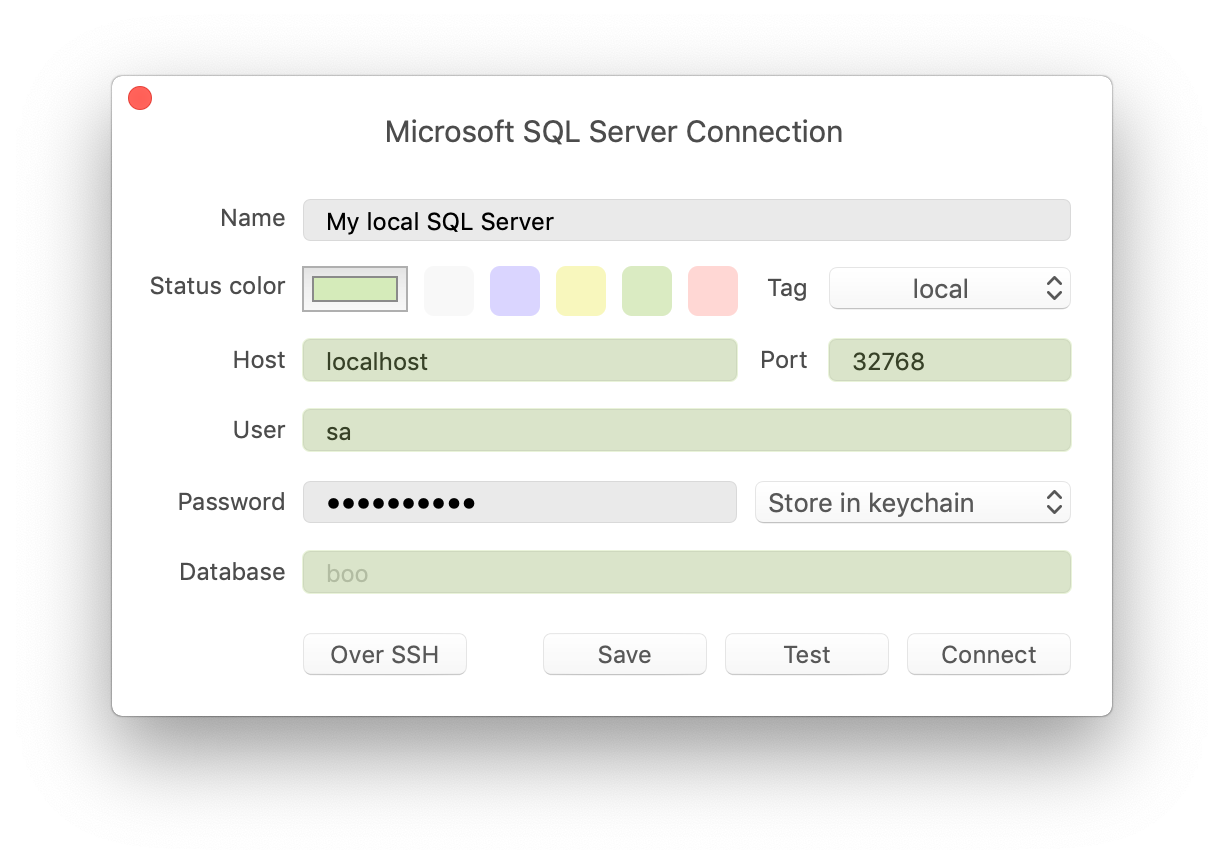
Click Connect to start the connection.
And you are free to do what you want with the local database.
