Getting started with PostgreSQL database on Mac
Just a few reasons why you should use PostgreSQL in the first place:
- It’s open source, which means it’s free for anyone to use and modify.
- It’s widely available. PostgreSQL can be installed on many different platforms
- It’s powerful. It’s claimed to be the world’s most advanced open source database.
1. Who is this for?
- You are a beginner to PostgreSQL.
- You want a PostgreSQL database available quickly on your Mac without spending much time configuring.
Then keep reading, this guide is for you.
2. Install PostgreSQL on Mac
macOS doesn’t ship with its own copy of PostgreSQL, the world’s most advanced open source database. You will have to install PostgreSQL on your Mac. There are many ways to install PostgreSQL on Mac and these are some common methods:
- Download the binaries from PostgreSQL’s official website.
- Install via Docker.
- Install using a graphical installer like DBngin or Postgres.app.
- Install via the package manager Homebrew.
In this post, we are going to use DBngin, the all-in-one database version management tool. It helps you install and manage PostgreSQL server on Mac easily:
- It’s lightweight.
- You can install and run multiple servers with multiple PostgreSQL versions and ports.
- No configuration needed.
- No dependencies, just download and run
- It’s free.

To install DBngin on Mac:
- Go to DBngin and download the installer
- Install on Mac like any other Mac apps
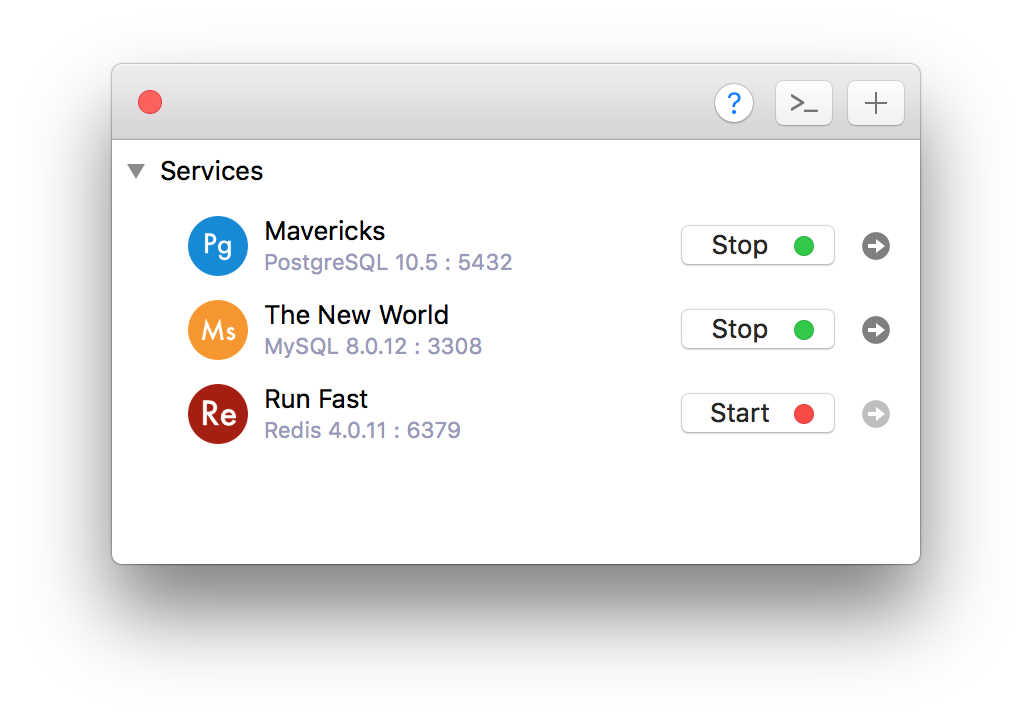
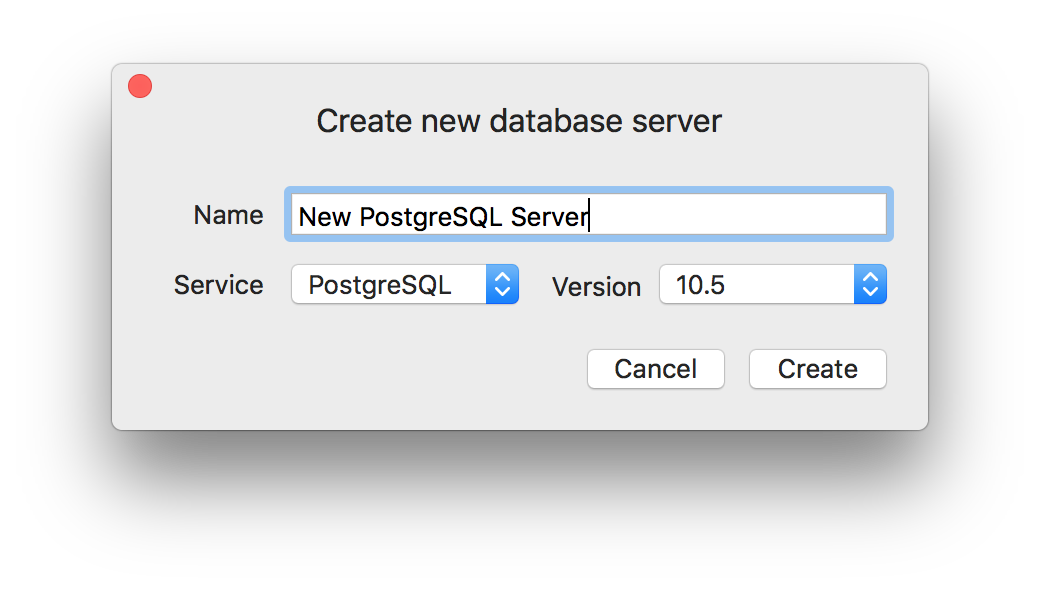
- Run DBngin and choose to create a new server
- Choose PostgreSQL, its version and create a server with a custom name.
- Start the PostgreSQL server from the server controller.

3. Install TablePlus GUI
After you got DBngin installed and a local PostgreSQL database awaiting for connection, you can use the built-in command line utility to manage the local database, or you can use a GUI tool to make it easier.
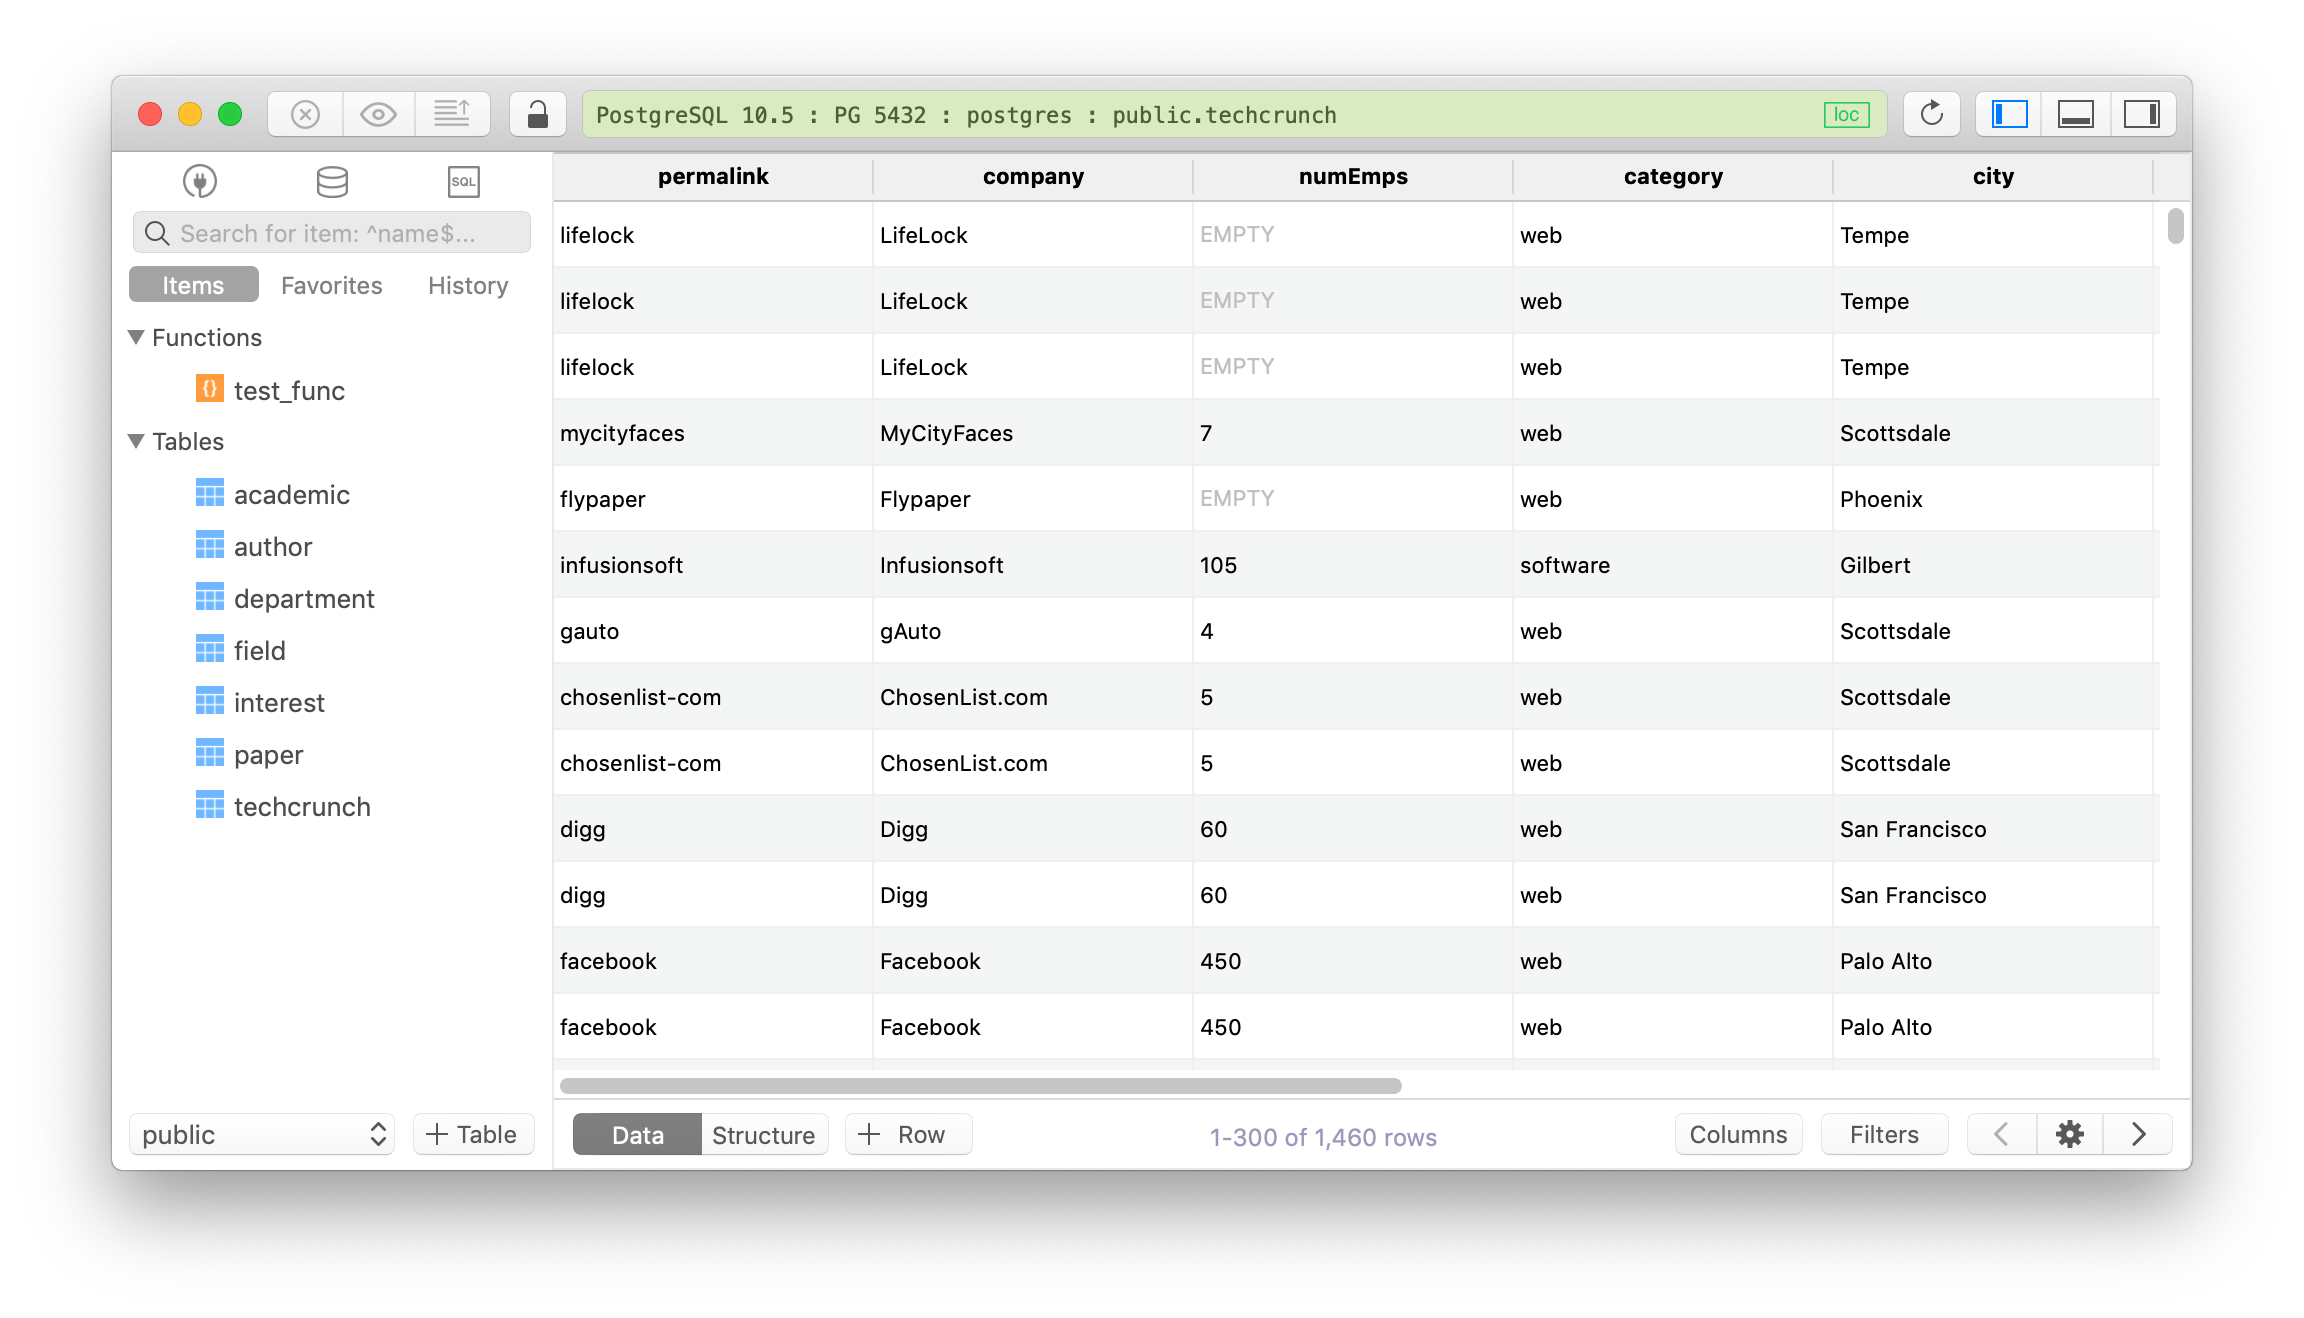
TablePlus offers a modern, native GUI client to make working with PostgreSQL database on Mac easier.

You can download TablePlus for Mac from here and install it on your Mac for free.
4. Start working with PostgreSQL
From DBngin’s server controller, click the arrow icon next to the start button to create a new connection to the local PostgreSQL database using TablePlus.

From there, if you choose to work with the database using SQL queries, open the query editor by clicking on the SQL editor icon on top of the left toggle, or pressing Cmd + E.
Check out some important SQL queries to remember.
If you want to interact with data using the GUI instead of queries, follow the getting started guide for TablePlus on Mac.
