Getting started with TablePlus on Windows
1. How to install TablePlus on Windows?
Requirements:
- TablePlus only runs on Windows 7 or newer.
.NET Framework 4.7.2. You can download from here.
Please note that without .NET Framework 4.7.2, TablePlus won’t start.
To install TablePlus on Windows:
- Download the latest version of TablePlus for Windows.
- Make sure your computer meets the requirements.
- Run the TablePlus.exe installer and install it on your computer.
2. How to create a connection
Currently, TablePlus Windows supports PostgreSQL, MySQL, SQL Server and Cassandra.
To create a new connection, you have to prepare your host, port, username, and password.
How to connect:
We have a demo PostgreSQL connection for you to try out.
- Open TablePlus.
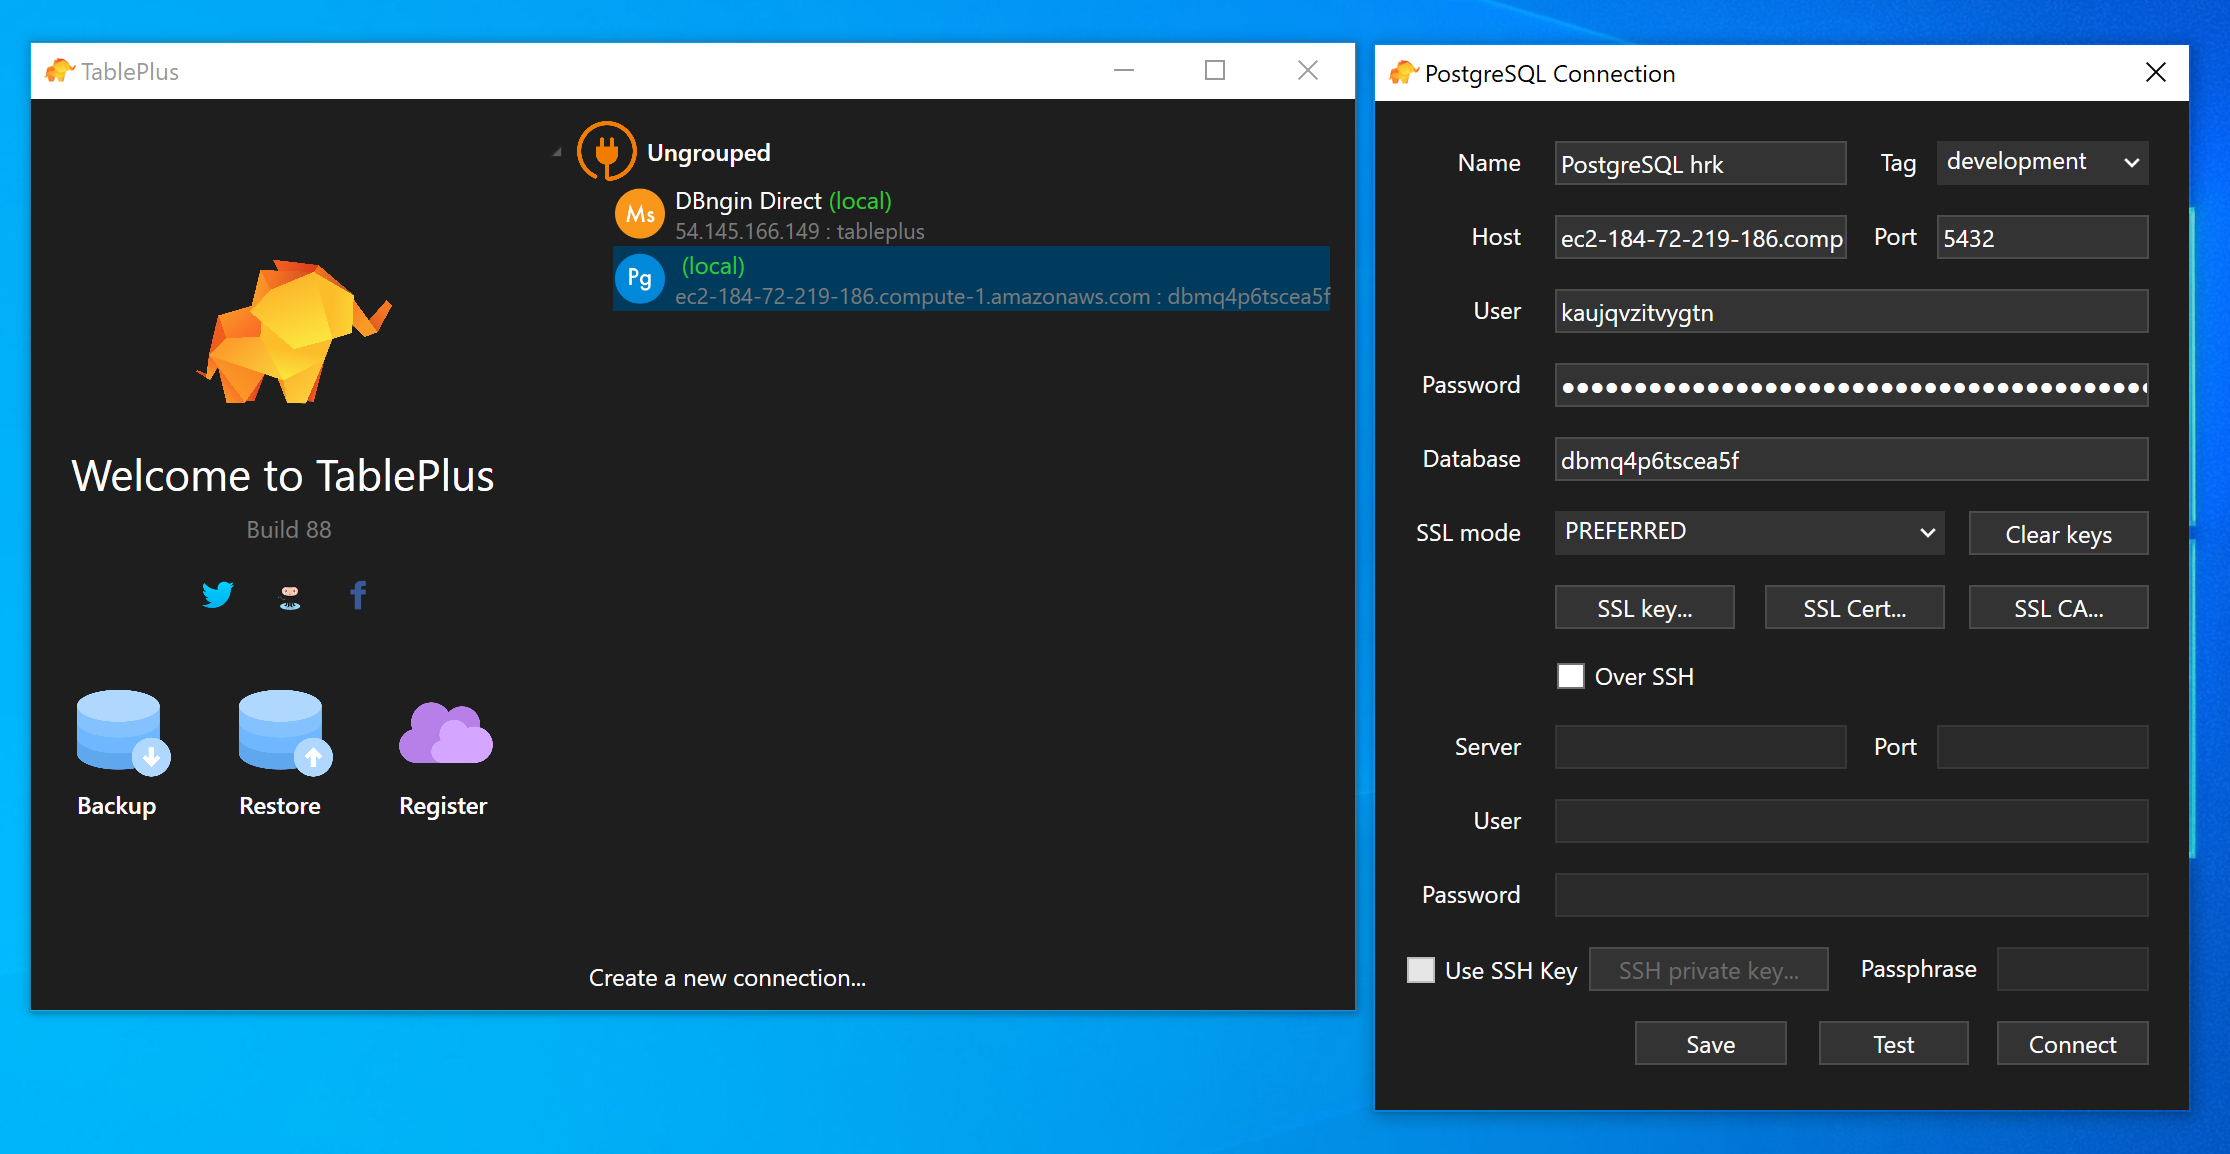
- From the welcome screen, click Create a New Connection at the bottom, choose new PostgreSQL connection.
- Enter the database credentials as follow:
- Host:
ec2-184-72-219-186.compute-1.amazonaws.com - Username:
kaujqvzitvygtn - Password:
882701ad15b3e7c9ecac91967e062a68b1be8def2b2dca58920589a1abe10a78 - Database:
dbmq4p6tscea5f
- Host:
- Click Test to see if the connection is ok. If it’s ok, click connect.
3. Open anything
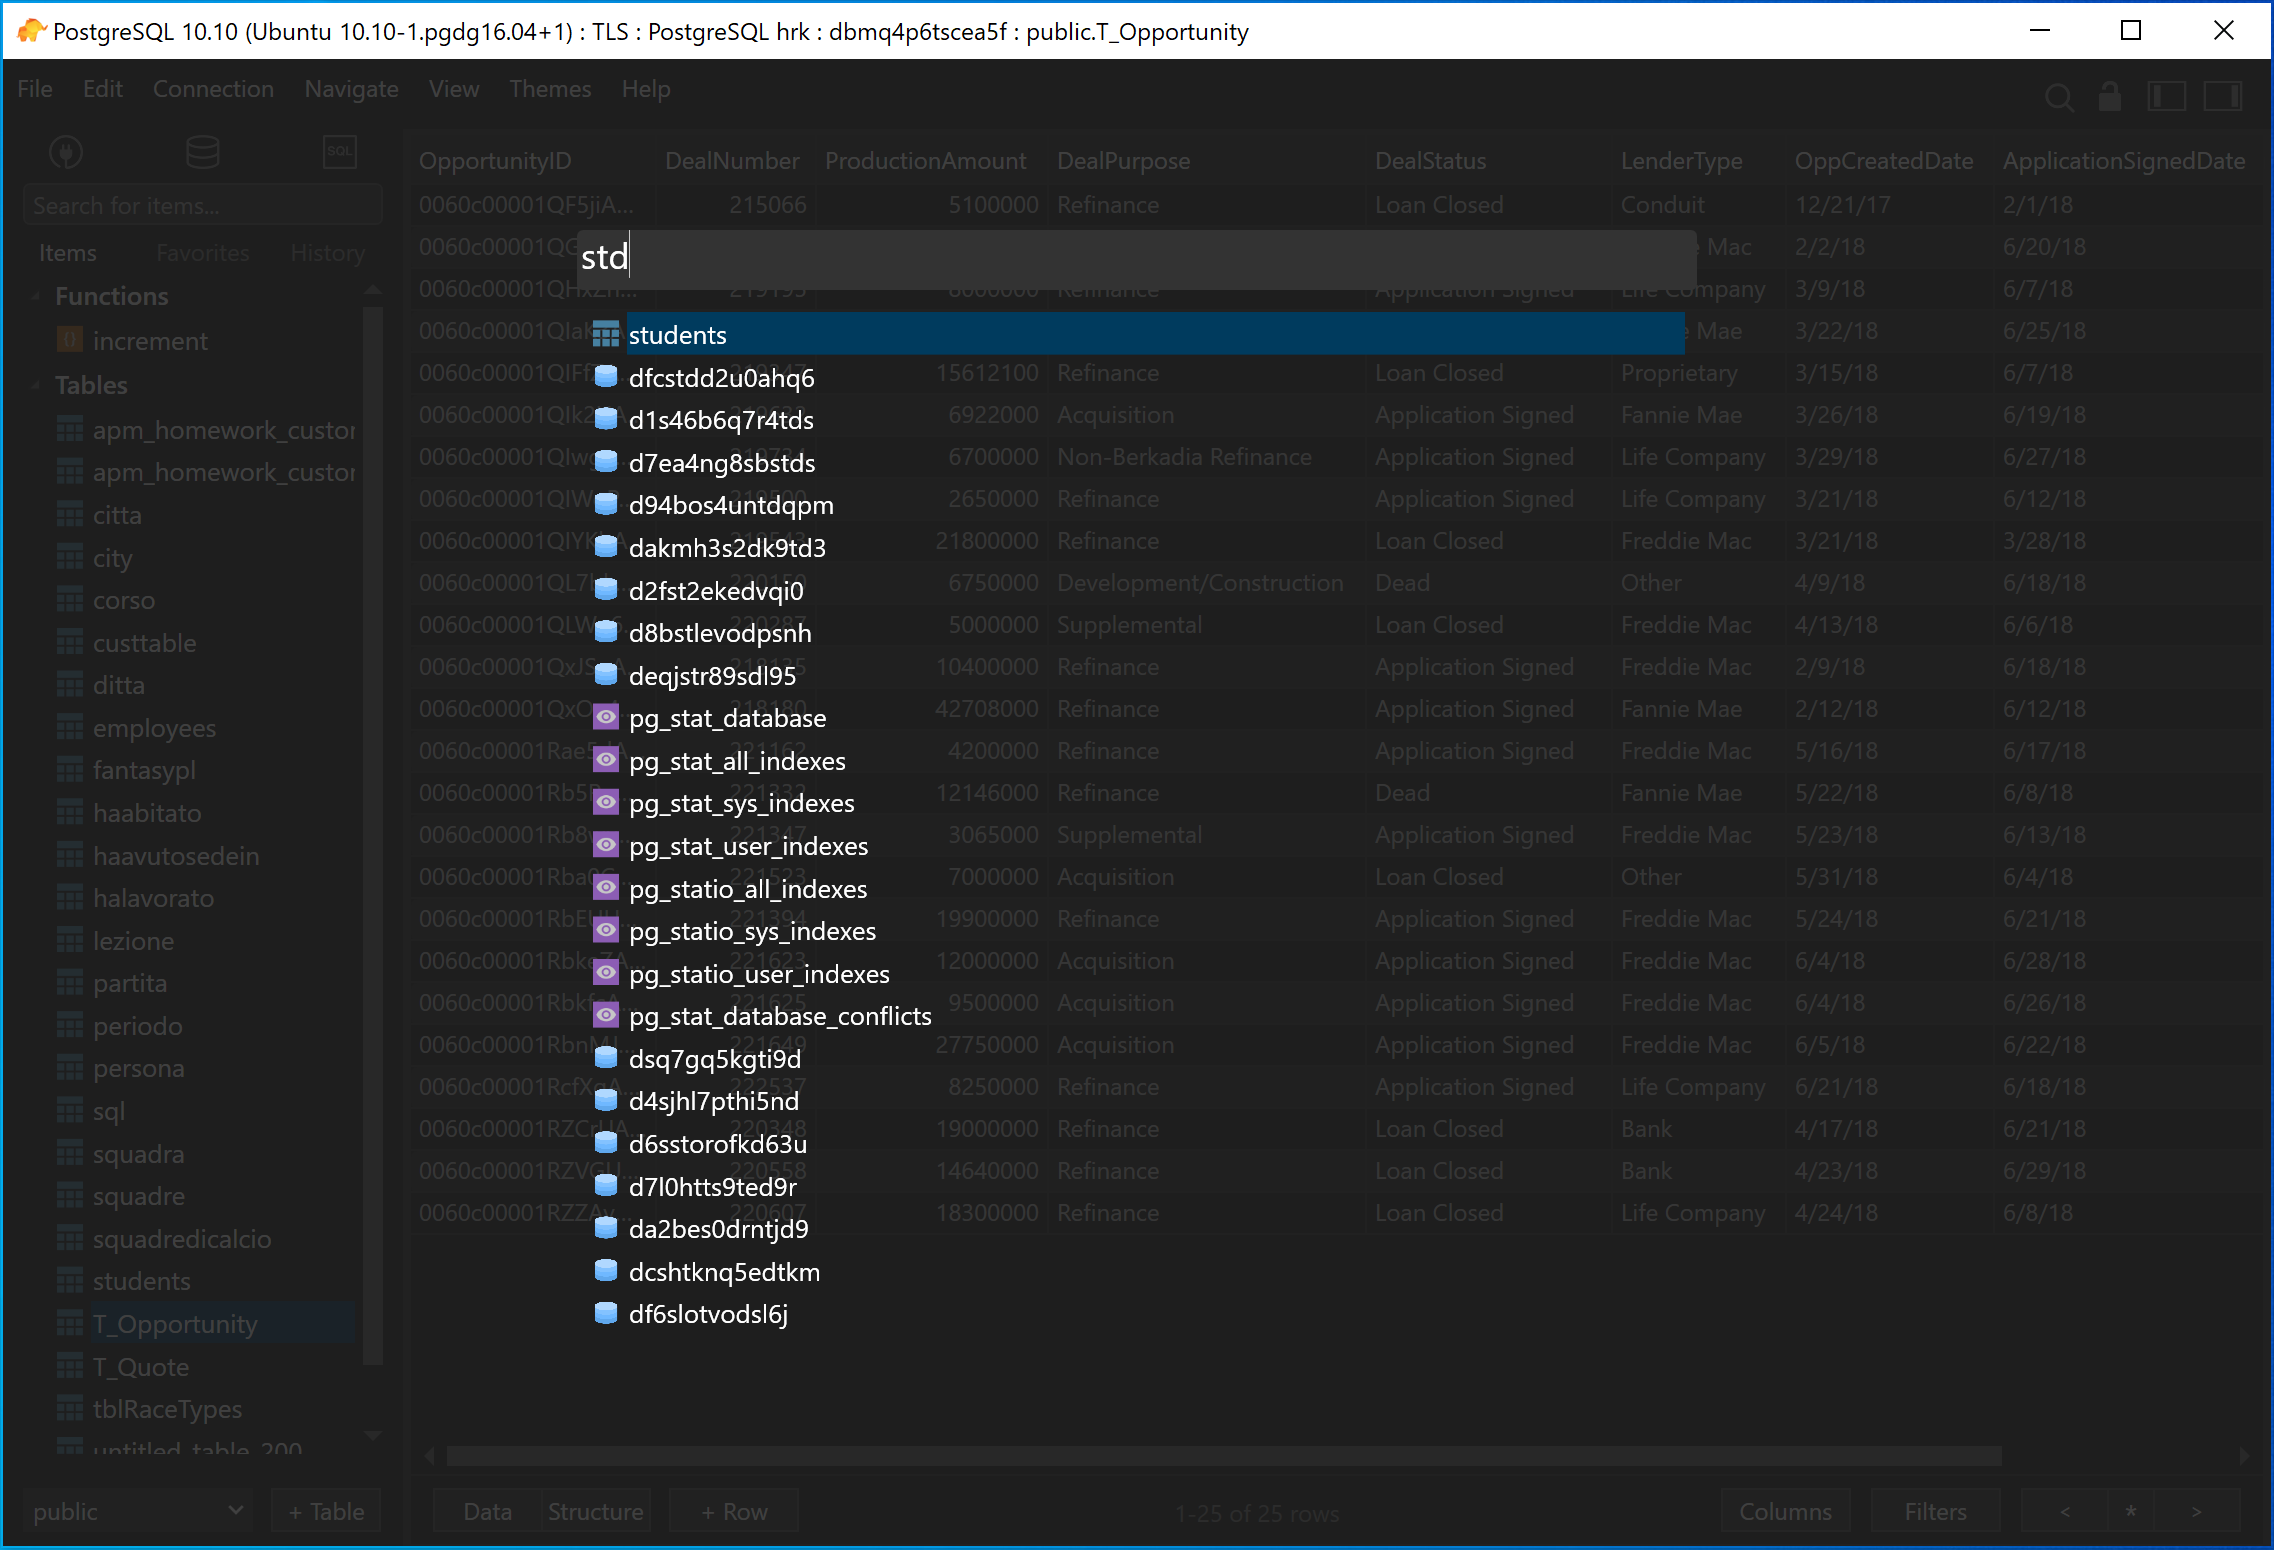
To quickly find and open a database object from the current database, go to Menu Navigate > Open anything, or use the shortcut keys Ctrl + P.
4. Edit data
From the table view, you can edit data inline by double-clicking on the data cell or using the toggle view in the right sidebar. The toggle view can be enabled using the toggle button at the top right, or using shortcut key Ctrl + Space.
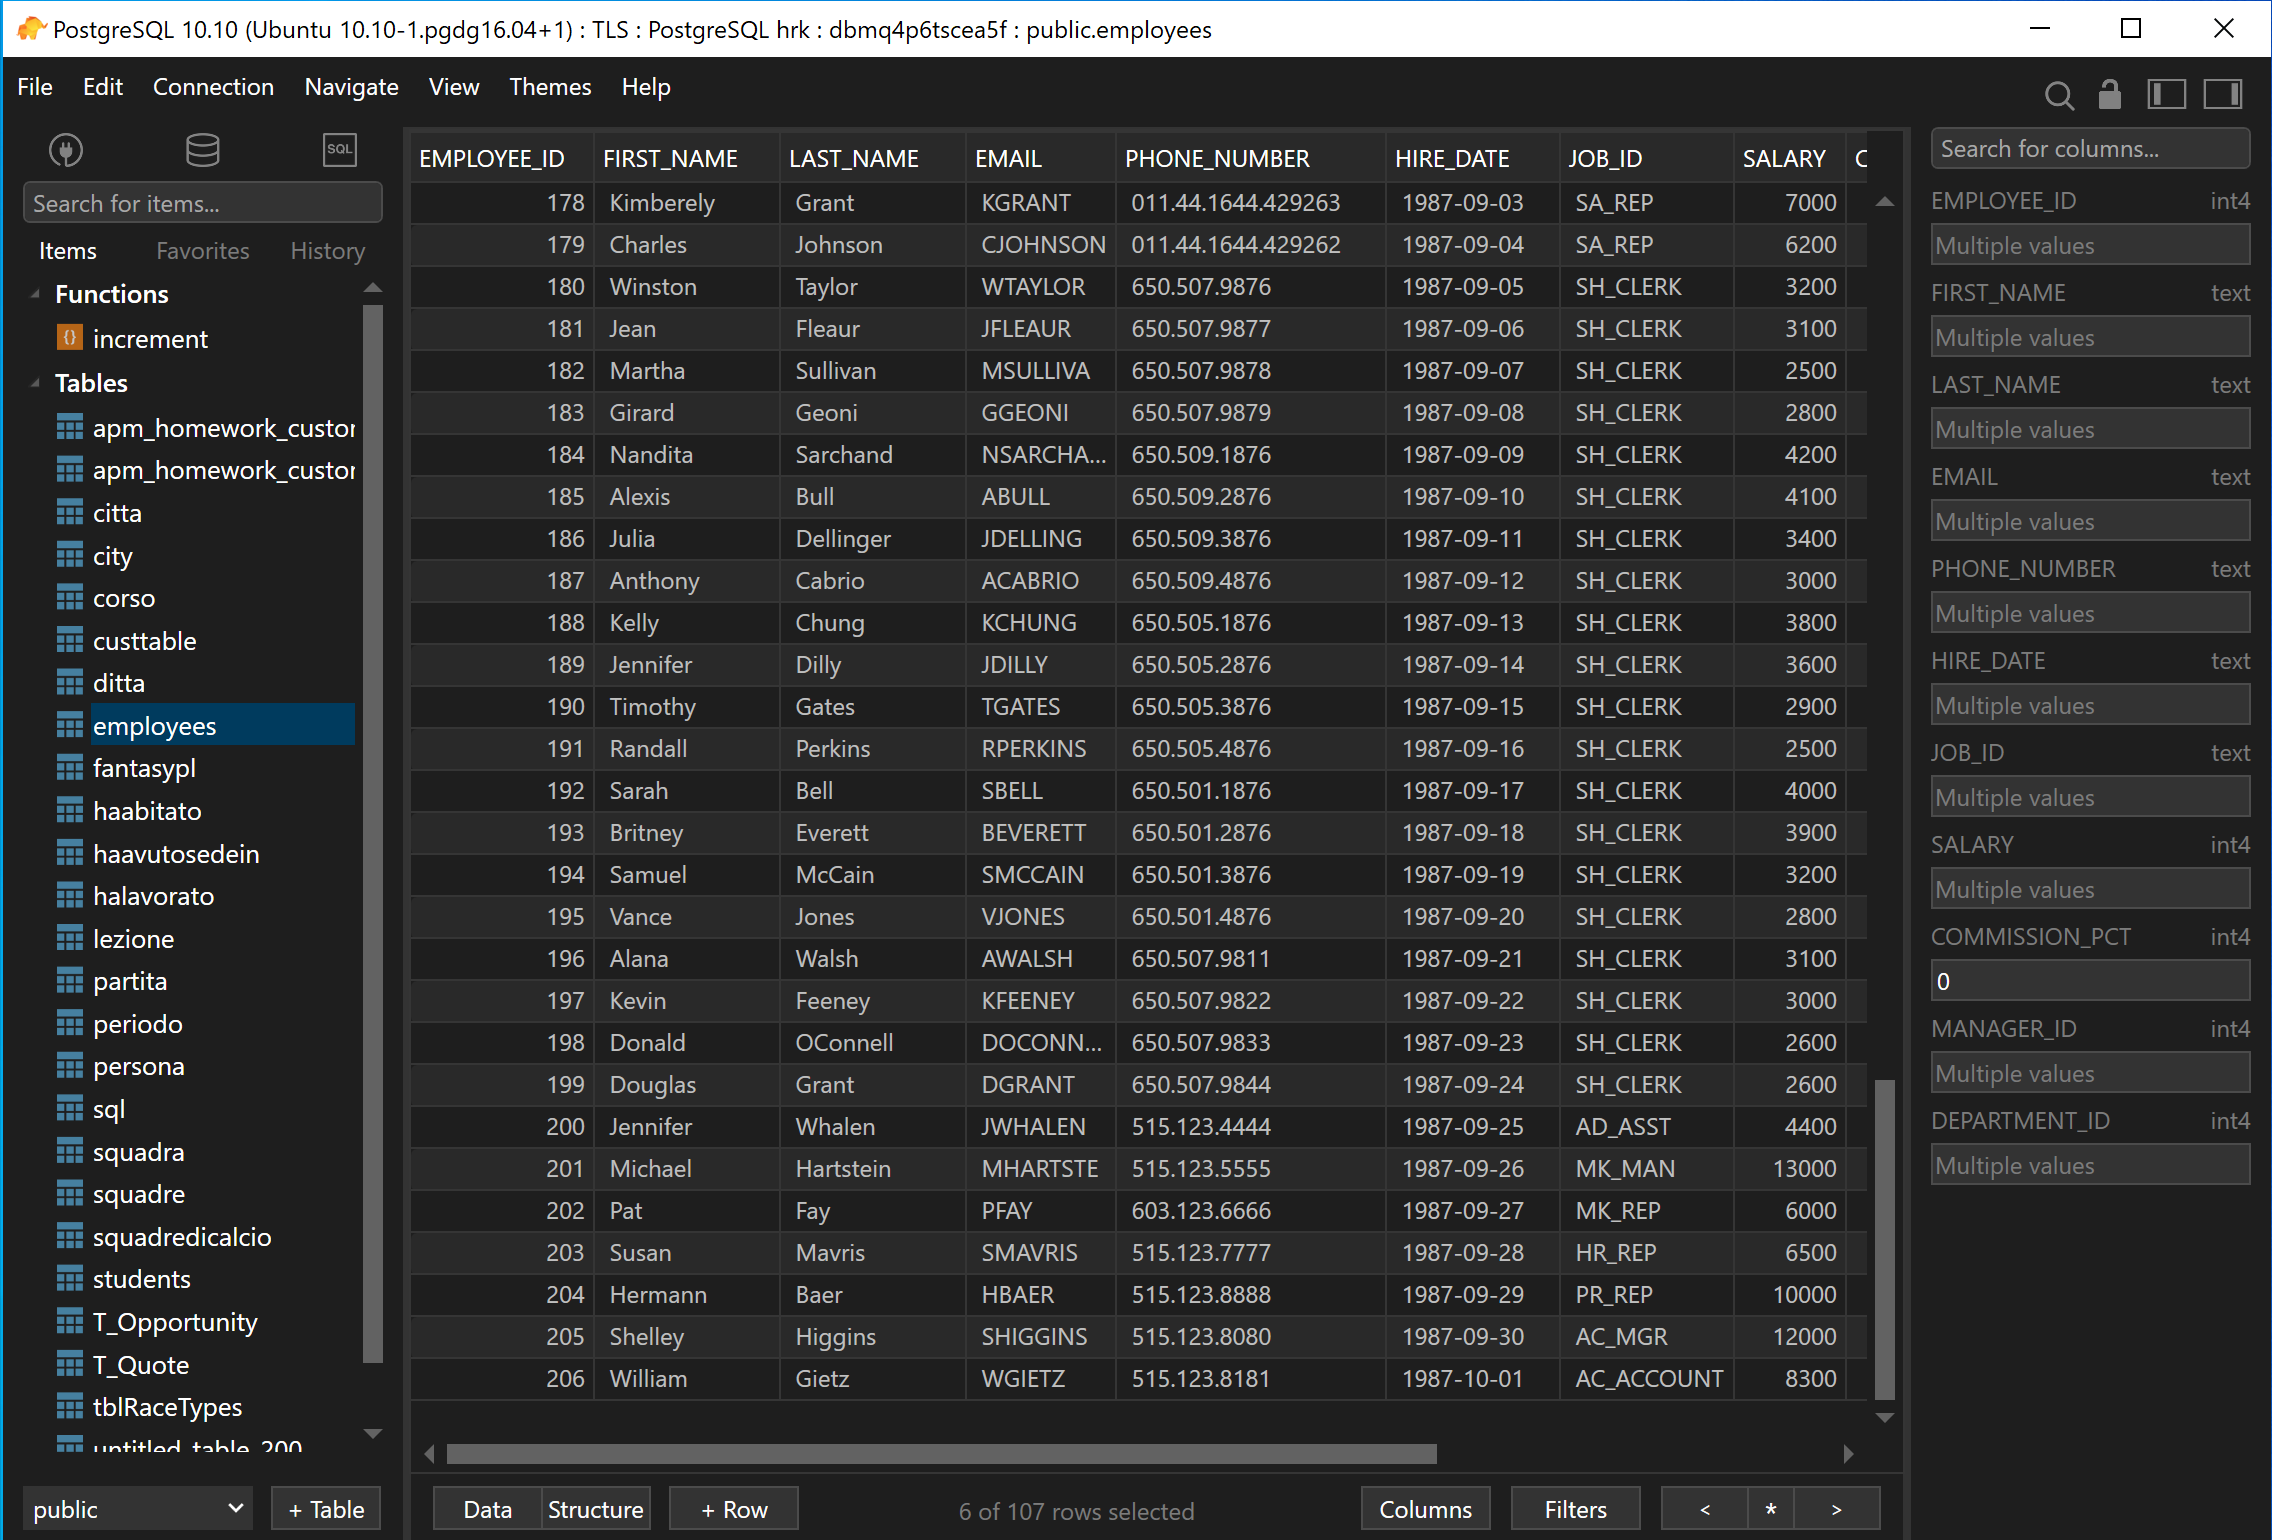
After editing, press Ctrl + S, or go to Menu Edit > Commit, to commit the changes to the database.
5. Create Tables
When viewing the items tab in the left sidebar, click on the +Table button near the bottom left to create a new table.
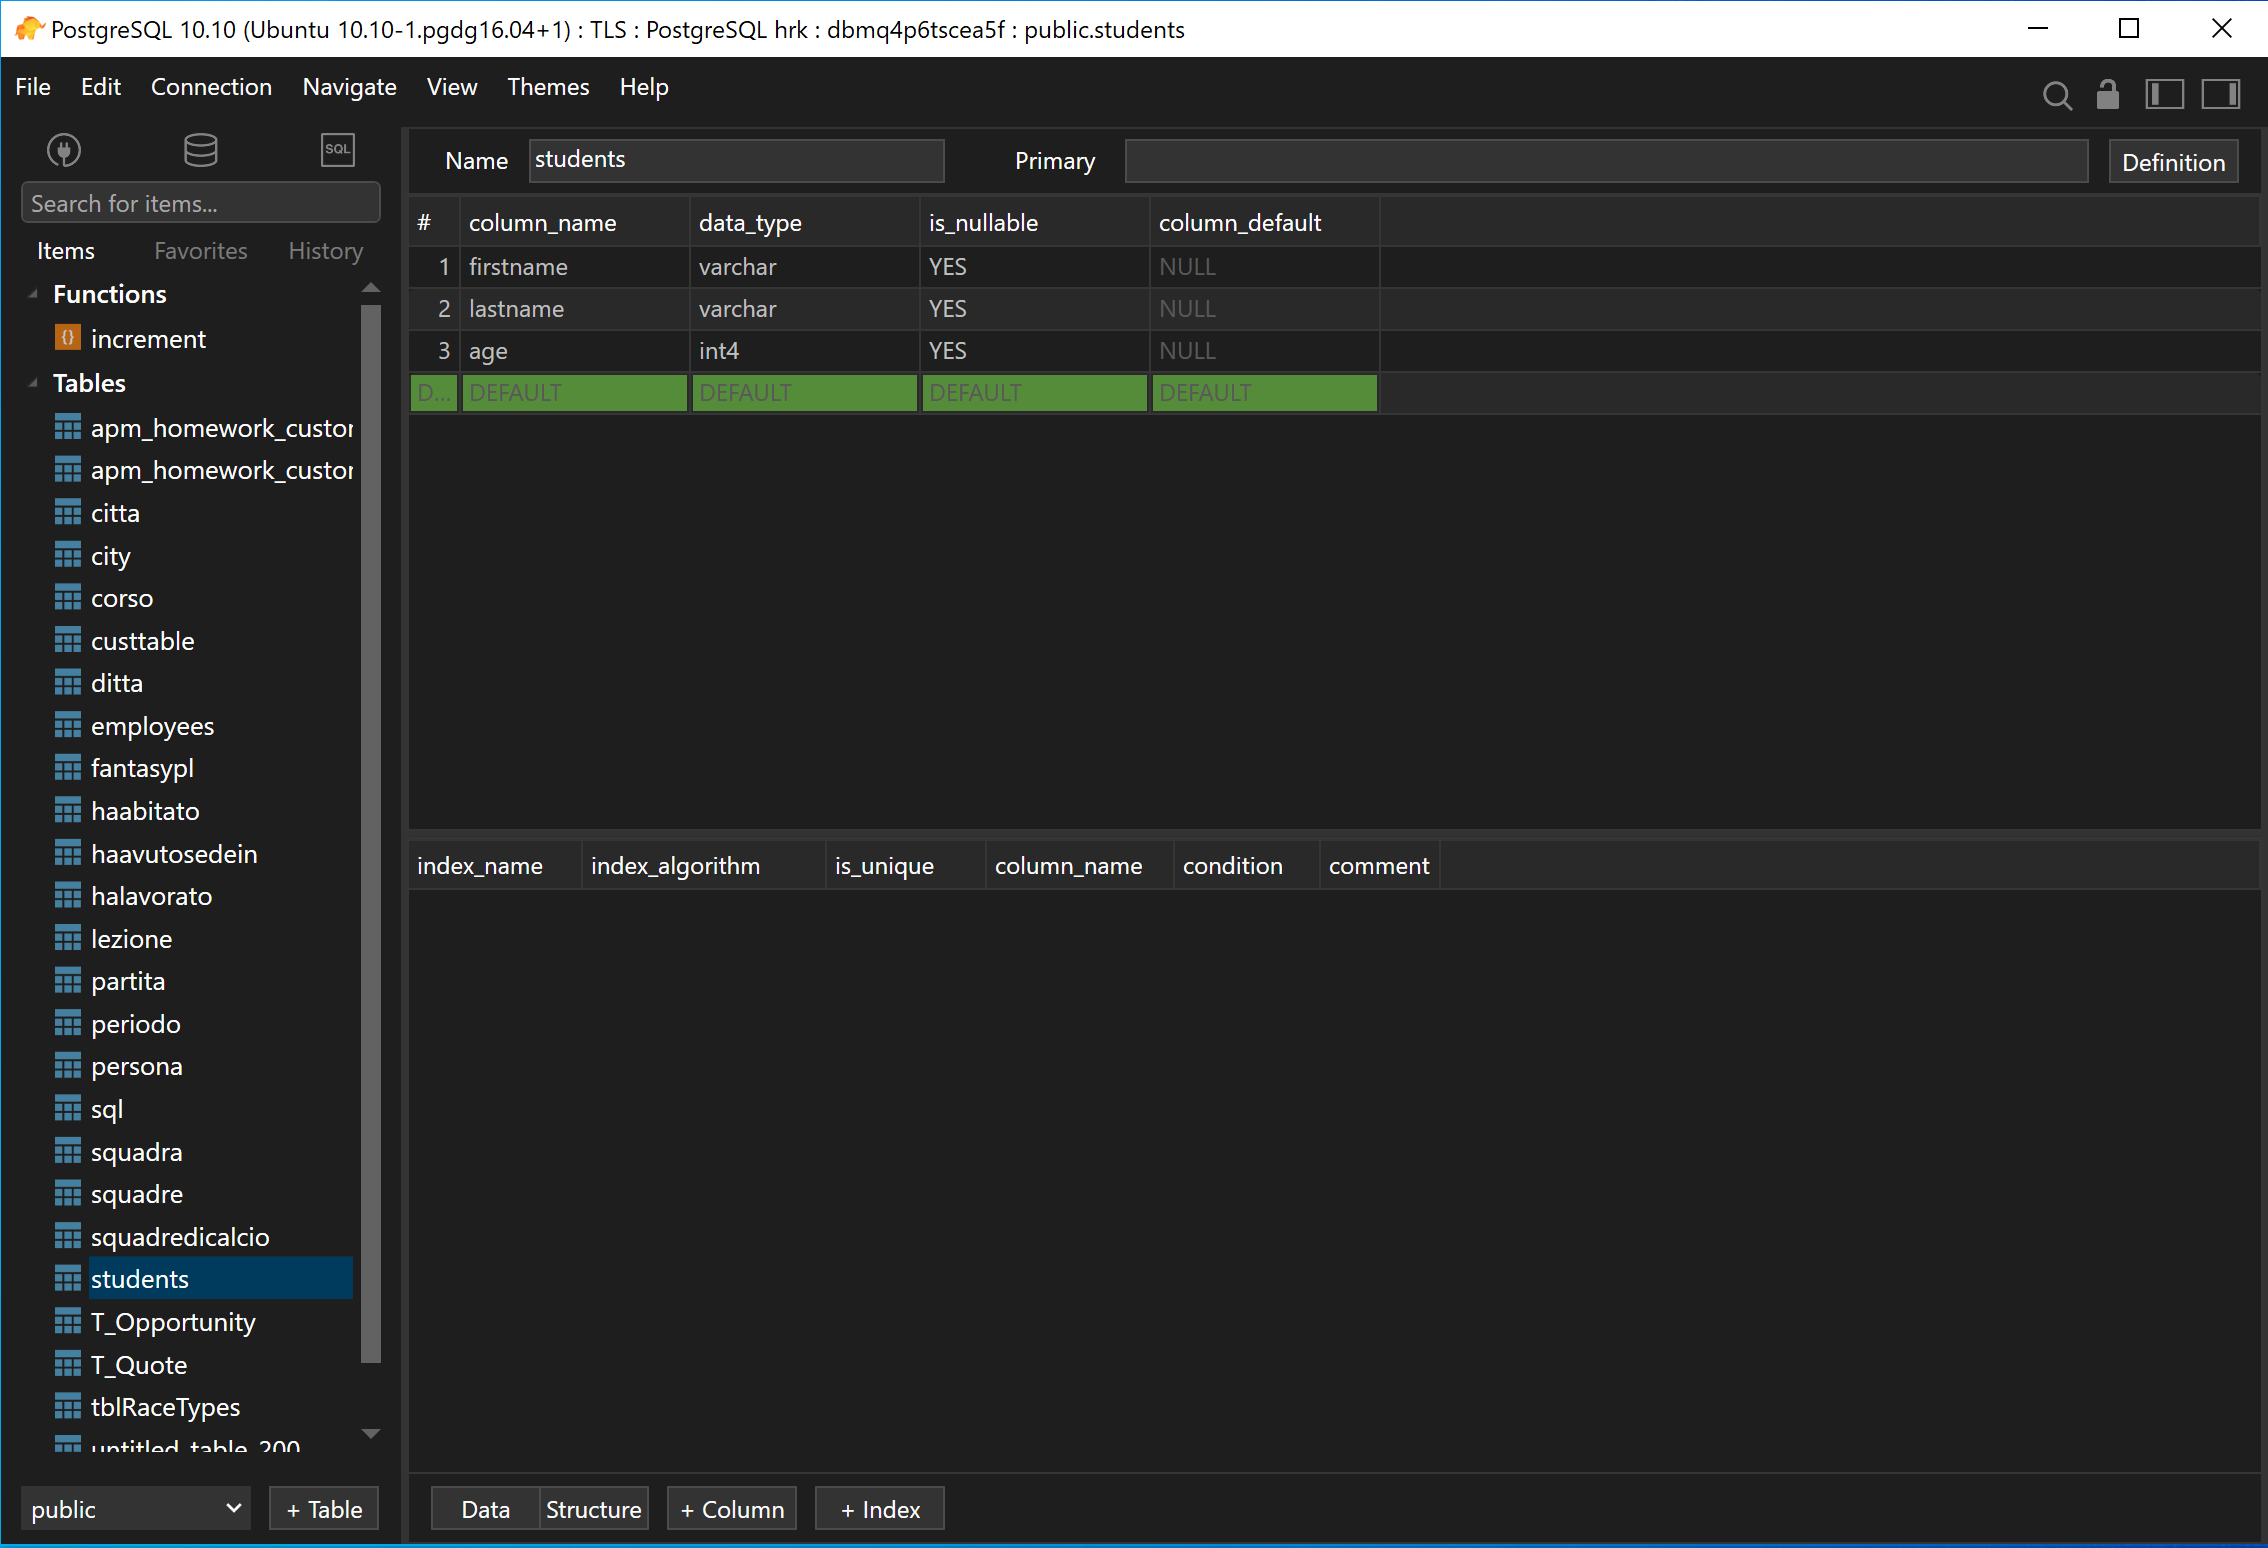
After creating table, remember to commit the changes to the database.
6. Save Changes to the Database
TablePlus does not send the queries that modify the database automatically to the server unless you confirm the changes. Therefore, after querying and editing your data from the app, you’ll need to commit the change to the database. That’s when your database actually gets modified. There are two ways to commit the changes:
- Go to Menu Edit > Commit
- Press Ctrl + S
To preview the changes you’ve made:
- Go to Menu Edit > Preview…
- Press Ctrl + Shift + P
To discard all the changes:
- Go to Menu Edit > Discard
- Press Ctrl + Shift + Delete
7. Open SQL Query Editor
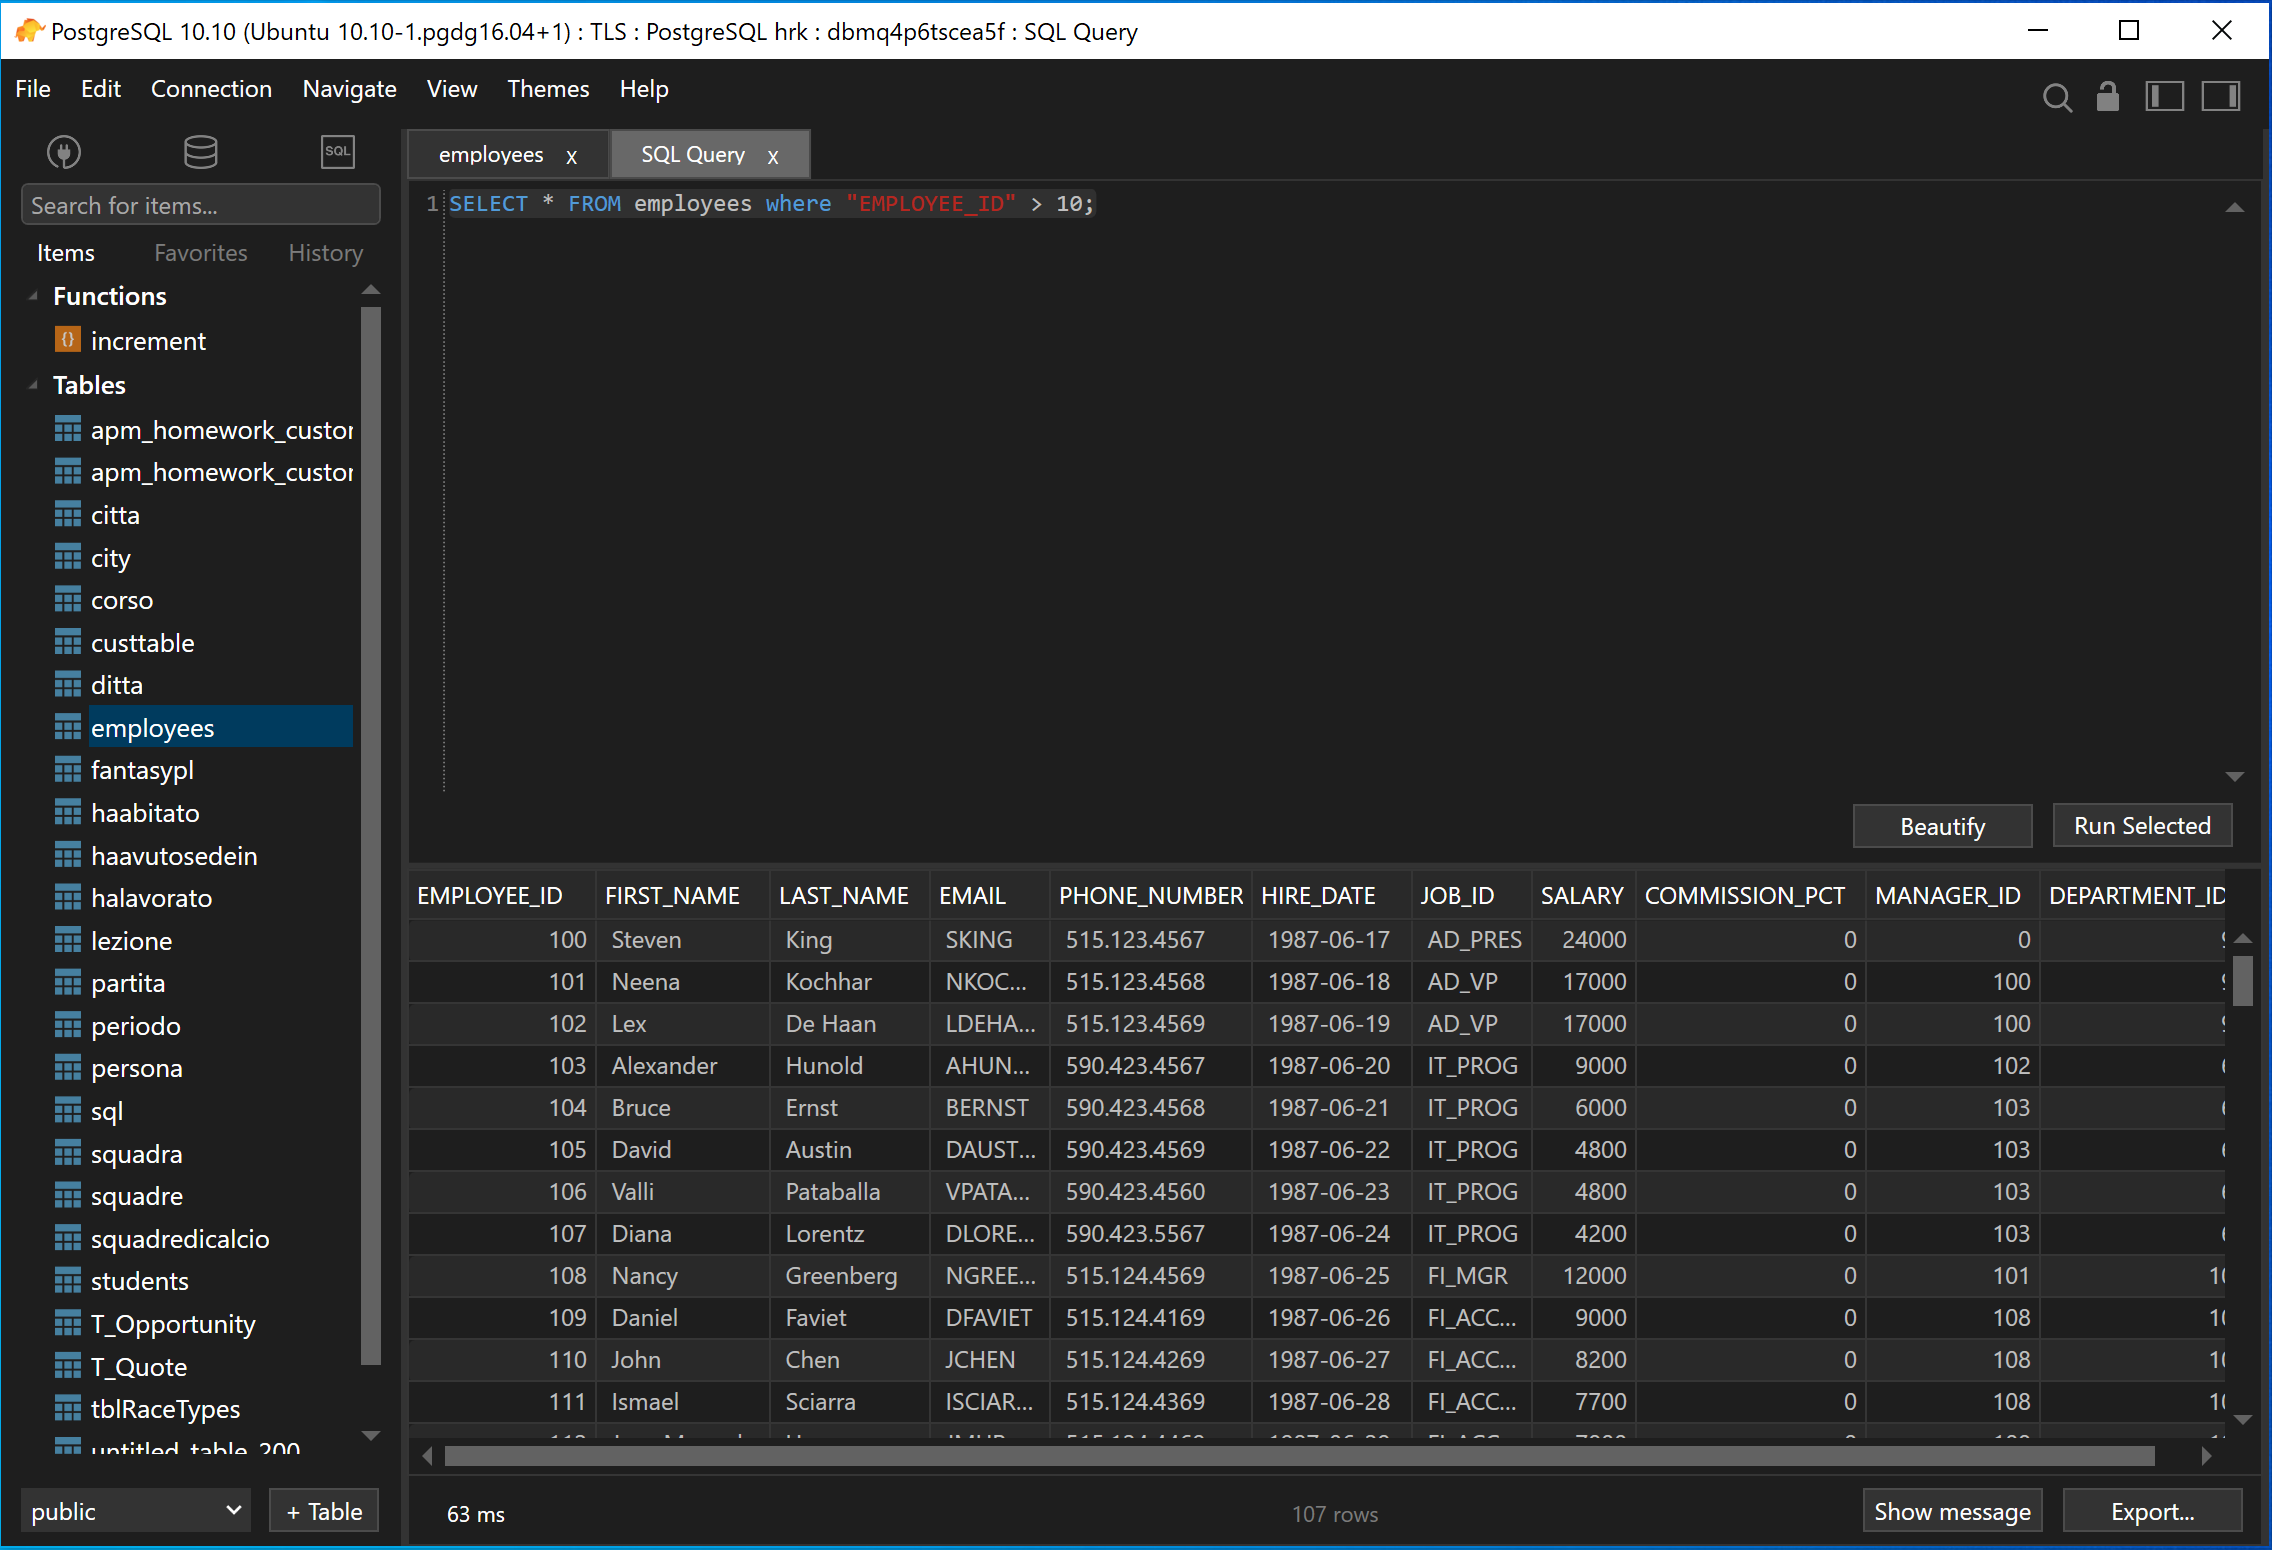
You can click on the SQL Query Editor icon on the top of the left panel to open query editor. TablePlus will open the editor with the most recent script.
8. Execute Queries
After writing your queries, press Run All button, or use Ctrl + E, and TablePlus will execute the currently selected SQL code in the editor.
9. Import & Export Data
To import data, navigate to Menu File > Import. You can import data from either a CSV file or a SQL Dump file.
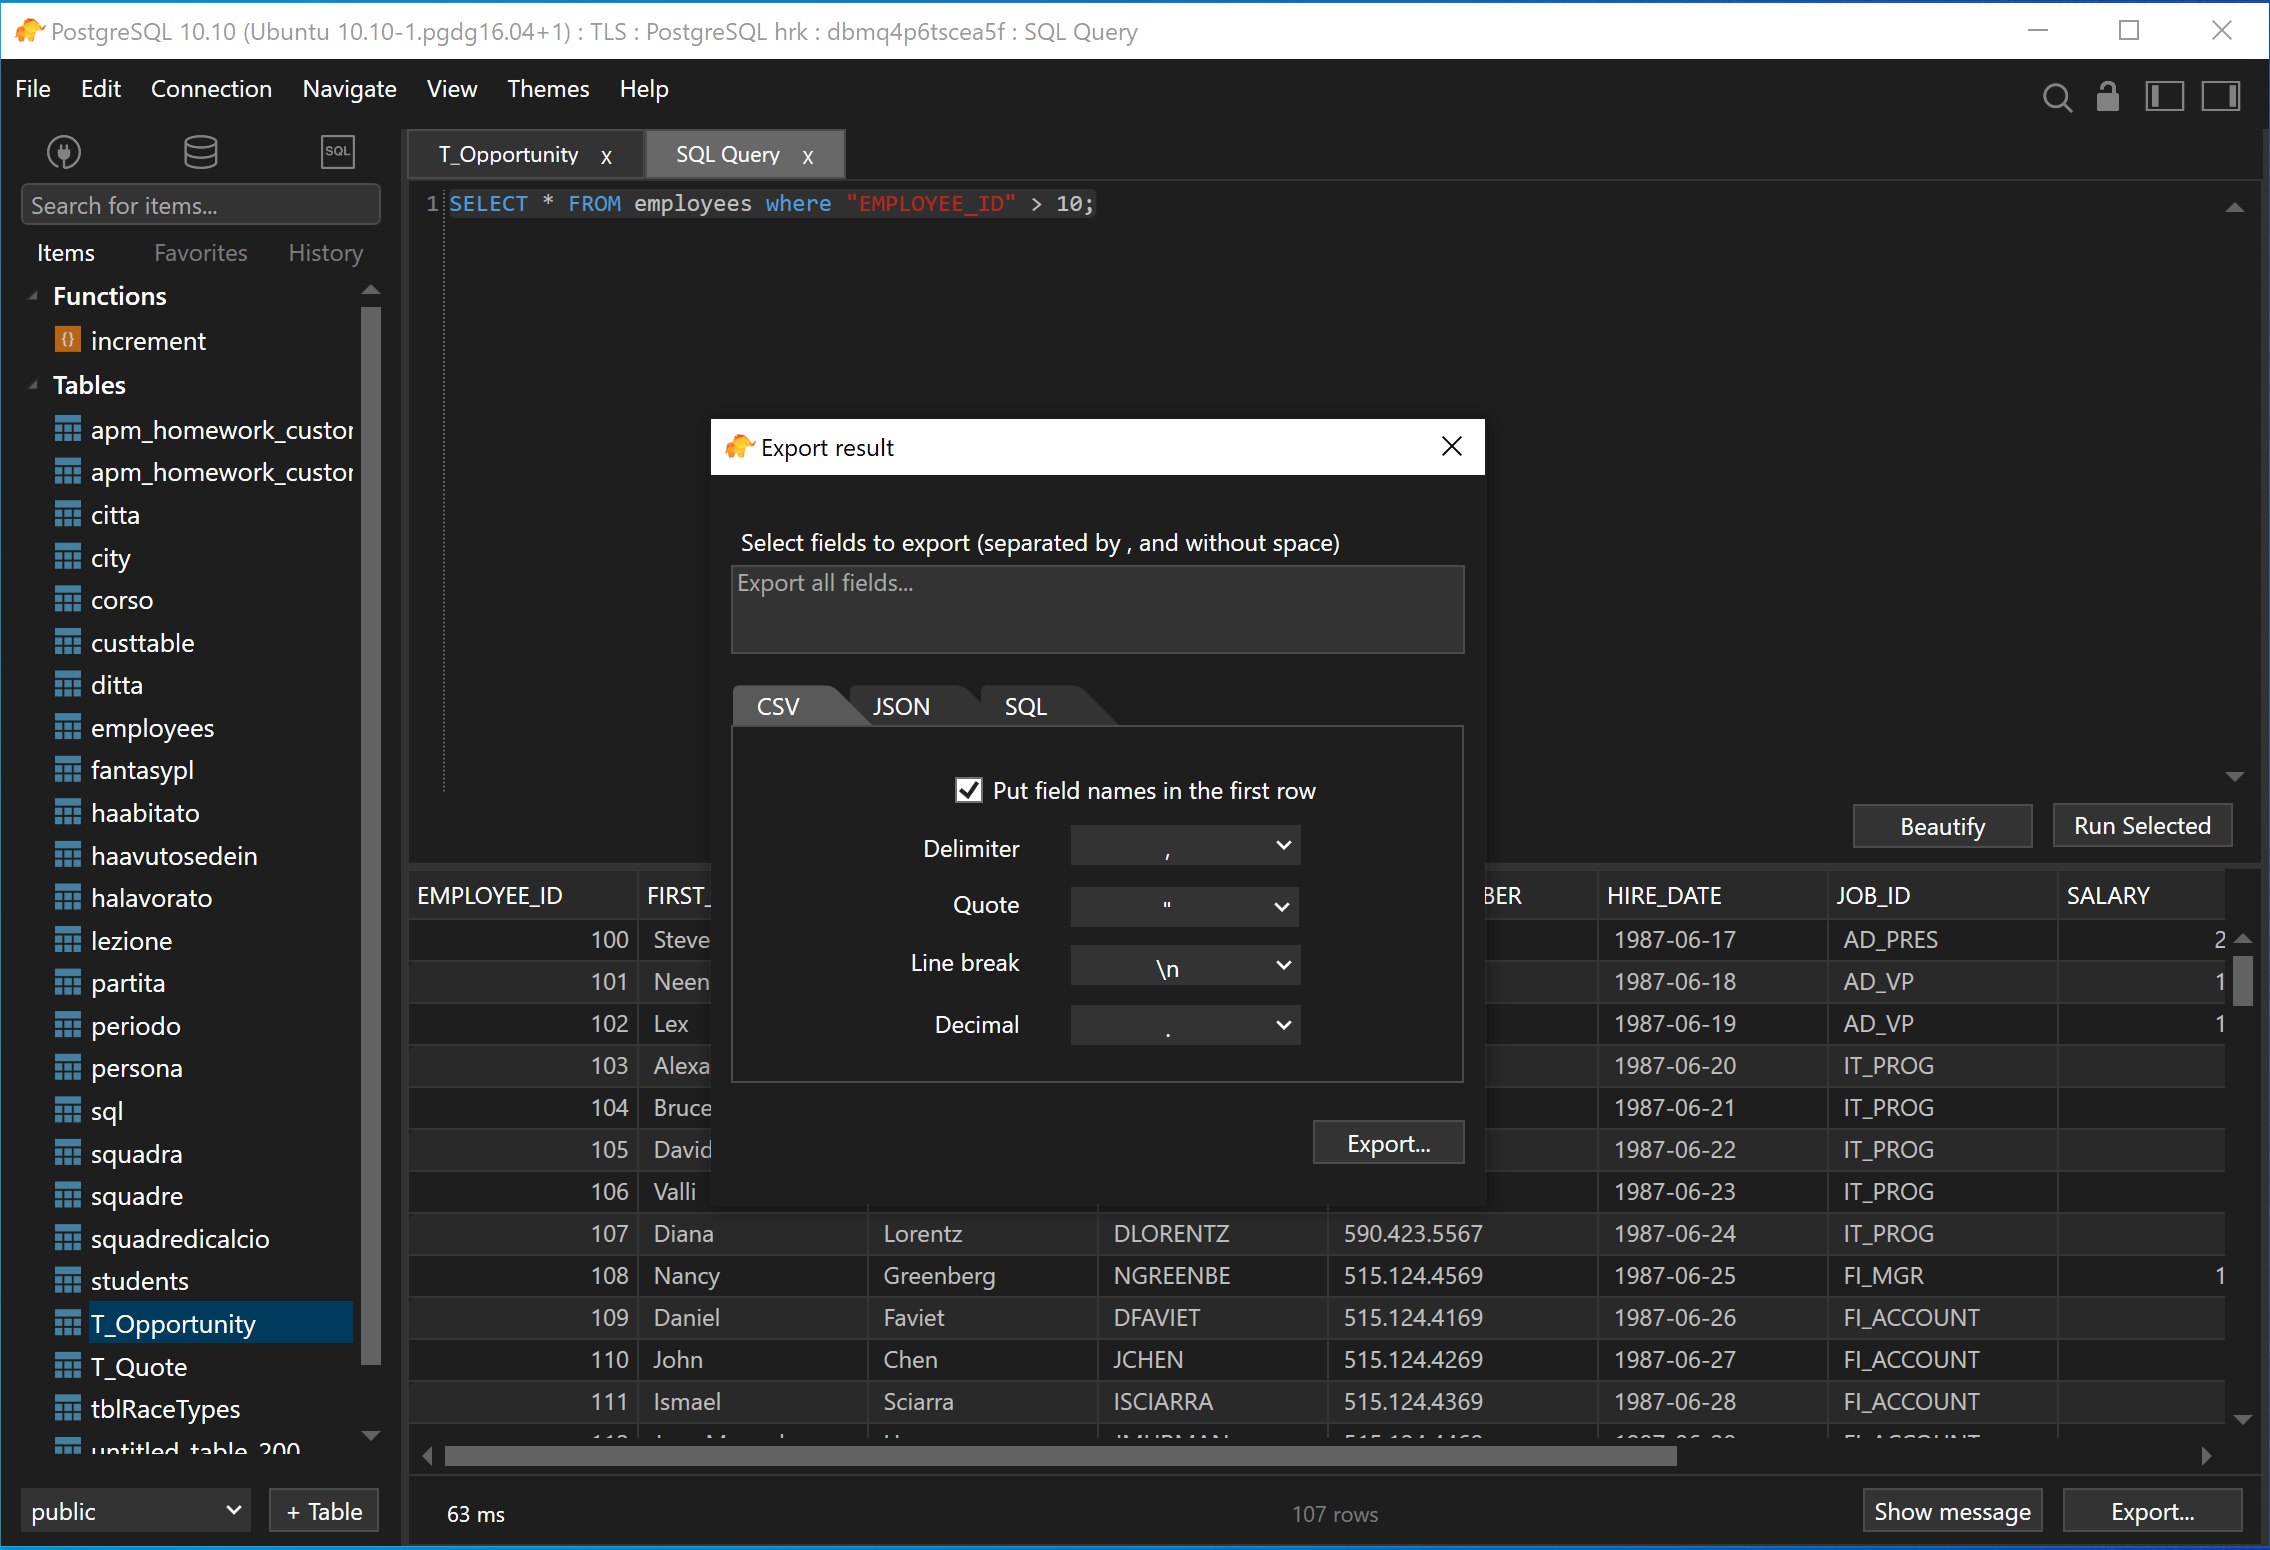
To export data from query results, after you run the query, click on the Export button at the bottom right. The output file format can be in .sql, .csv, or JSON.
