The easiest way to install MySQL Server on Mac
If you are someone like us, who:
- Don’t feel like installing and configuring on the command line.
- Love making things simple and easy.
- Think Docker is too overkill.
Or you are totally new to MySQL and not sure where to start with. Then this tutorial is for you.
What you need:
- DBngin - an all-in-one app for database version management on Mac.
- TablePlus - A native GUI client that helps you manage MySQL on Mac.
Here is the step by step guide to install MySQL Server on Mac:
1. Download and install DBngin
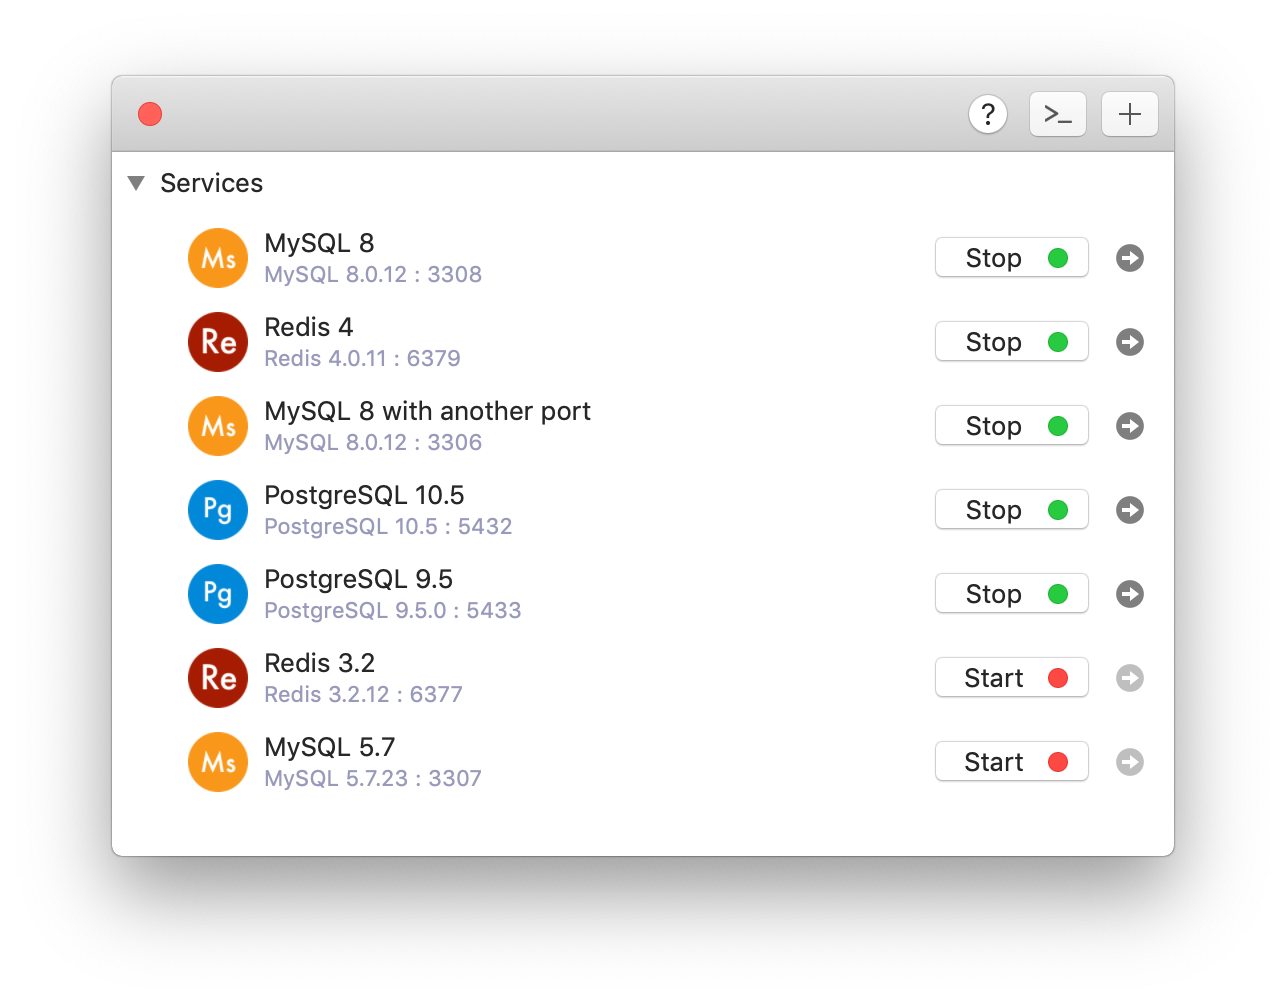
DBngin is a handy app for setting up and managing local database server on Mac:
- It’s lightweight. Hundreds of time lighter than Docker.
- It’s very simple. Create, start, and stop servers with some simple clicks.
- It supports multiple drivers, including MySQL, PostgreSQL, Redis, and more to come.
- You can create and manage multiple servers with various versions and ports.
- It’s free.

You can download DBngin from its download page. Then install it on your Mac.
2. Create a new MySQL Server
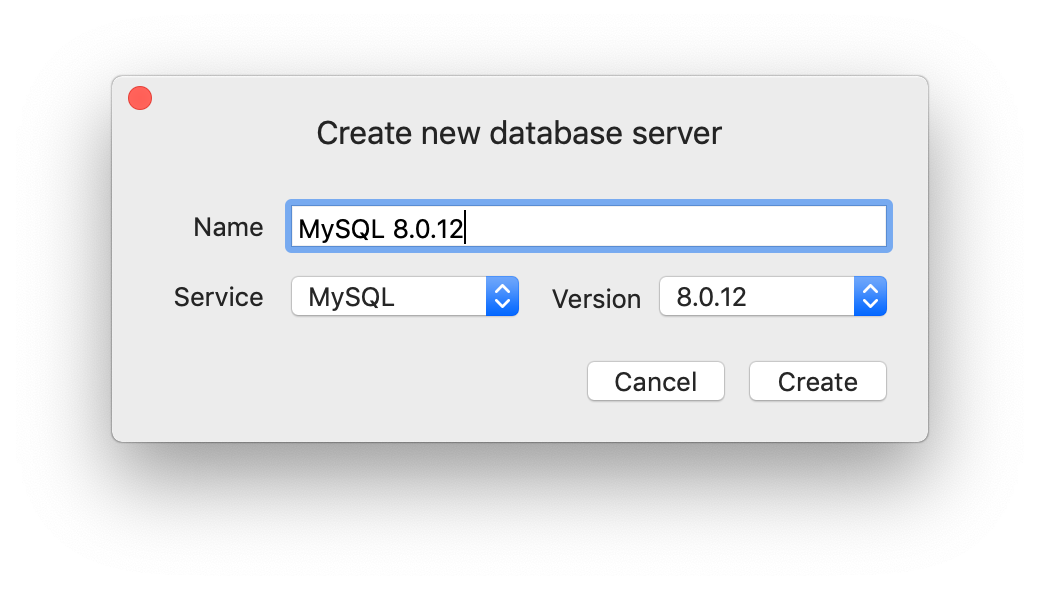
- Open DBngin and click on + new server button at the top right.
- Choose MySQL from driver list, choose MySQL version, and name your server.
- Hit Create and start your server

Now you have a local MySQL database running on your Mac, ready for developing and testing.
3. Use TablePlus GUI to open the DB
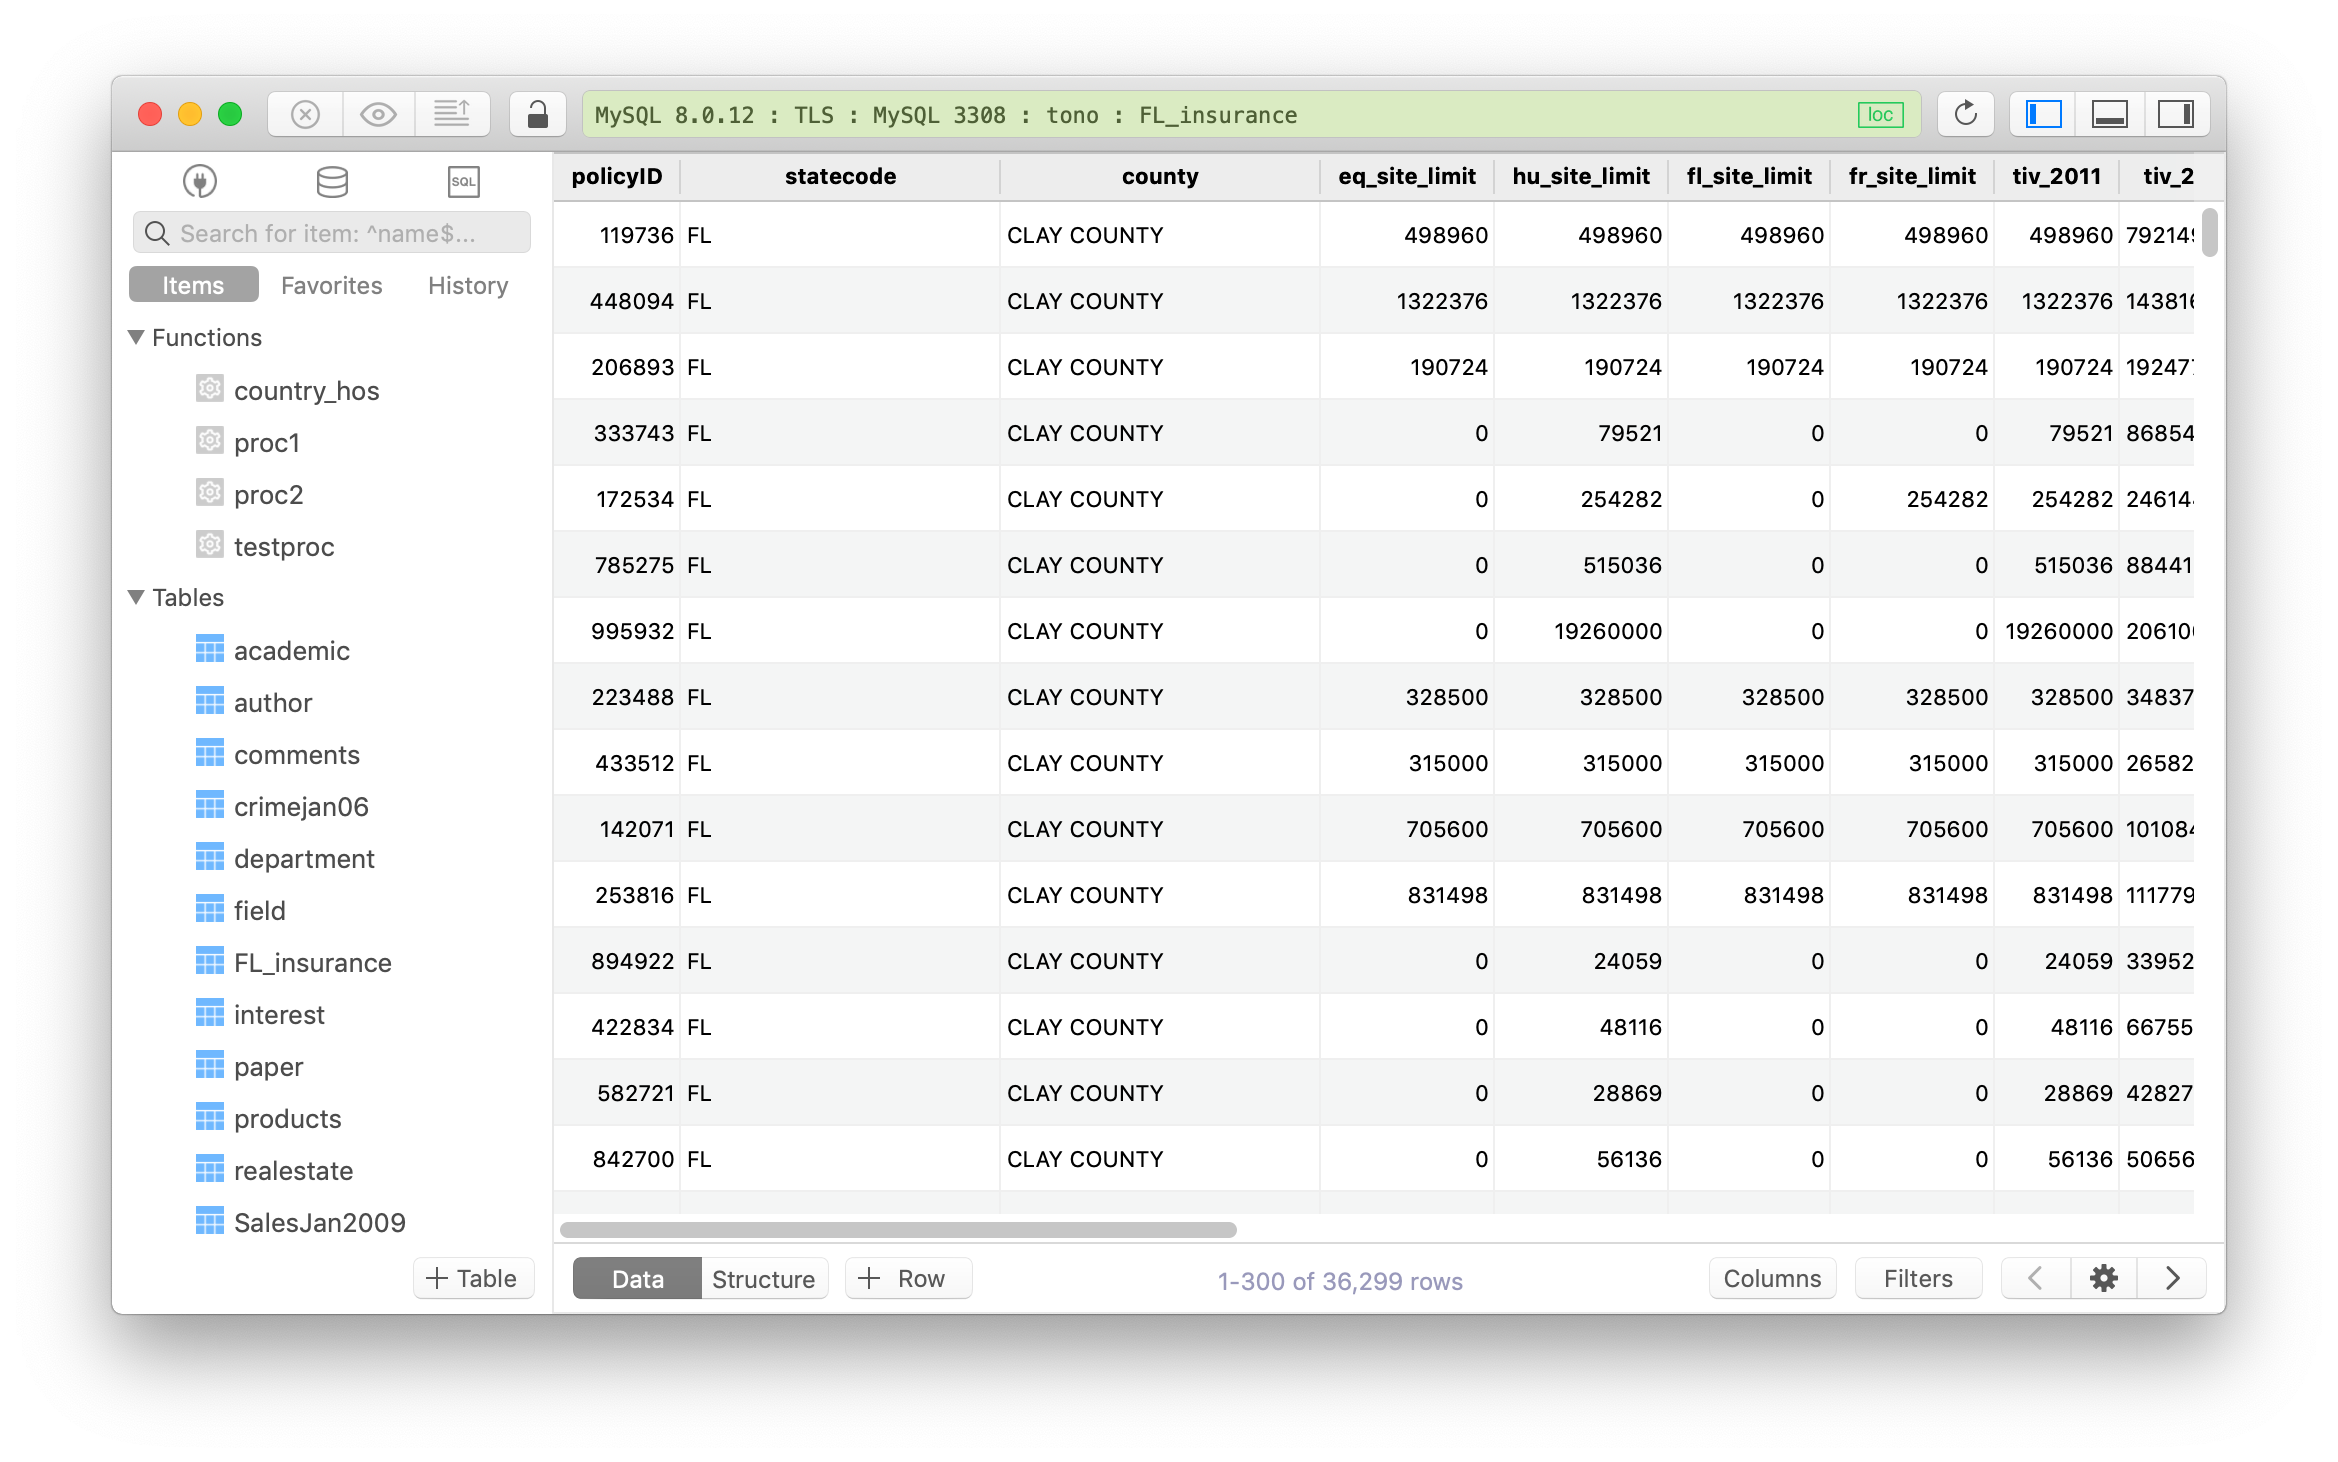
TablePlus is a modern, native GUI client that allows you to simultaneously manage multiple databases: PostgreSQL, MySQL, MS SQL Server, SQLite, Redis, Oracle, and more.
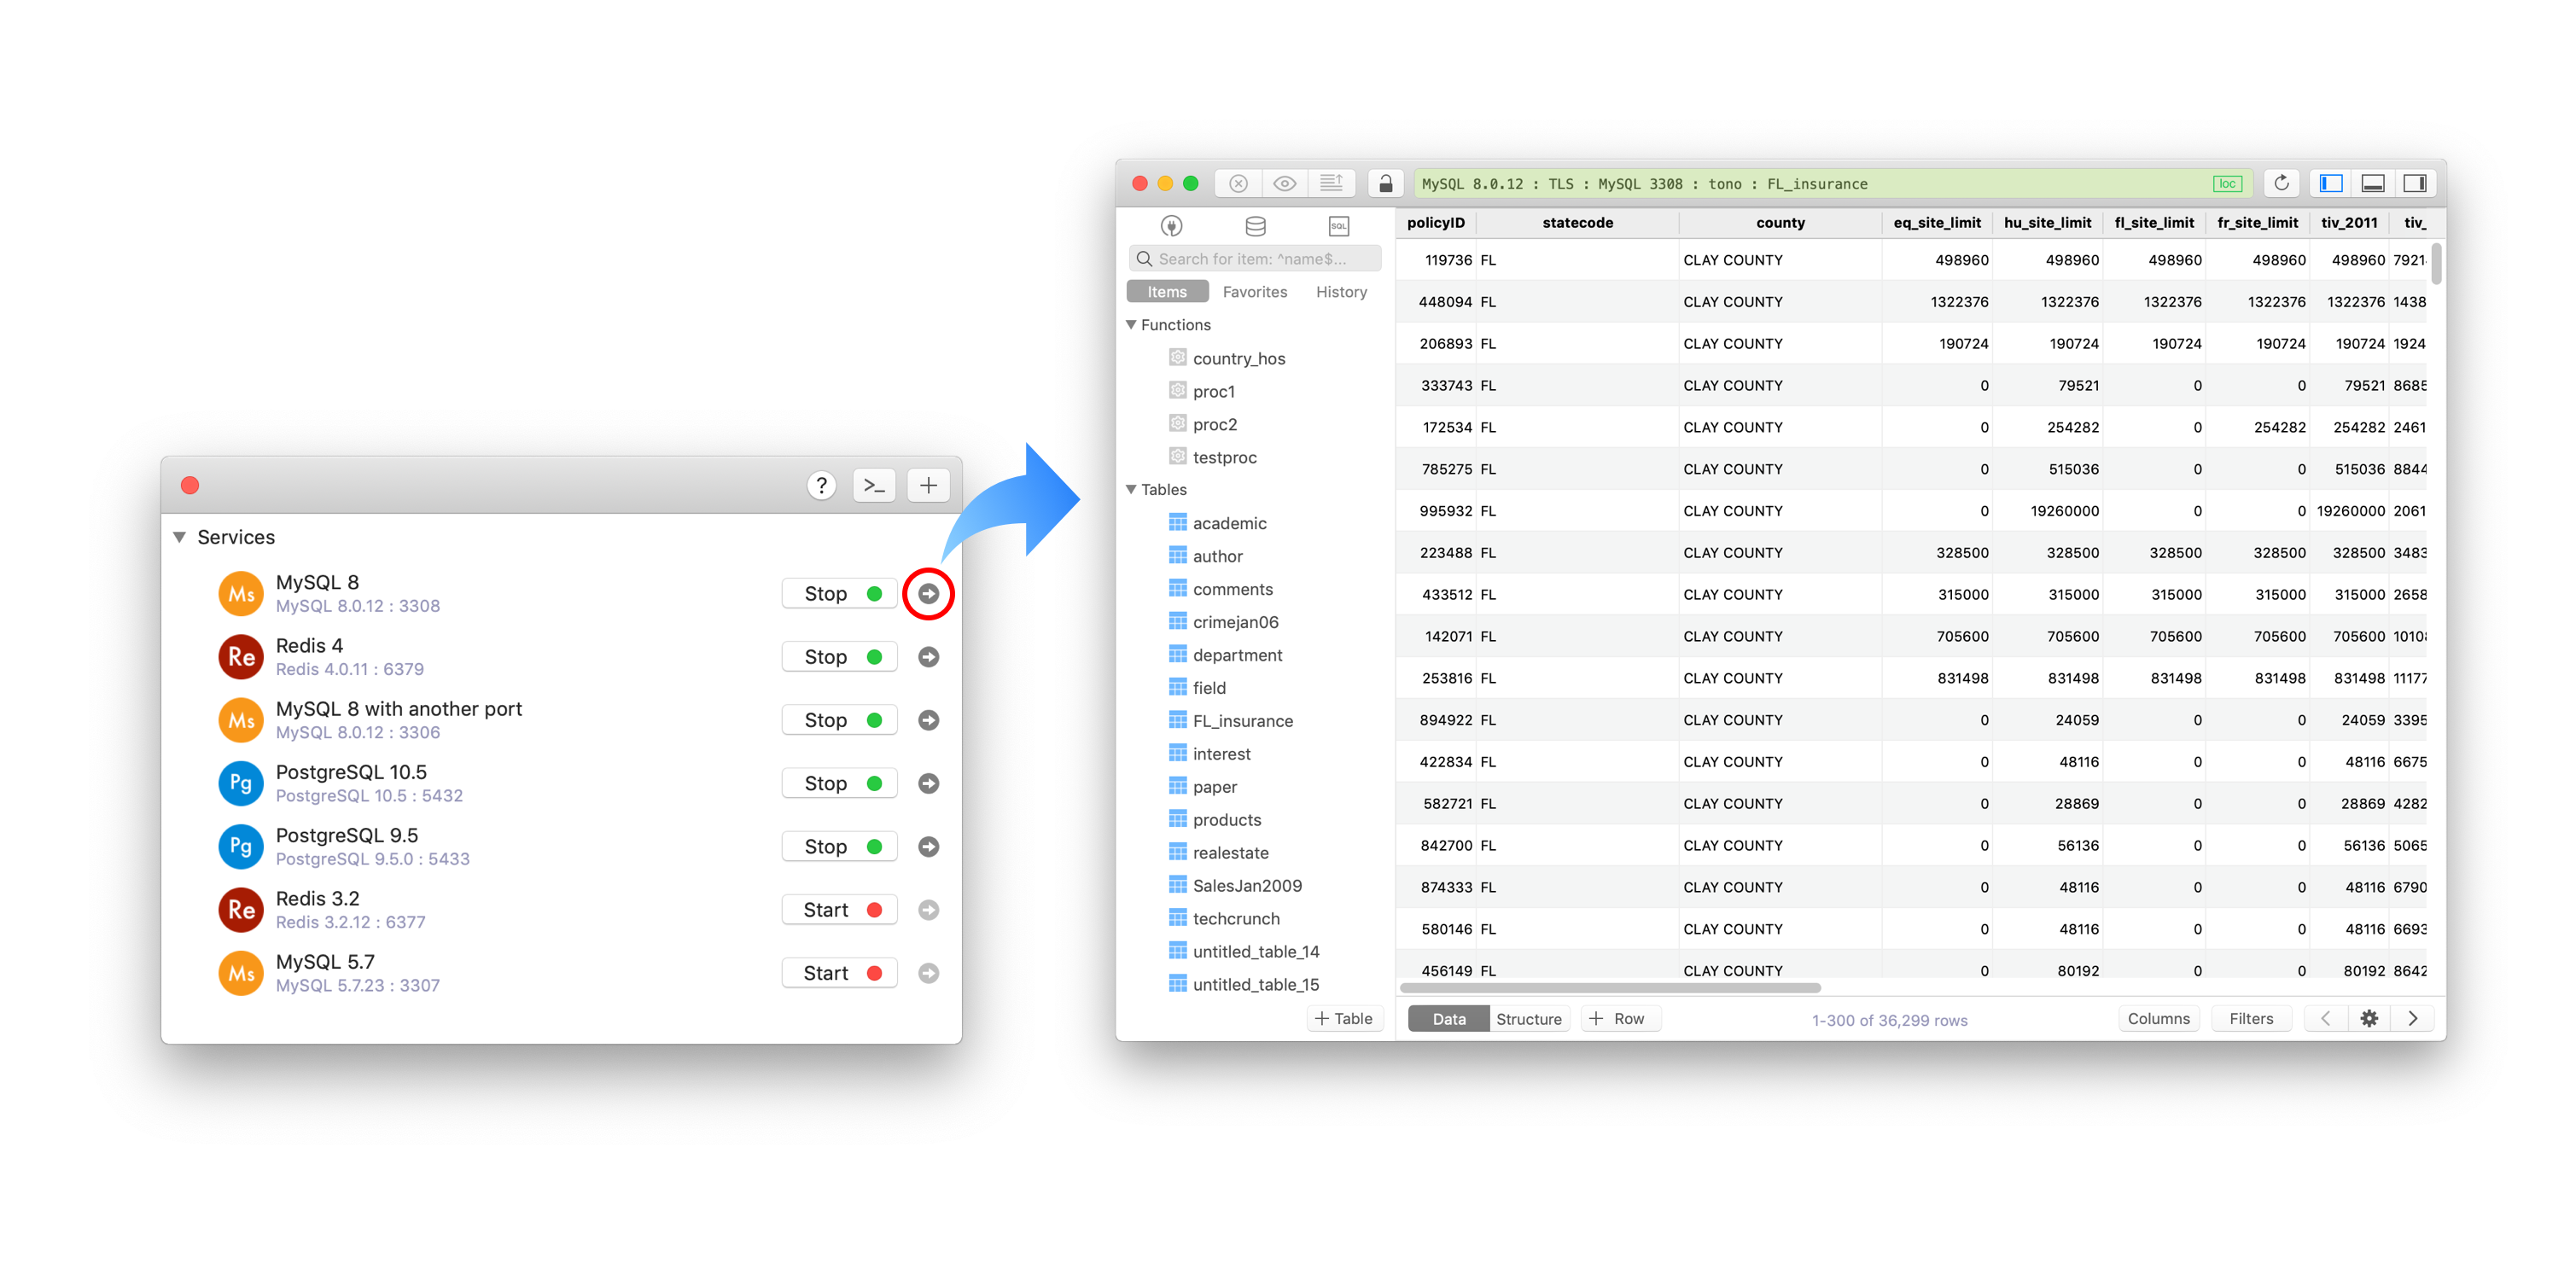
If you already have TablePlus installed on your Mac, it takes only one click to open the MySQL database. From the DBngin server control, after you turn on the local MySQL server, click on the arrow button next to the on/off button, TablePlus will be launched automatically with your MySQL database ready.

If you haven’t installed TablePlus, download TablePlus directly from here. It’s free anyway.
That’s all done. Now you can start creating tables, inserting data, querying, editing… within TablePlus
