The simplest way to install Redis on Mac, no command required
When it comes to installing a Redis server on Mac, if you don’t have Homebrew, you also don’t want to deal with command line configuration which is sometime complicated, Docker might offer an easier solution.
But then you might see Docker is way too big for just a Redis server.
So this tutorial is what you need.
1. Download and install DBngin
Let’s try BDngin instead. It’s the easiest way to setup a local Redis server on Mac. It allows you to create a local Redis server with just some clicks.
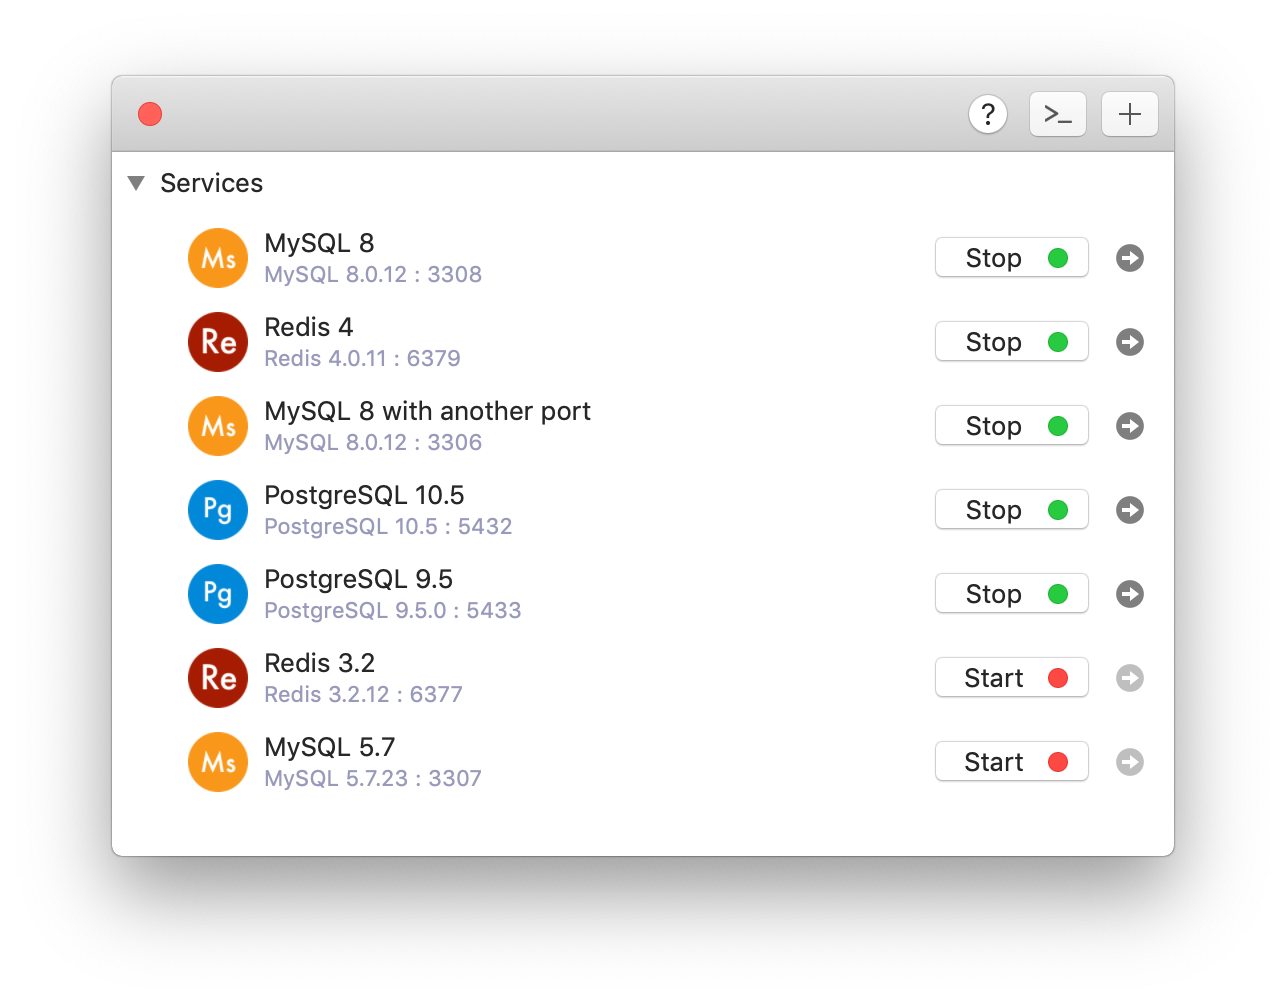
- DBngin is very simple. focusing on installing and managing local database server.
- You can create and manage multiple database servers simultaneously.
- Support multiple drivers (MySQL, PostgreSQL, Redis & more) with multiple versions & ports.
- DBngin is free.
You can download DBngin from its homepage or directly from here.
2. Create a local Redis Server using DBngin
- Open DBngin on Mac
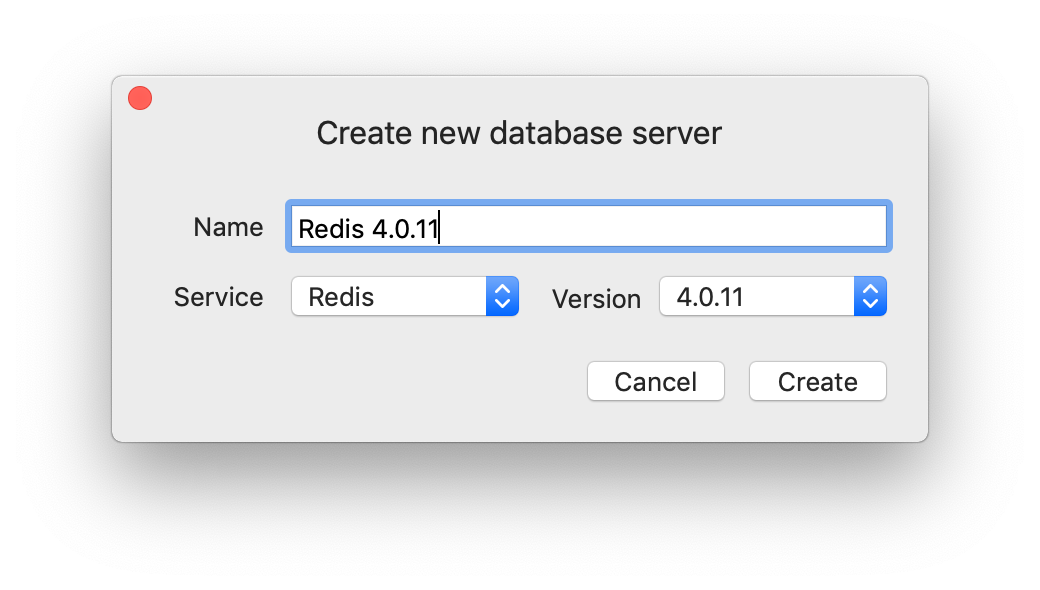
- Choose to create a new server by clicking on the + new server button
- Choose Redis from the driver list, choose version, and name your Redis server.
- Hit Create and start the server.
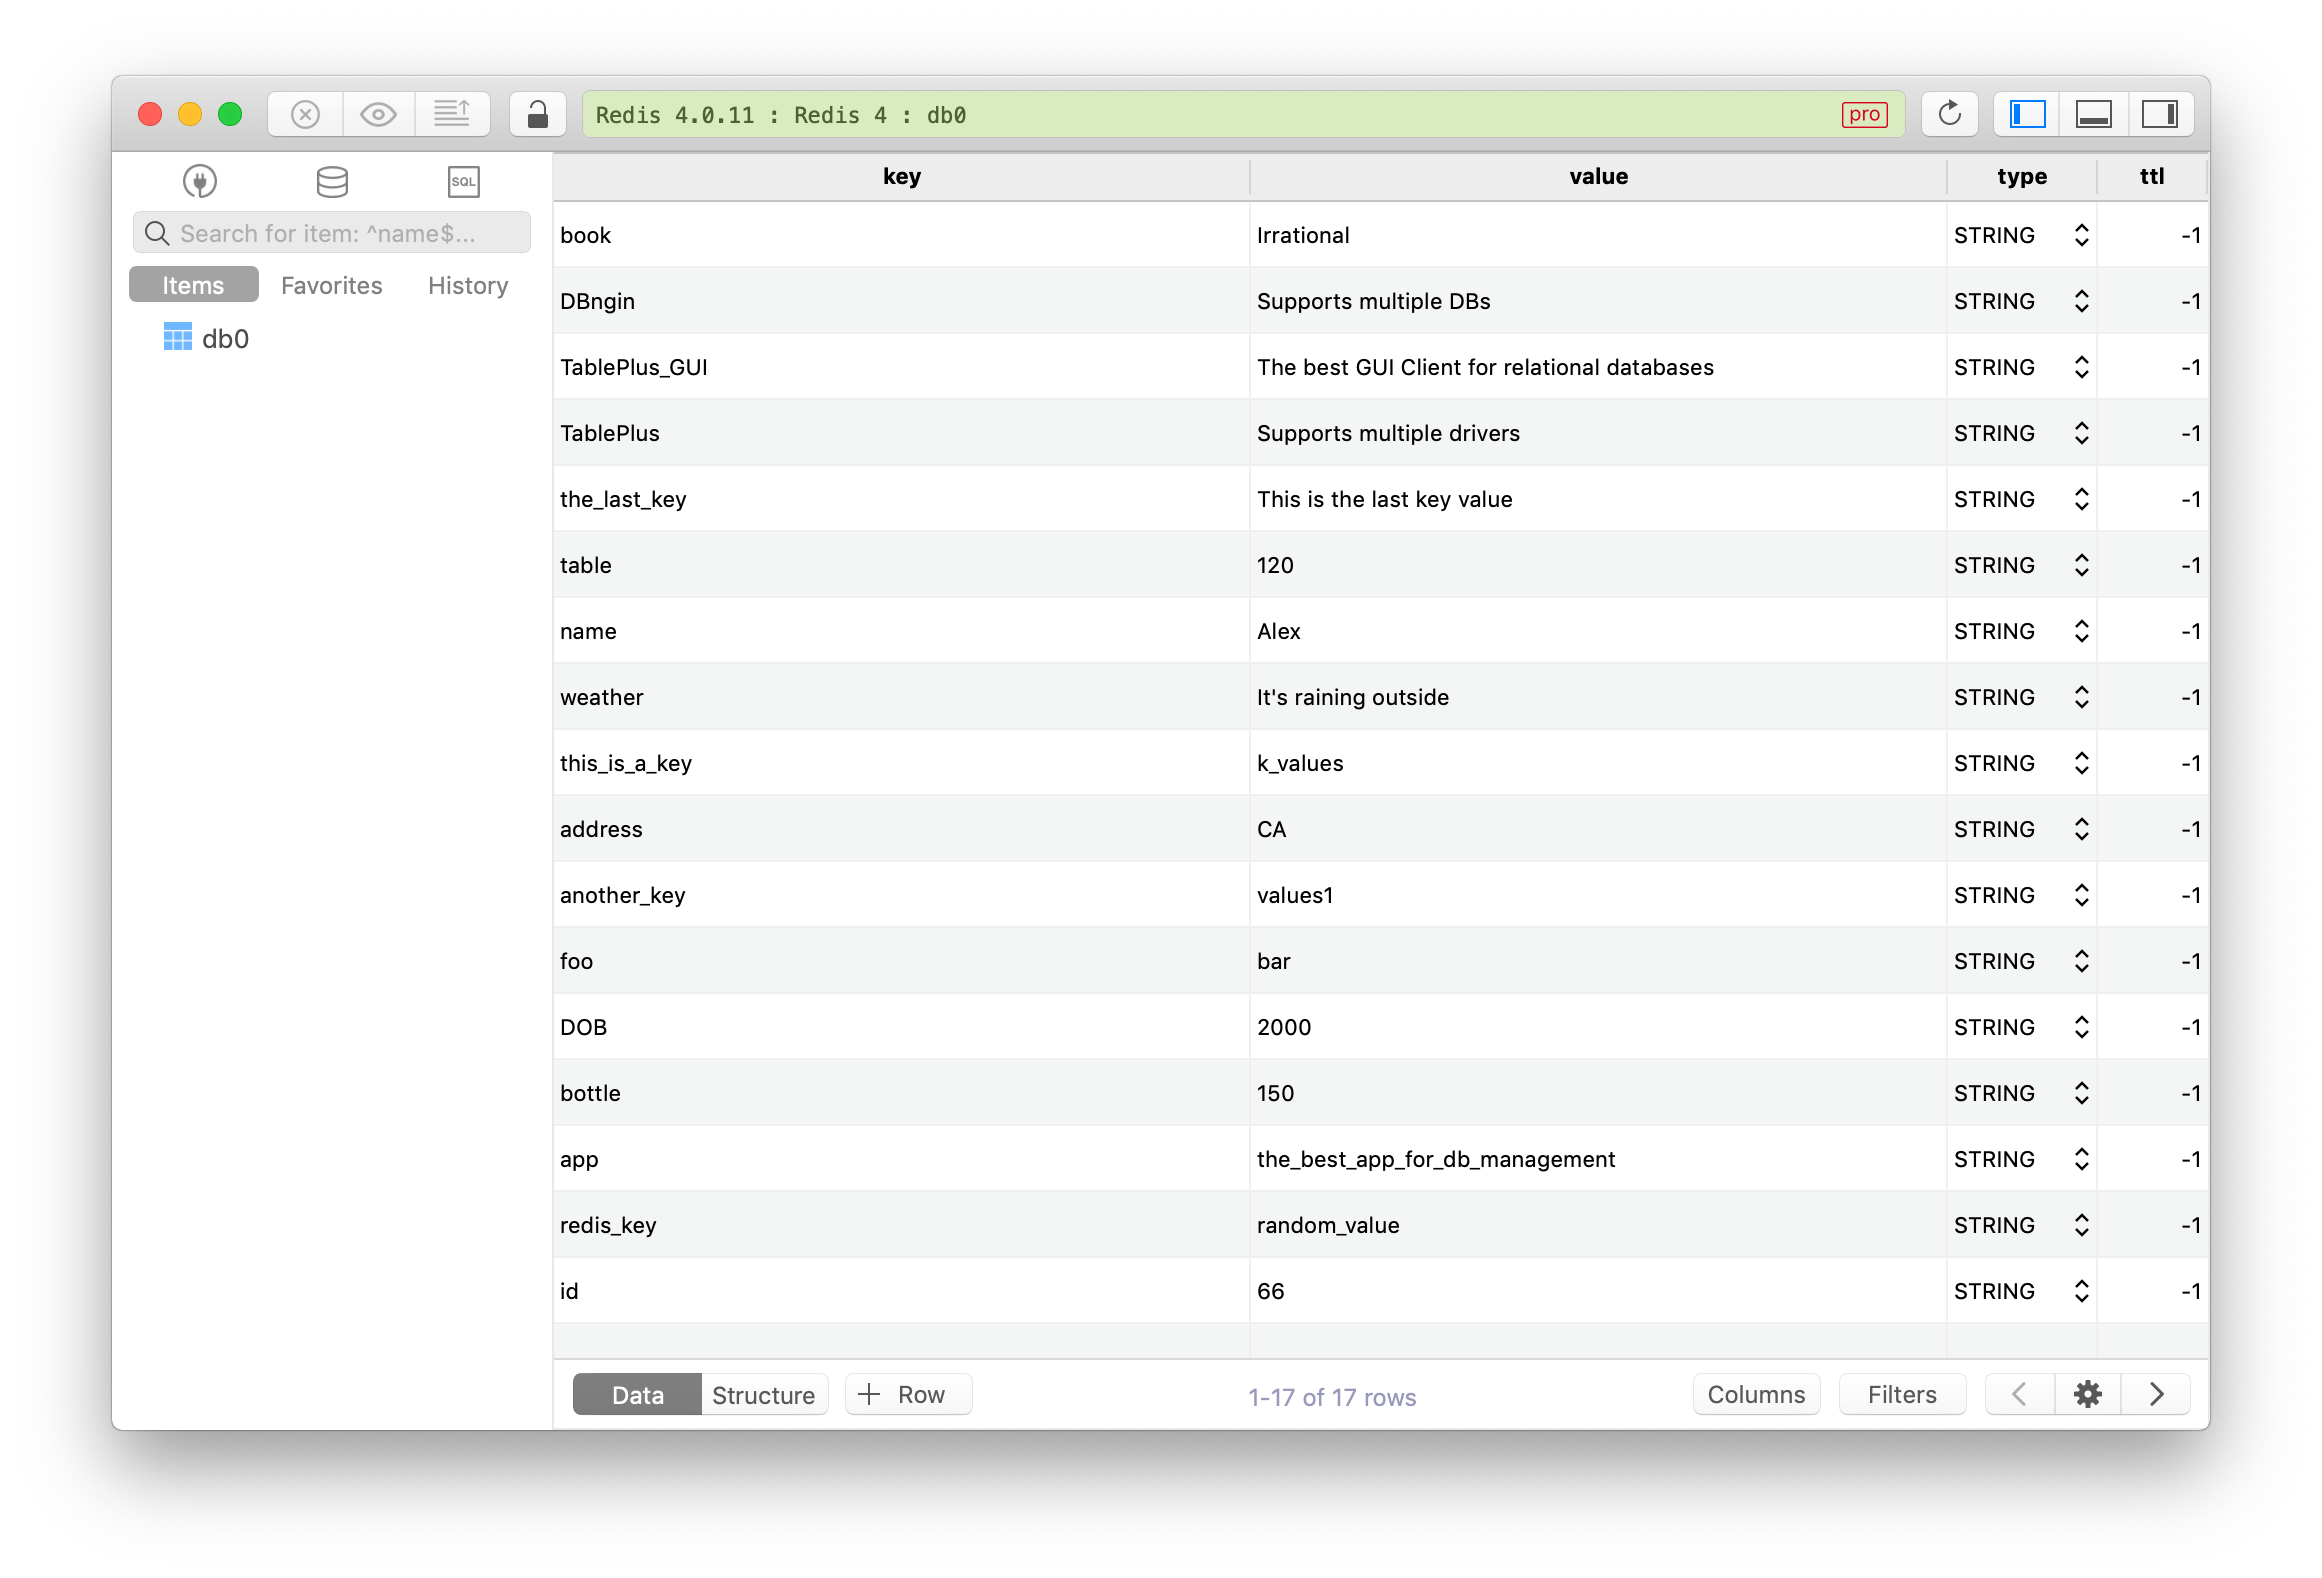
That’s all. Now you have a Redis server running locally on your Mac.
3. Managing Redis database with a Redis GUI
TablePlus is a modern, native GUI client that allows you to simultaneously manage multiple databases: PostgreSQL, MySQL, MS SQL Server, SQLite, Redis, Oracle, and more.
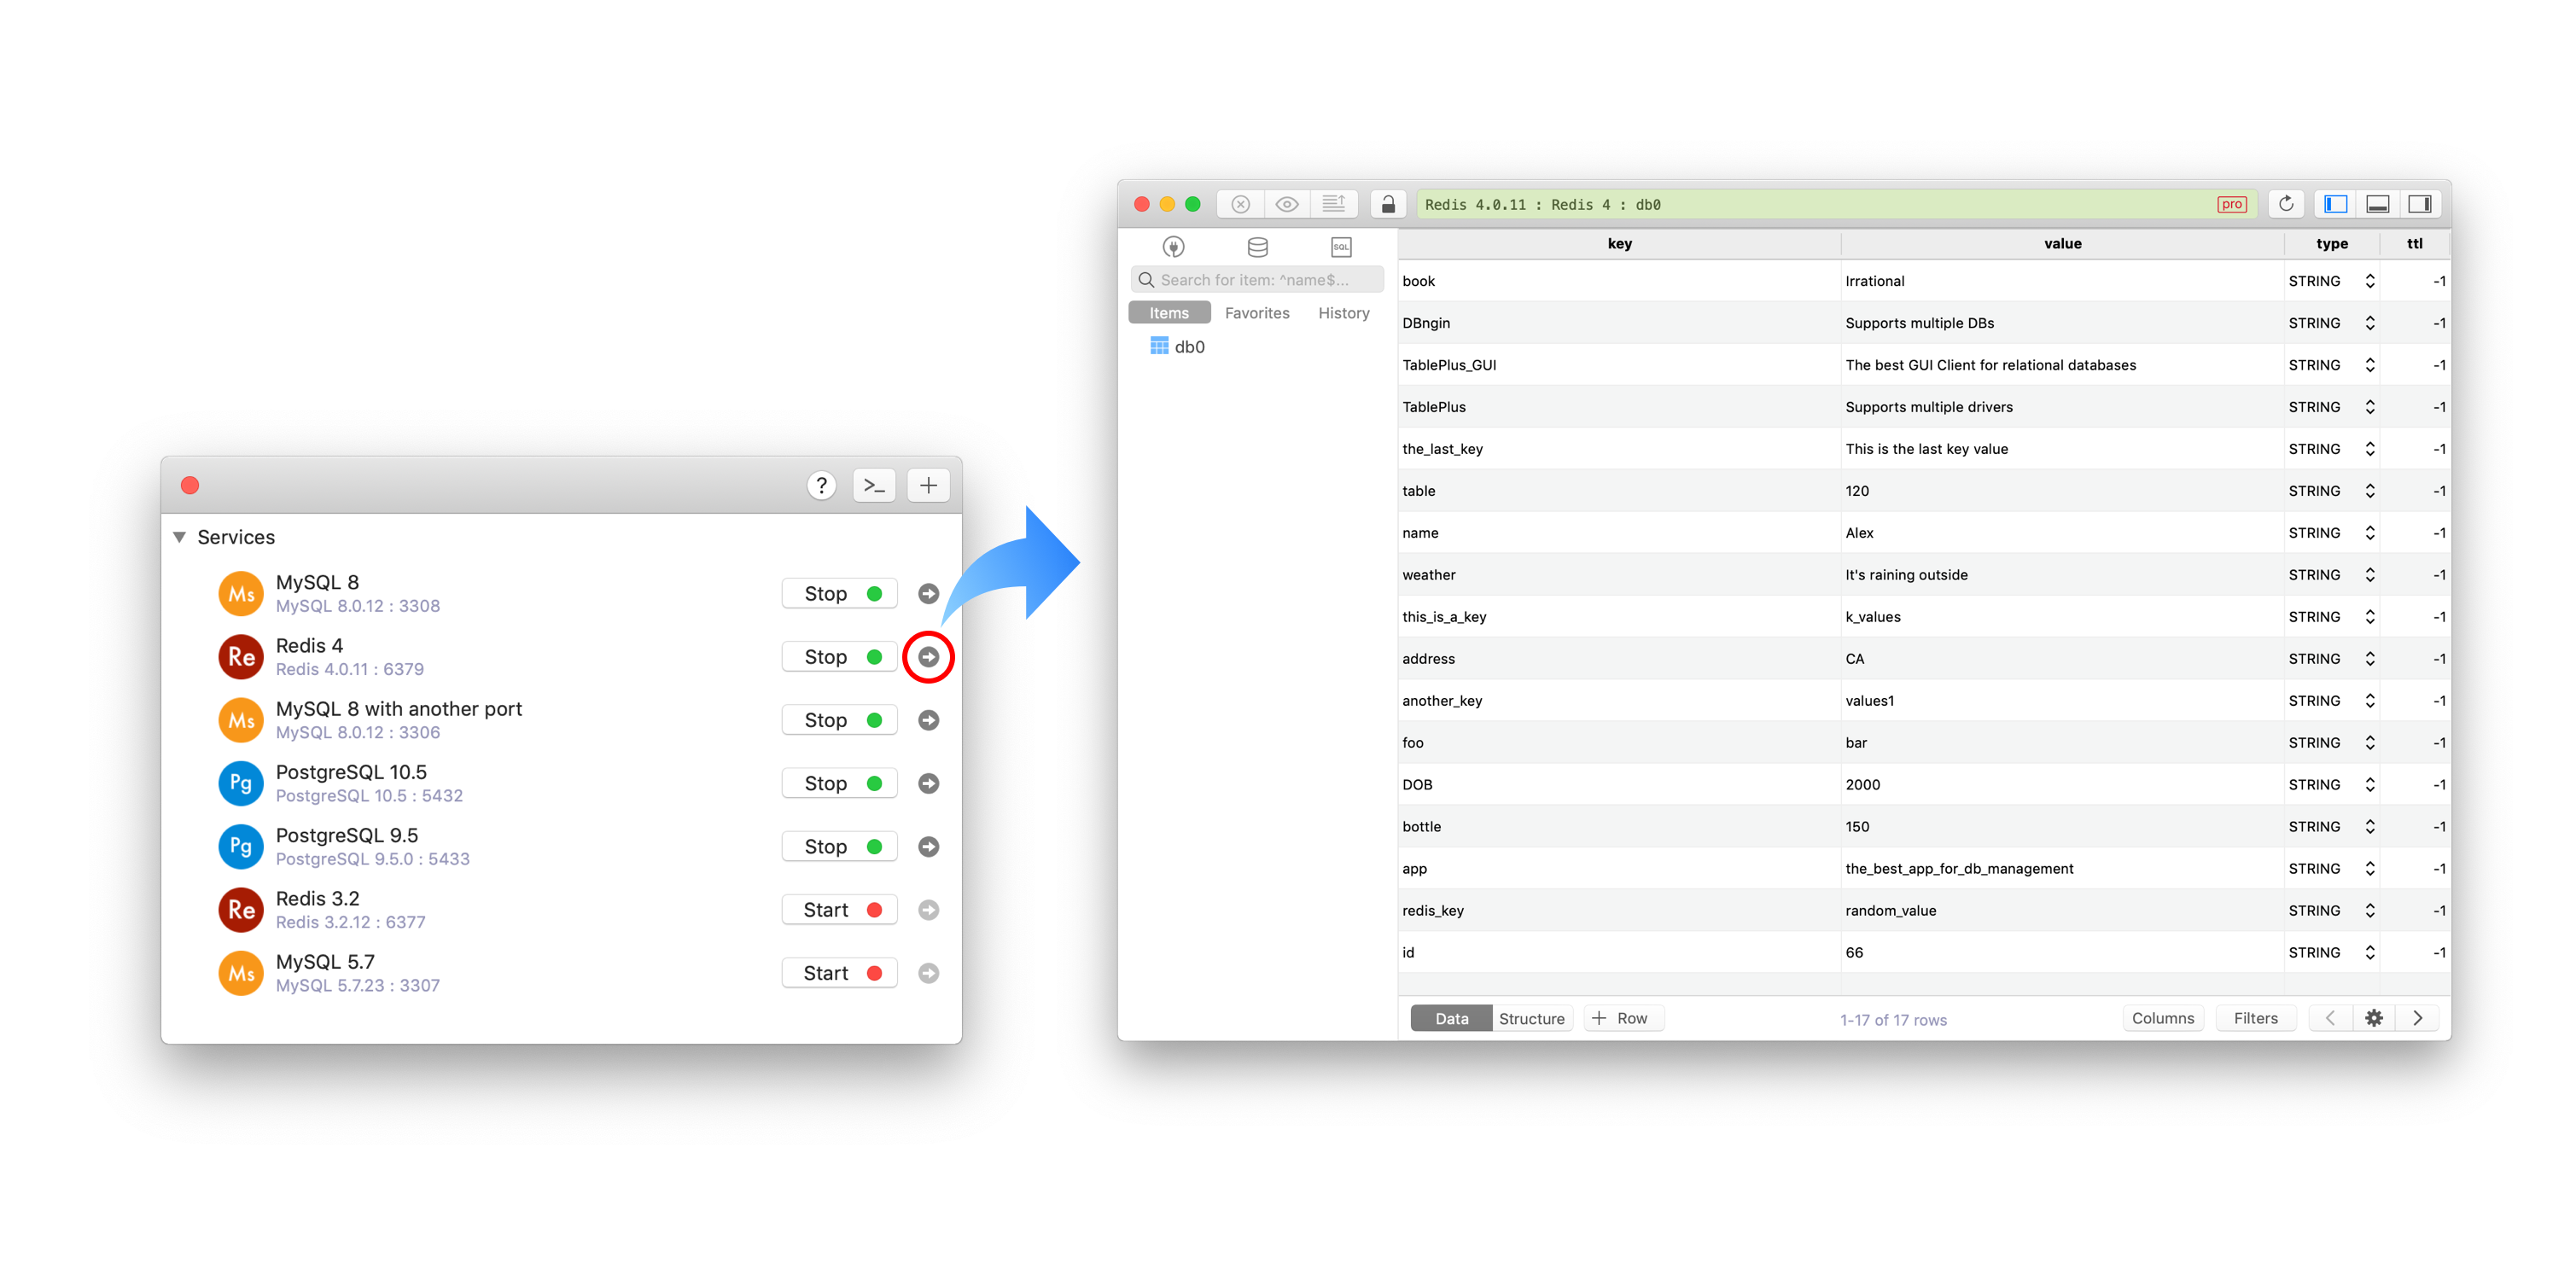
If you already installed TablePlus on your mac, click on the arrow button from the server control of DBngin and it will open TablePlus automatically with that Redis DB ready.
If you haven’t installed TablePlus, you can go to TablePlus homepage or download it directly from here.
And now your Redis database is ready for use.