Download and install MySQL on Mac for beginners
For those who are totally new to MySQL, it’s a good start to have a local MySQL server setup on your computer to test and learn how it works. In this post, we are going to introduce a couple ways to download MySQL and install it on your Mac.
As MySQL is free and open source, it has a community version of MySQL Server which you can download and use for free. There are several ways to download MySQL on Mac which you can choose from:
1. Download directly from MySQL website
You can download the MySQL Community Server from here. It has many options for the installer file, which includes .dmg, .tar, or .tar.gz. Then you can install it on your Mac just like any other Mac apps.
After installing MySQL using its official installer, you will have a preference panel in the system preferences, in which you can config the local database server, as well as turning on and off.
2. Using DBngin
If you want to:
- Install many local MySQL servers of various versions
- Avoid using the command line
- Avoid complicated configuration
- A simple way to get it up and running, as well as shut it down easily
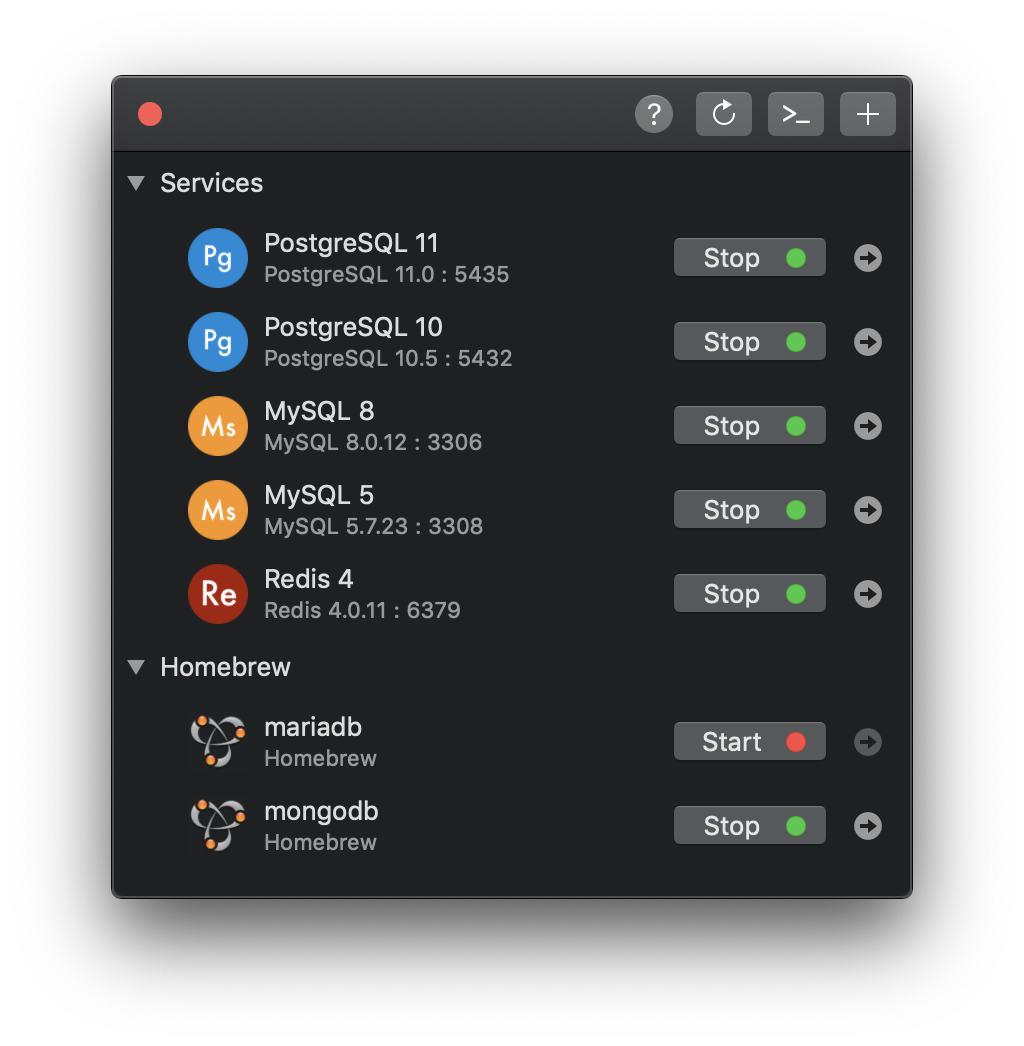
Then use DBngin, a free database version management tool for Mac. It was built native for Mac to help you set up and stay in control of all the local database servers running on your Mac.
To install DBngin on Mac, follow these steps:
- Download DBngin from here.
- Install it just like any other Mac apps.
- Run DBngin and click + New Server
- Choose MySQL, its version, and create a new local server with a custom name.
- Start the MySQL server.
Now you have a local MySQL server running locally on your Mac waiting for the new connection.
3. Using Homebrew service to download
Homebrew is a package manager for Mac which greatly simplifies the process of installing command line software and tools on a Mac. It’s one of the most common ways to install an app on Mac.
To install Homebrew, open Terminal and run:
$ /usr/bin/ruby -e "$(curl -fsSL https://raw.githubusercontent.com/Homebrew/install/master/install)"
Note: Homebrew will download and install Command Line Tools for Xcode as part of the installation process. This might take a lot of time since those apps are not lightweight.
Then install MySQL using Homebrew:
$ brew install mysql
Install brew services:
$ brew tap homebrew/services
Load and start the MySQL service:
$ brew services start mysql
Expected output: Successfully started mysql (label: homebrew.mxcl.mysql)
Open Terminal and execute the following command to set the root password:
mysqladmin -u root password 'yourpassword'
Now your MySQL server is ready.
4. Using Docker
Docker CE for Mac is an easy-to-install desktop app for building, debugging and testing Dockerized apps on a Mac. Using Docker, you can download and install a MySQL server on Mac, but it’s quite overkilled and Docker is super heavy to run.
Download Docker Community Edition for Mac from here.
Then download a MySQL Server Docker Image:
docker pull mysql/mysql-server
It will download MySQL the latest version. And now start a MySQL Server Instance:
docker run --name=mysql1 -d mysql/mysql-server
That’s all!
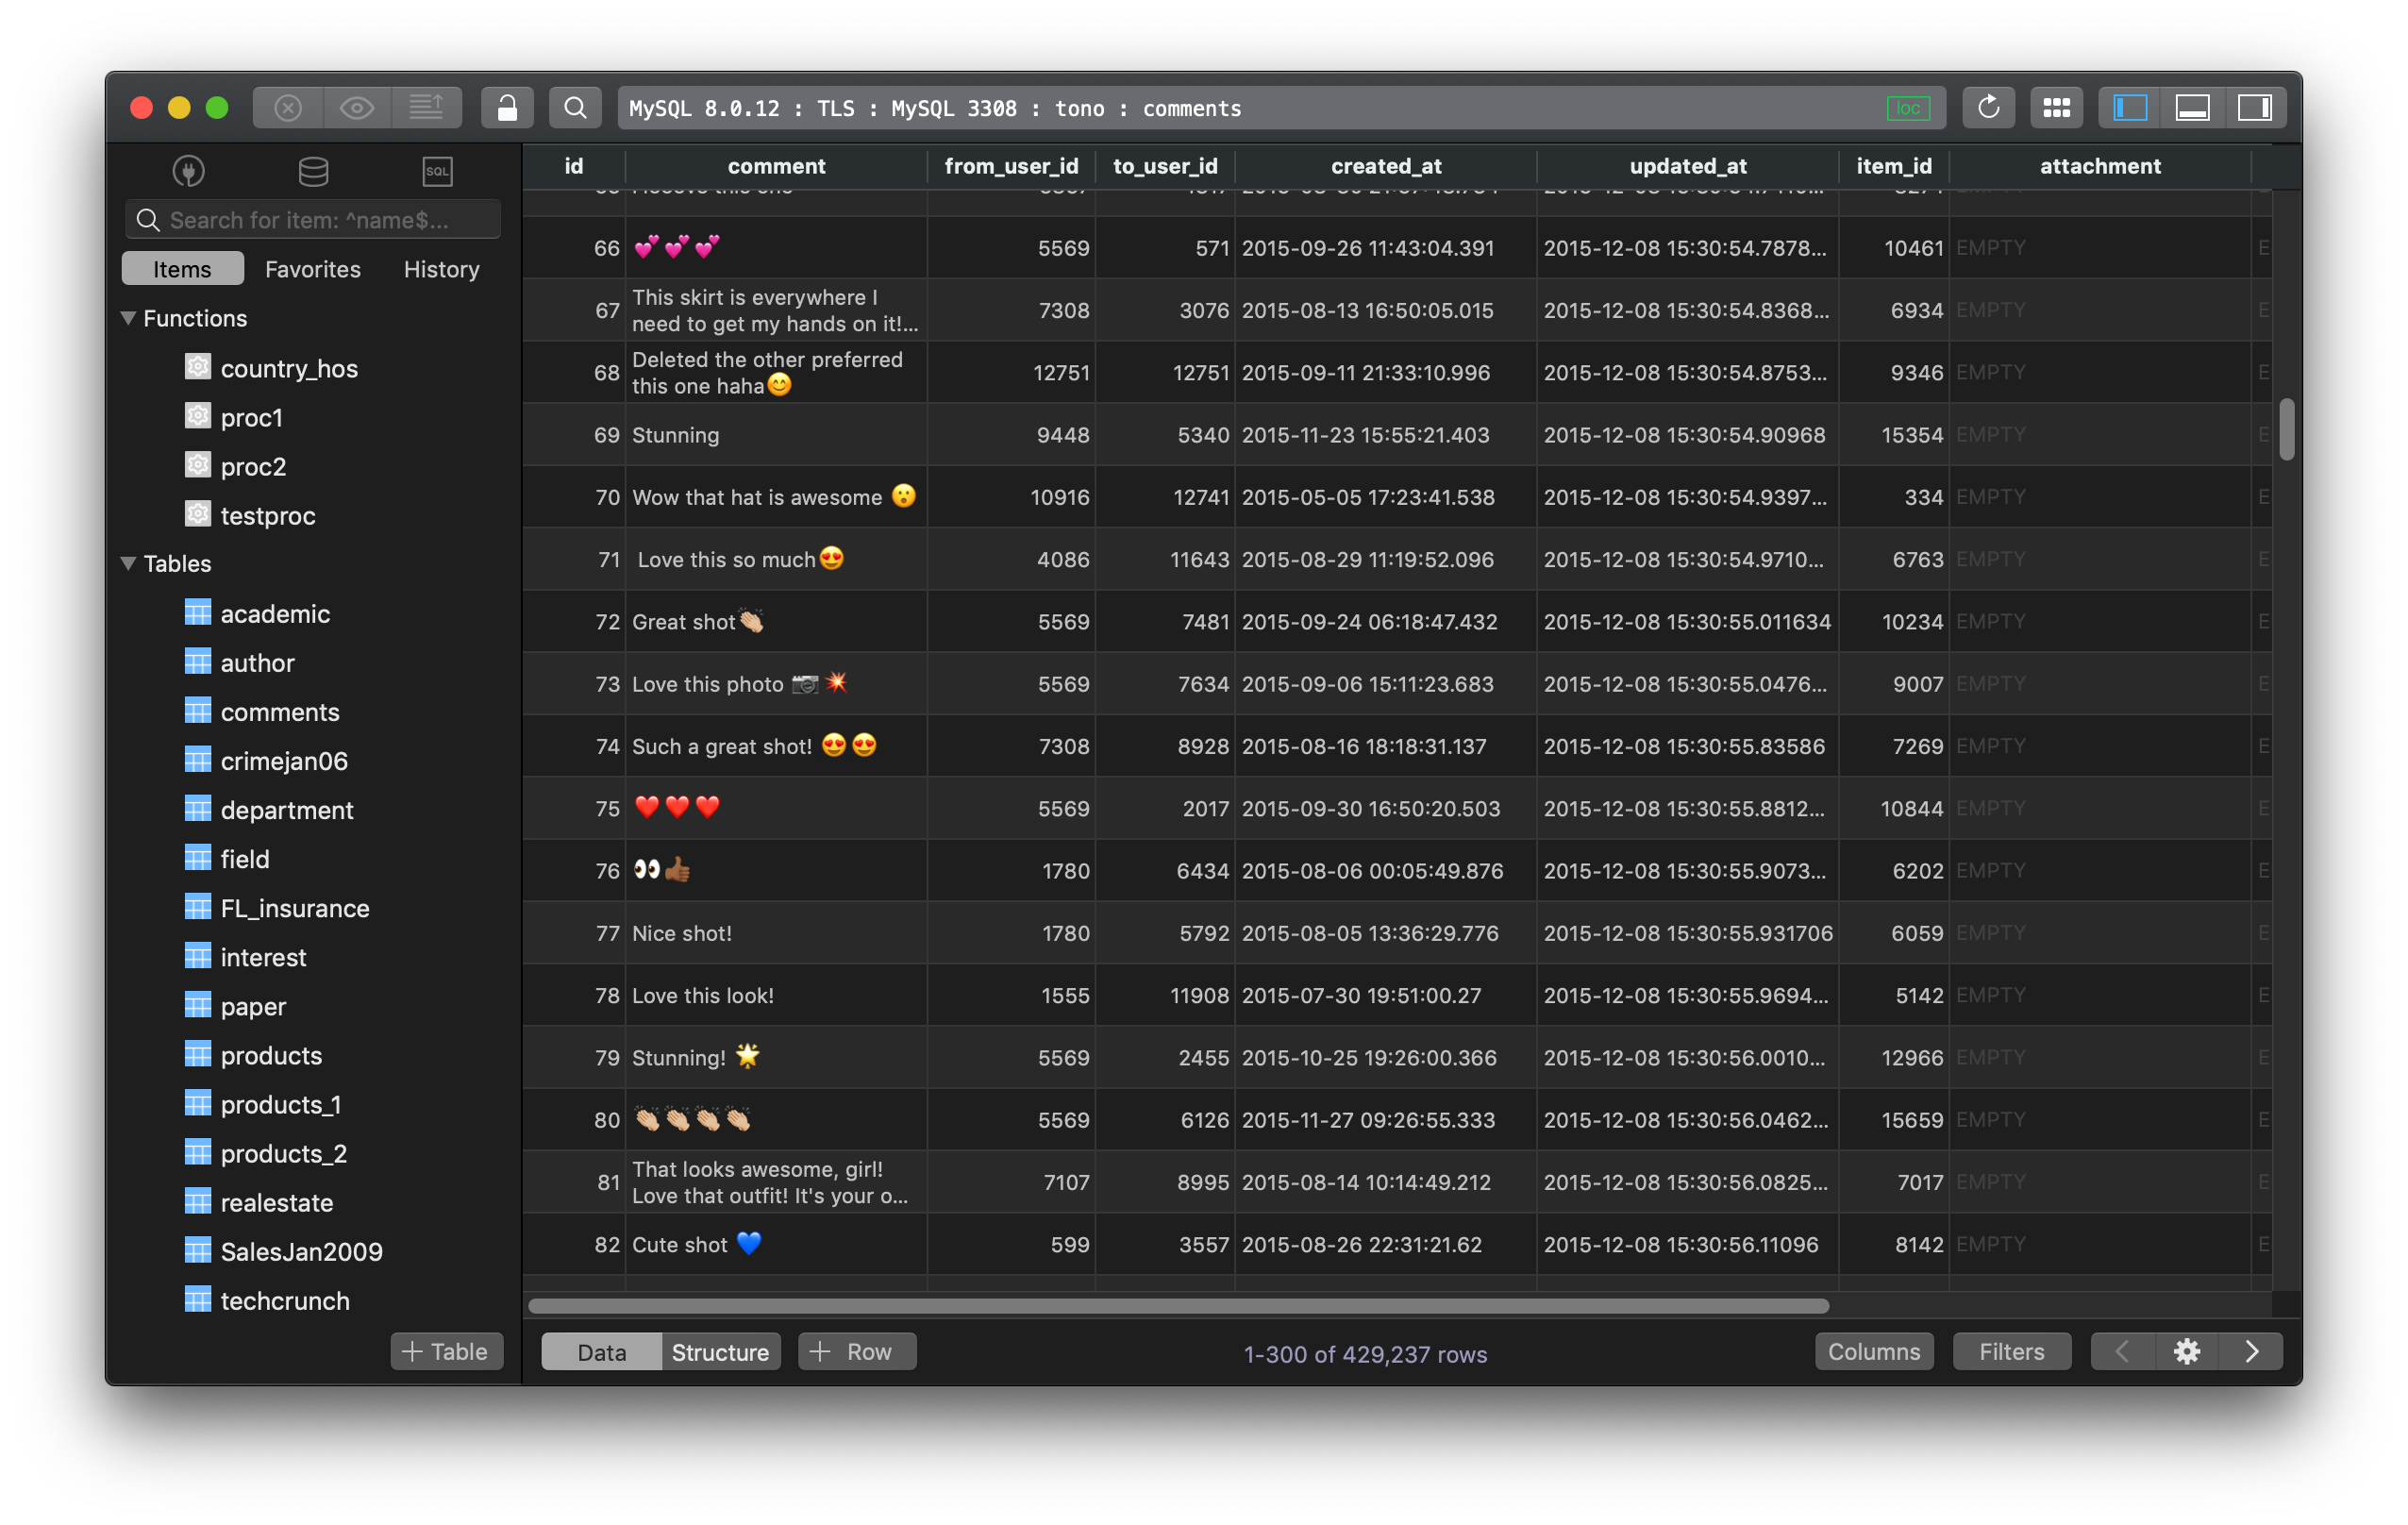
Need a good GUI Tool for MySQL? TablePlus is a modern, native tool with an elegant UI that allows you to simultaneously manage multiple databases such as MySQL, PostgreSQL, SQLite, Microsoft SQL Server and more.
Download TablePlus for Mac. It’s free anyway!
Not on Mac? Download TablePlus for Windows.
On Linux? Download TablePlus for Linux
Need a quick edit on the go? Download TablePlus for iOS.