How to set up a local PostgreSQL Server on macOS for testing?
Need a demo PostgreSQL DB running locally on Mac for testing?
This is a tutorial for setting up not only a single PostgreSQL server, but multiple servers, including the latest version and the older ones (PostgreSQL 11, PostgreSQL 10.5, PostgreSQL 9.5, etc) on MacOS. I will walk you through the most simple way to set a local PostgreSQL server up and running on macOS.
You probably need a couple of clicks and that’s it.
1. First, install PostgreSQL on MAC
You don’t have to download PostgreSQL but download an app called DBngin instead and let do the job for you. DBngin is a simple app that helps you download binaries, install and control multiple database servers of various versions at the same time. Other than PostgreSQL, it currently also supports MySQL, and Redis.
Download DBngin from here.
2. Run the DBngin package and install it on your Mac like any other Mac apps.
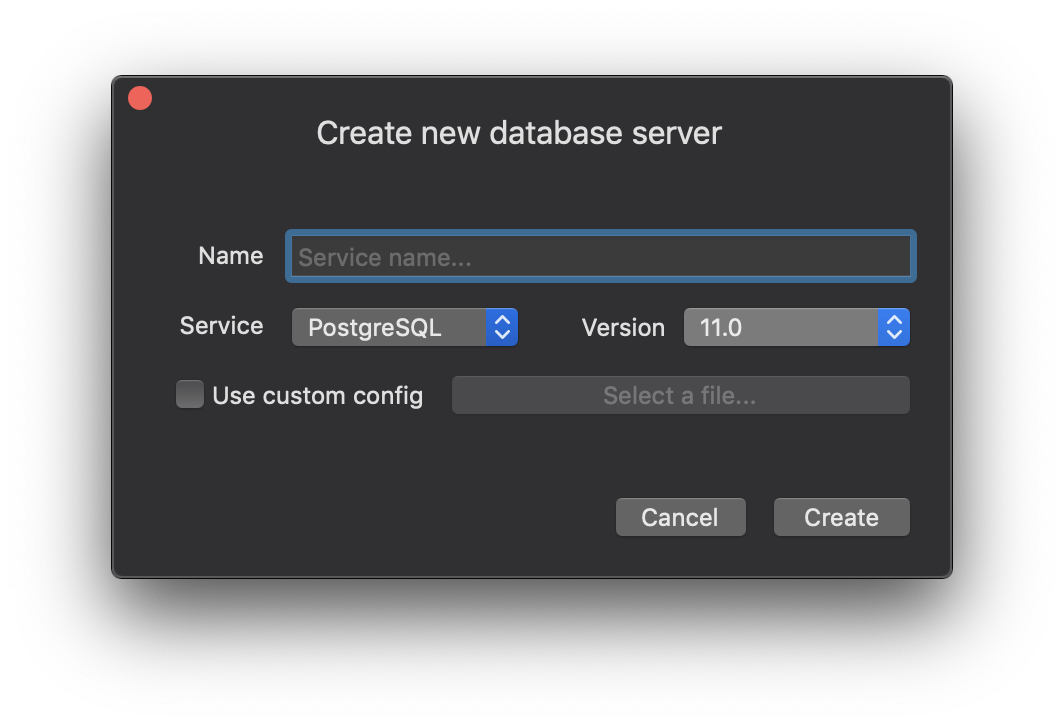
3. Start DBngin and hit the + button to start a new database server.

Choose PostgreSQL from the Service Dropdown list, and choose its version. You can set up multiple database servers of multiple versions. Then name it and finish creating the server. DBngin will now use the PostgreSQL binaries to set up a database server and initialize a default postgres database on your local hard drive, and it happens automatically.
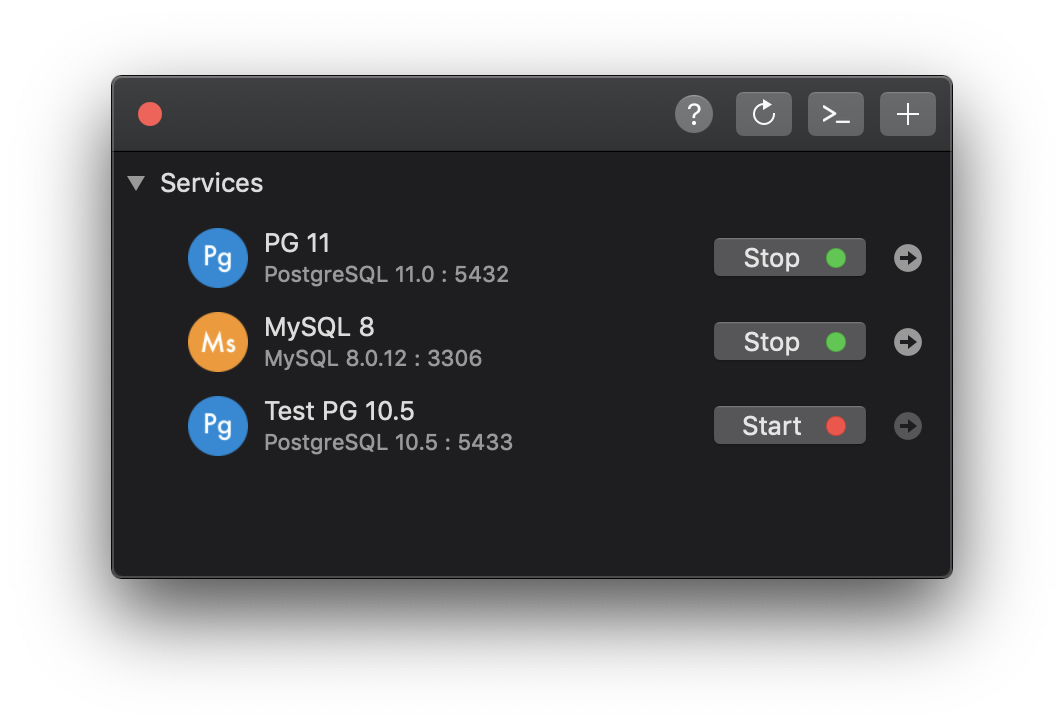
4. Back to the Database Control Panel, hit start the server you just created, and you’re good to go.
Note: After you start the server, even if you quit DBngin, the server is still on and you can continue working on it. When you don’t need it on anymore, start DBngin and hit Stop from the Control Panel.
