How to use MySQL on Mac?
In this post, we will go through:
- How to download and install MySQL on Mac
- Installing a GUI client to work with MySQL database
- How to import sample data to get started
Let’s go into details.
1. Download MySQL for Mac
There are several ways to download and install MySQL on Mac, you can use either homebrew services, Docker, or manually download the installer from MySQL website. But within this post, we use DBngin, a lightweight utility tool that allows you to download and install multiple versions of MySQL on Mac.
Another good thing about DBngin is that if you work with multiple database drivers such as PostgreSQL or Redis, DBngin has it too.
Download DBngin here. Then install it just like any other Mac apps.
Download and install MySQL.
- Launch DBngin.
- Click on the
+button to create a new local database server. - Choose MySQL and the version you want to install.
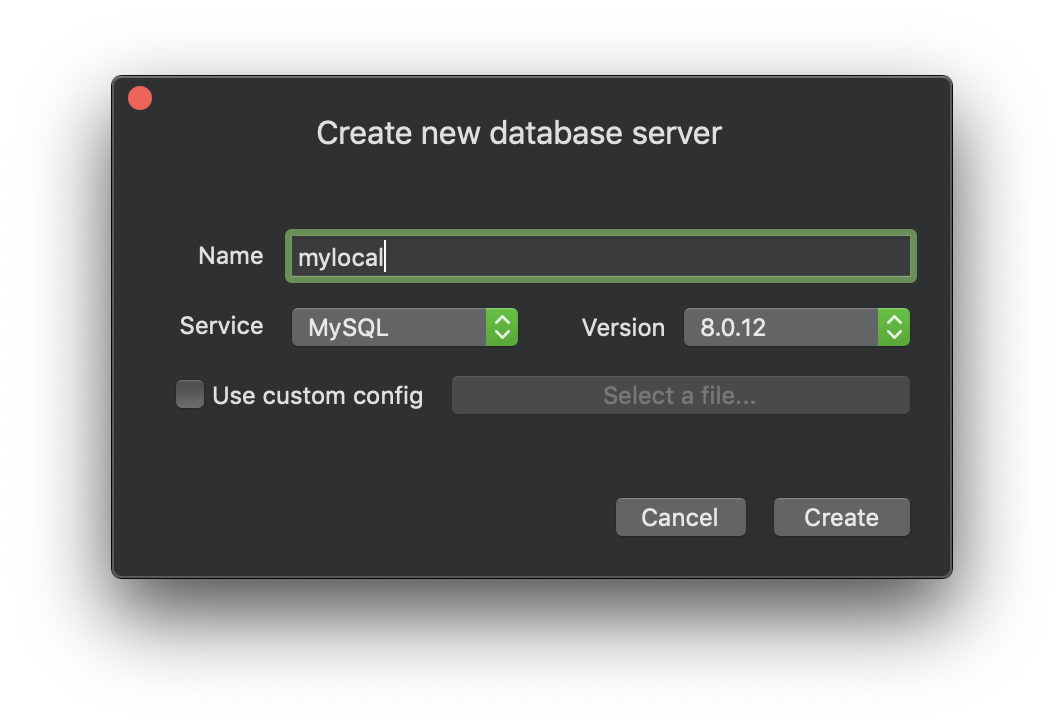
- Click Create to continue.
DBngin leads you back to the control panel, where you can manage all your local database servers. Select the newly create MySQL Server and start it.
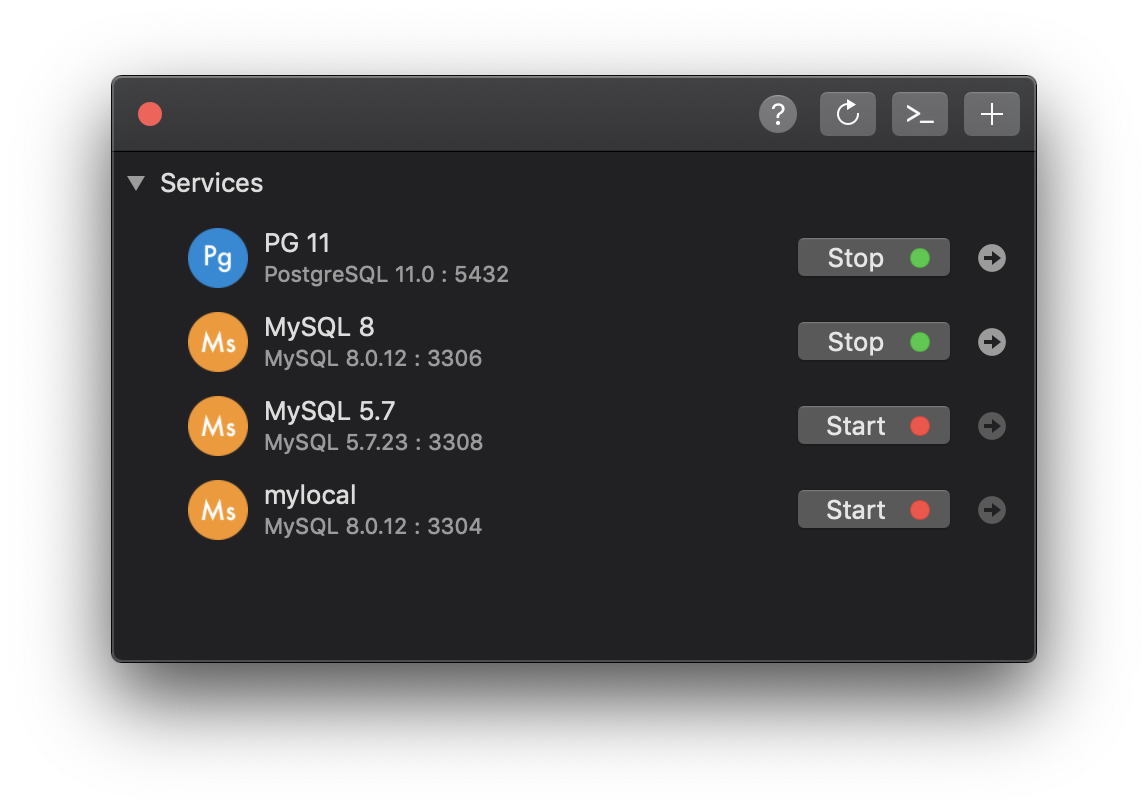
And wait until the setup is done, the light is green, and you have a running MySQL Server on your Mac.
2. Download TablePlus GUI
TablePlus is a modern, native tool with elegant UI that allows you to simultaneously manage multiple databases such as MySQL, PostgreSQL, SQLite, Microsoft SQL Server and more.
Download TablePlus for Mac here, then install it on your Mac.
Now create a connection to your local MySQL server.
Normally, you have to set up your connection using your database credentials such as host, port, username, password, etc. But DBngin makes it simple for you to connect with just a click.
Switch to DBngin, you will see a little arrow button on the right side of the database server we created just now, click on it and you’re in. You’re connected now using the root user account.
3. Load sample MySQL database
In this post, we use the sakila sample database from the MySQL team. It’s packed within the Employees database which you can download from Employees DB on GitHub.
Unpack the zip file after you finish the download. Find the folder sakila inside, you will see two SQL files, one for the schema and one for the data. We will go into that later.
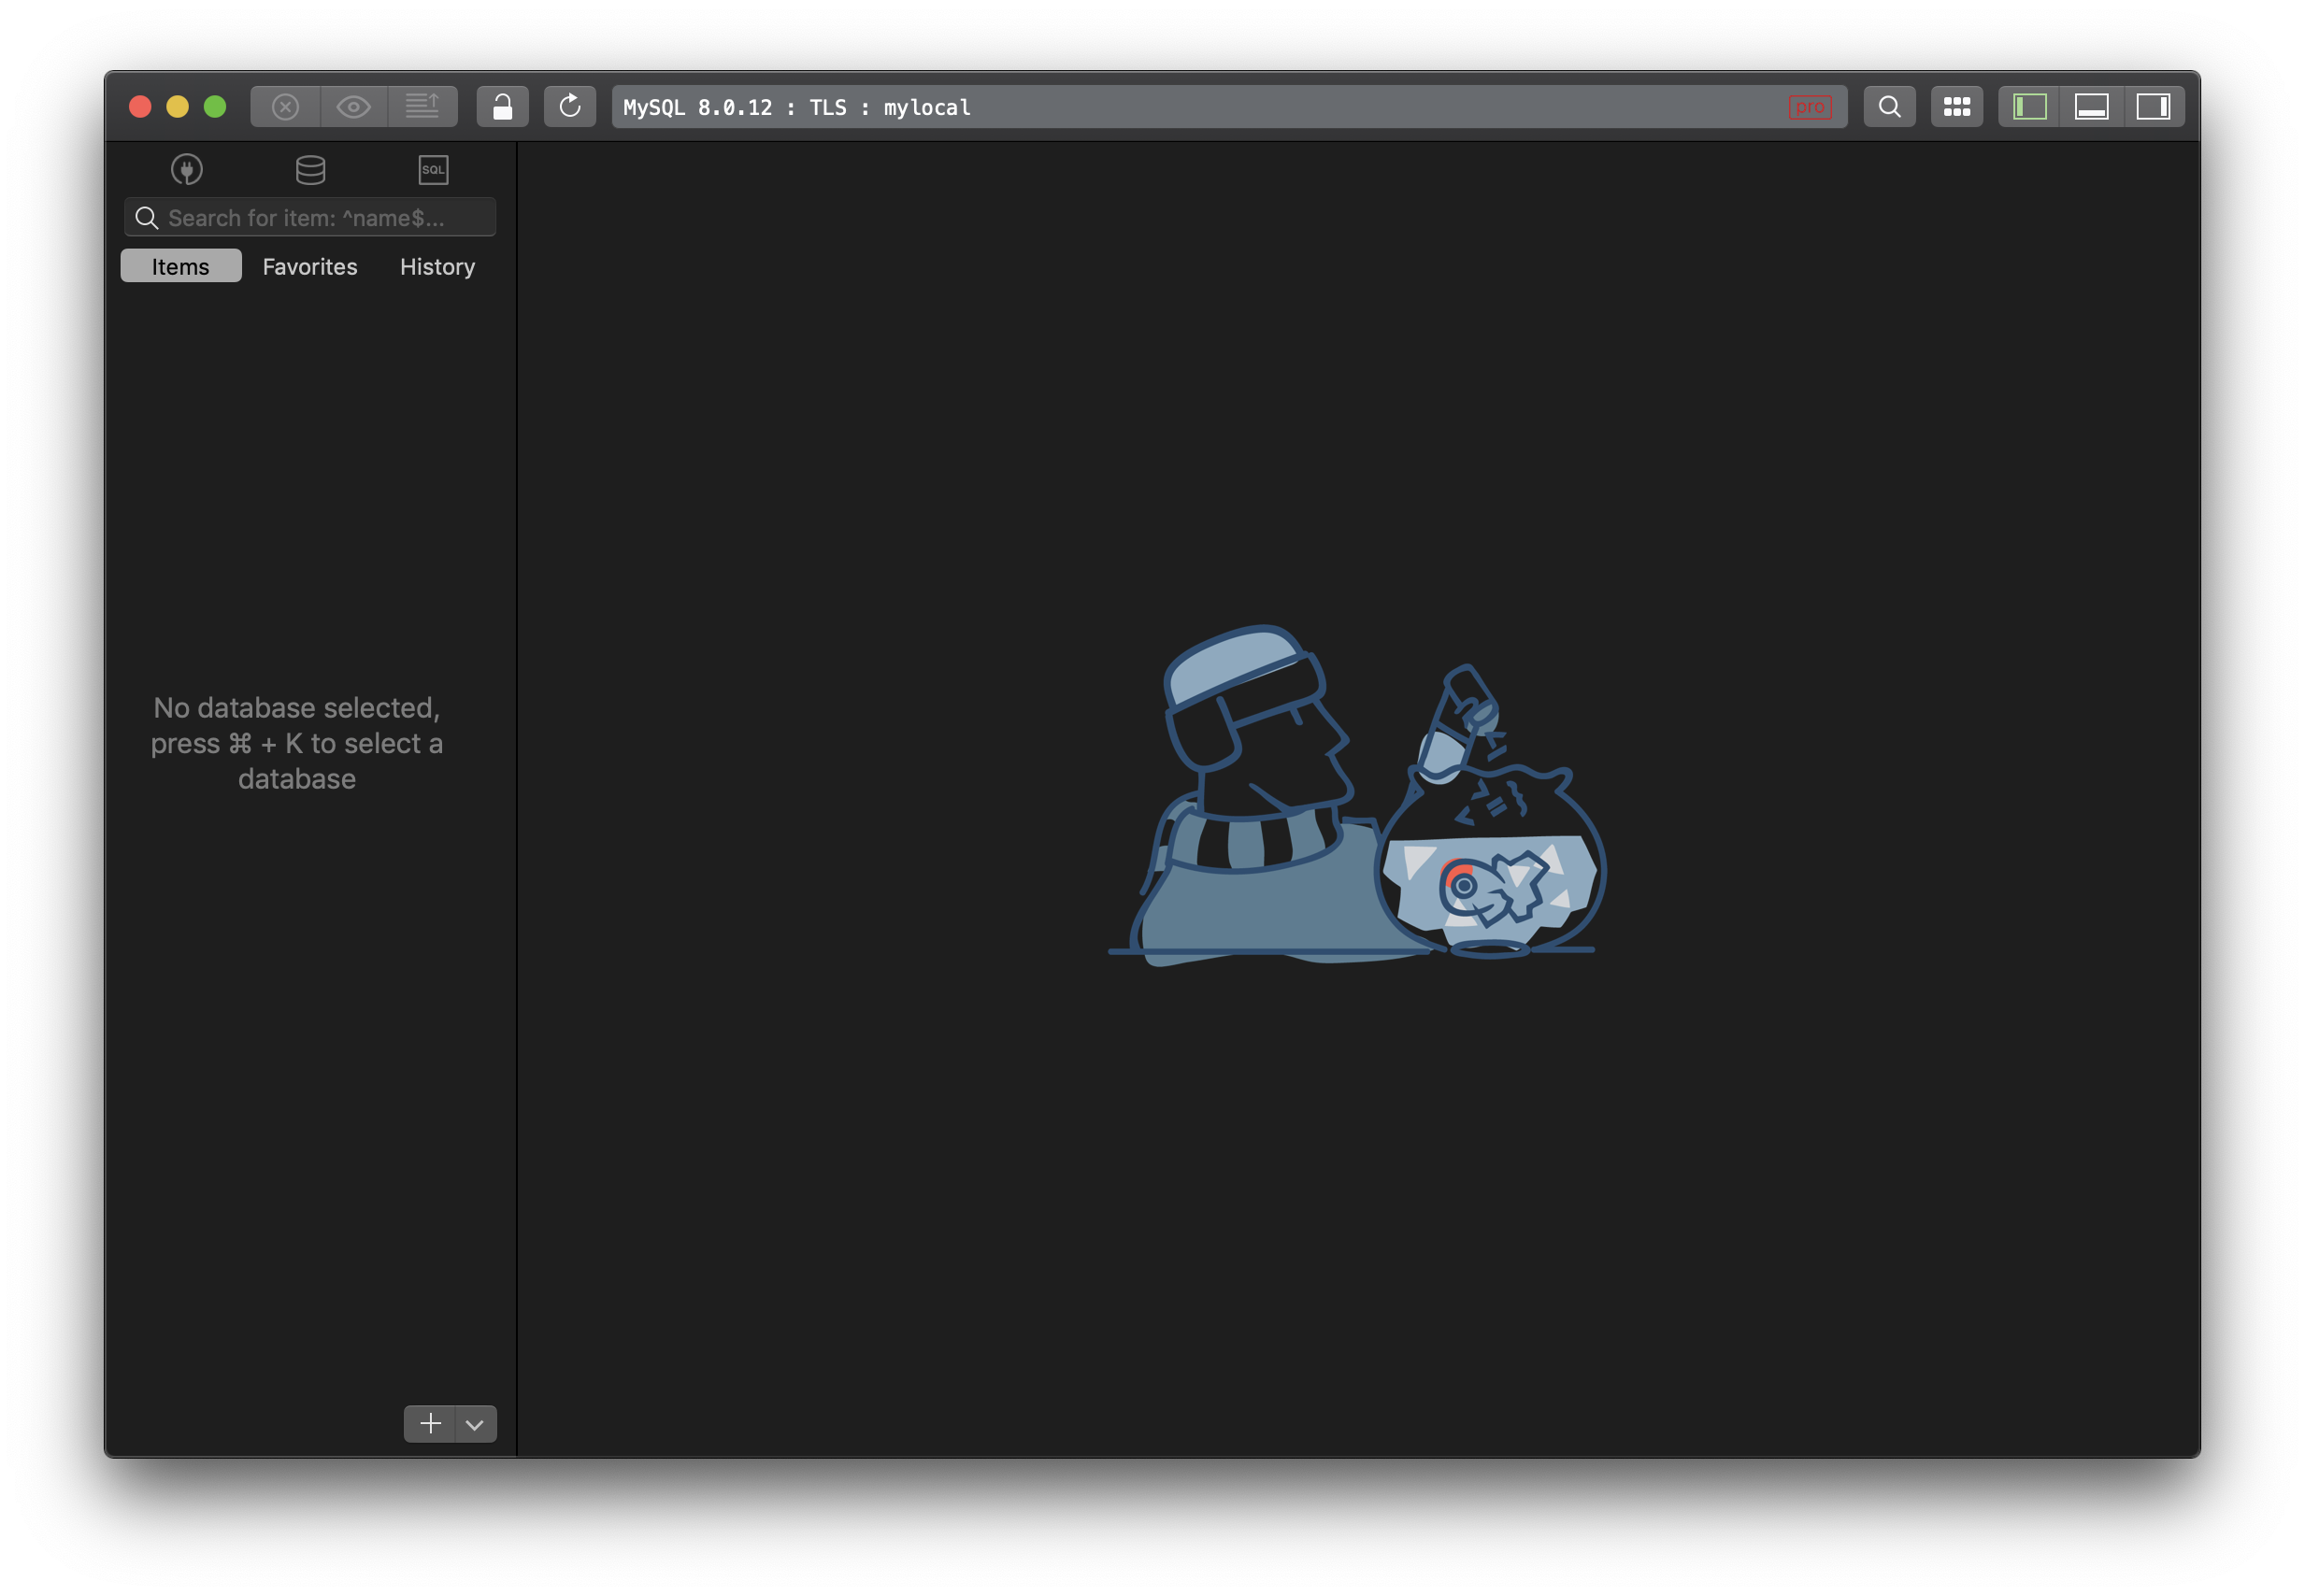
Now go to TablePlus, you first have to create a database sakila:
- Go to menu Navigate > Switch Database, or use shortcut keys Cmd + K
- Click
+to create a new database - Name it sakila and leave default options.
- Hit Ok to create.
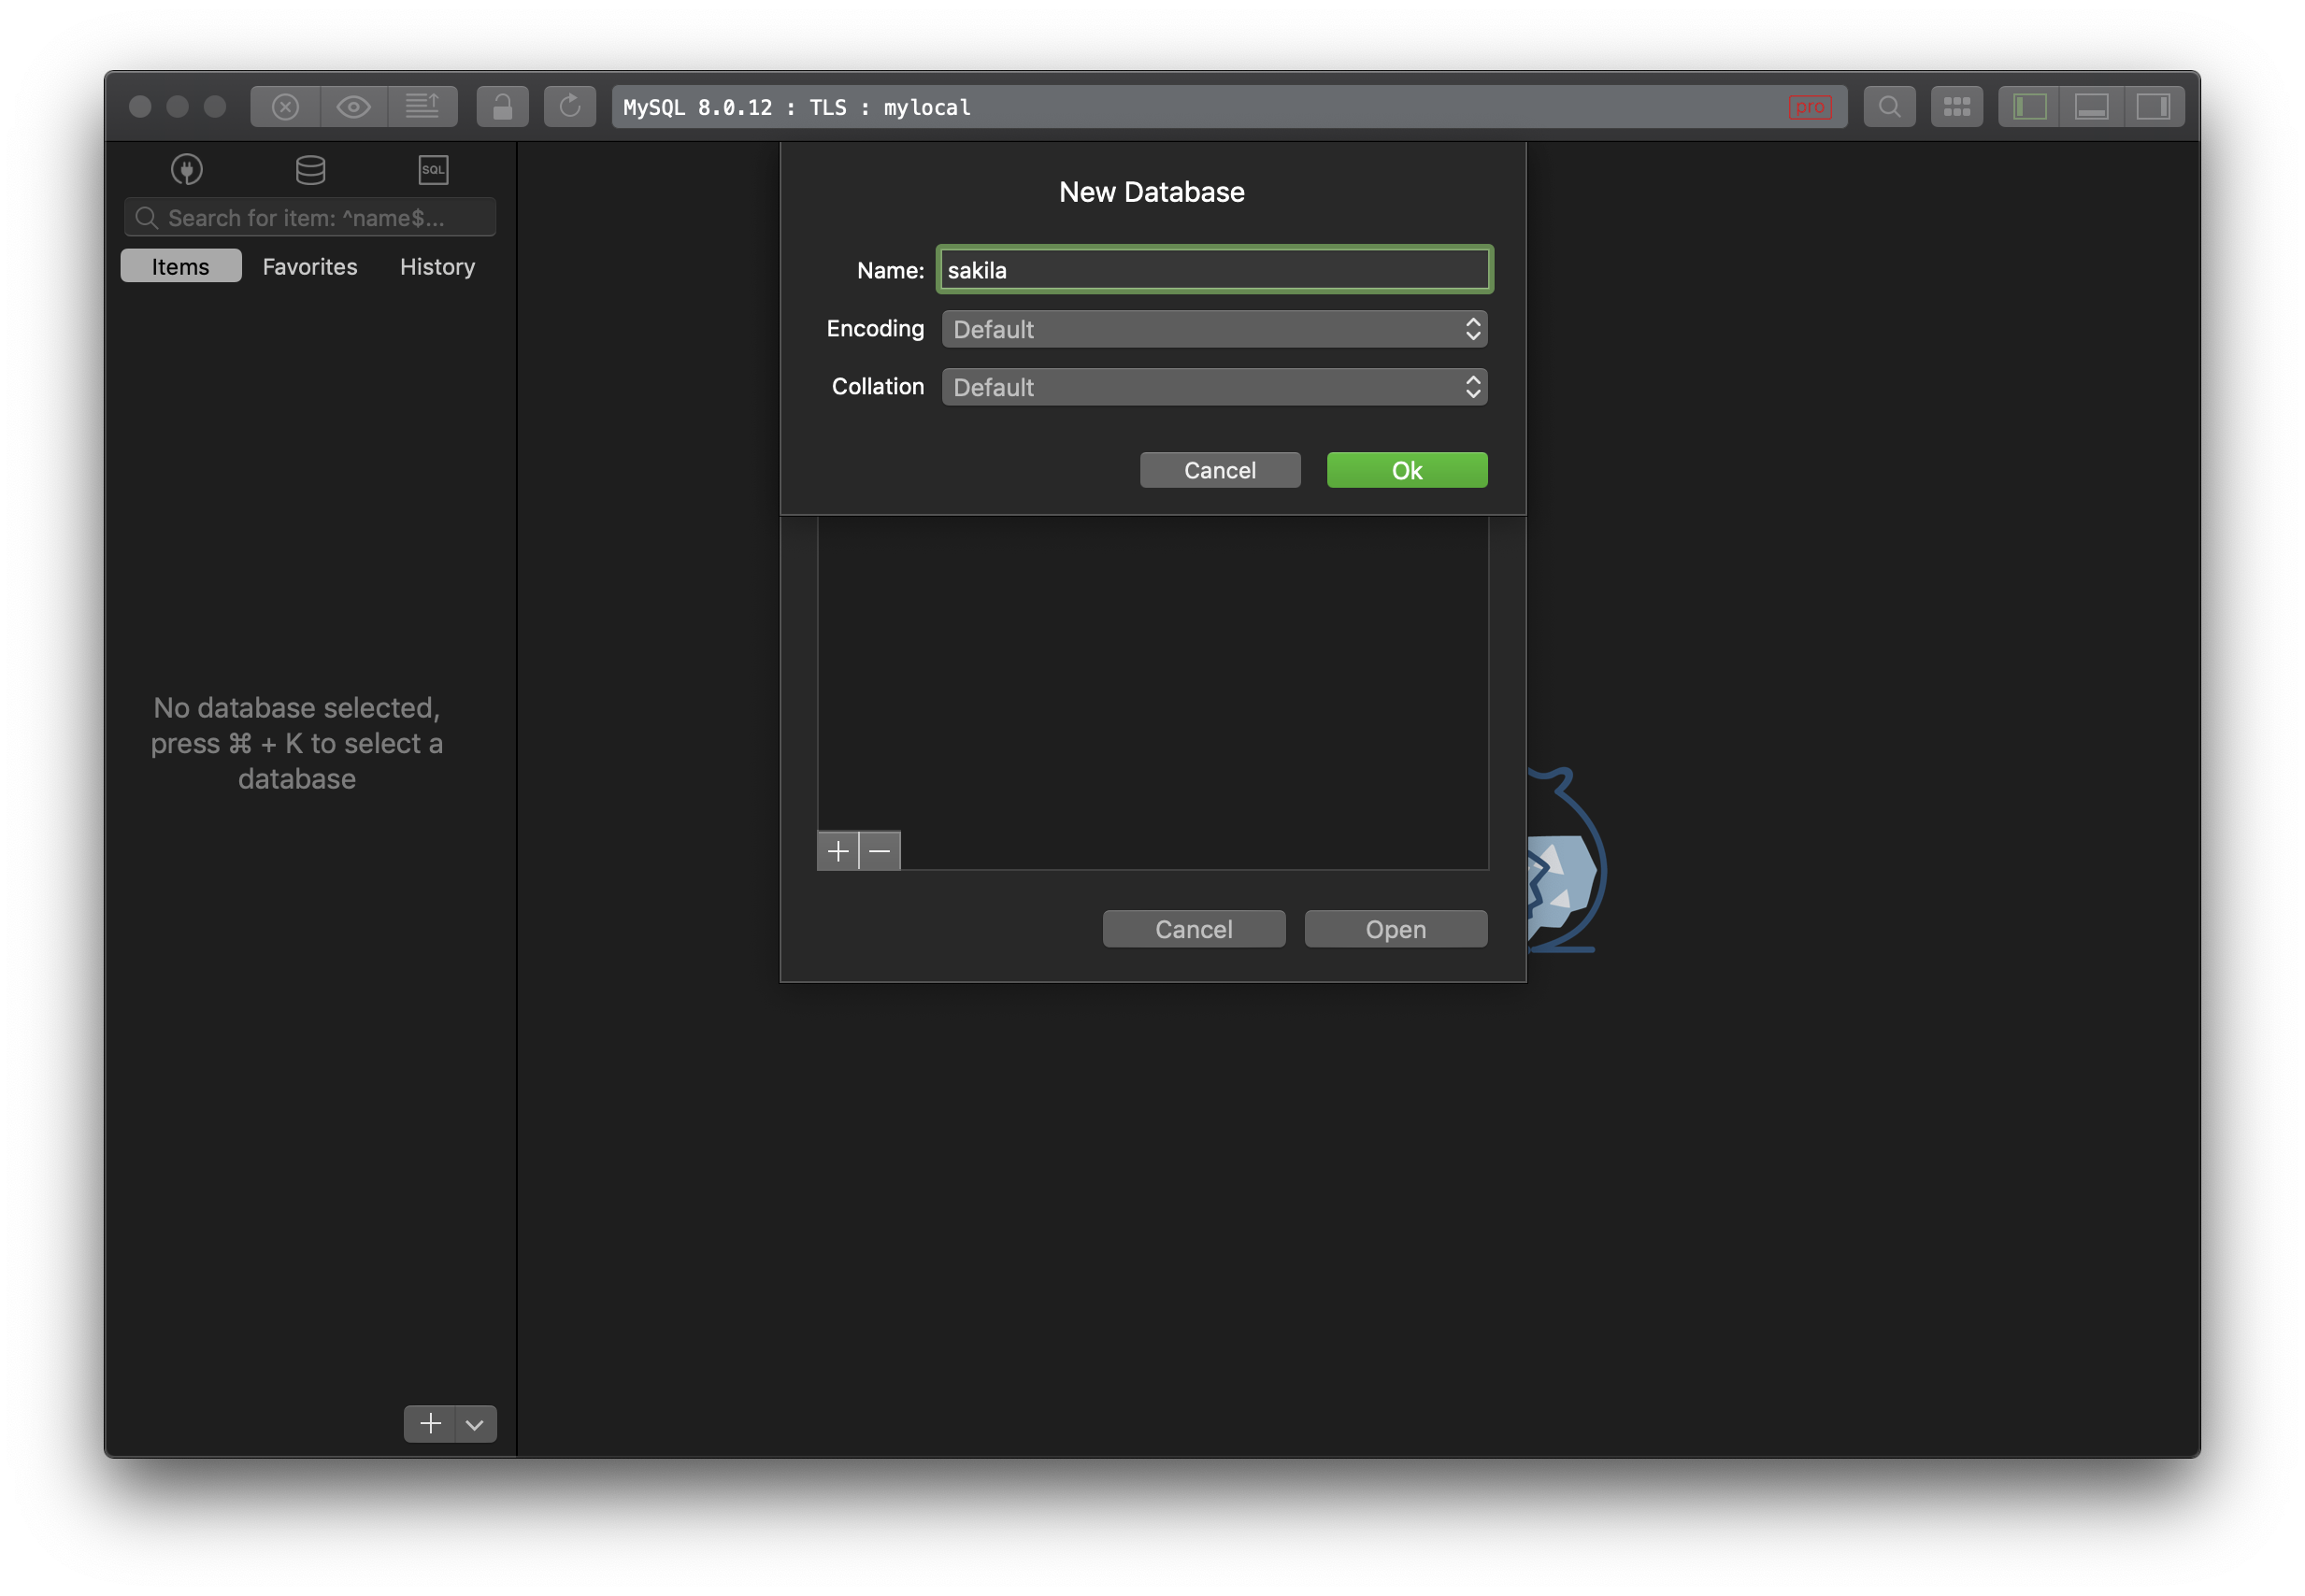
- Select Sakila from the database list and open.
Now import sample data to sakila database:
First, import the schema:
- Go to menu File > Import > From SQL Dumps…
- Select the schema SQL file (sakila-mv-schema.sql)
- Hit Import

After the import is finished, press Cmd + R to refresh the workspace and you will see several empty tables. Now import data the way you imported schema:
- Go to menu File > Import > From SQL Dumps…
- Select the data SQL file (sakila-mv-data.sql)
- Hit Import
Refresh the workspace again to see the tables with sample data rows.
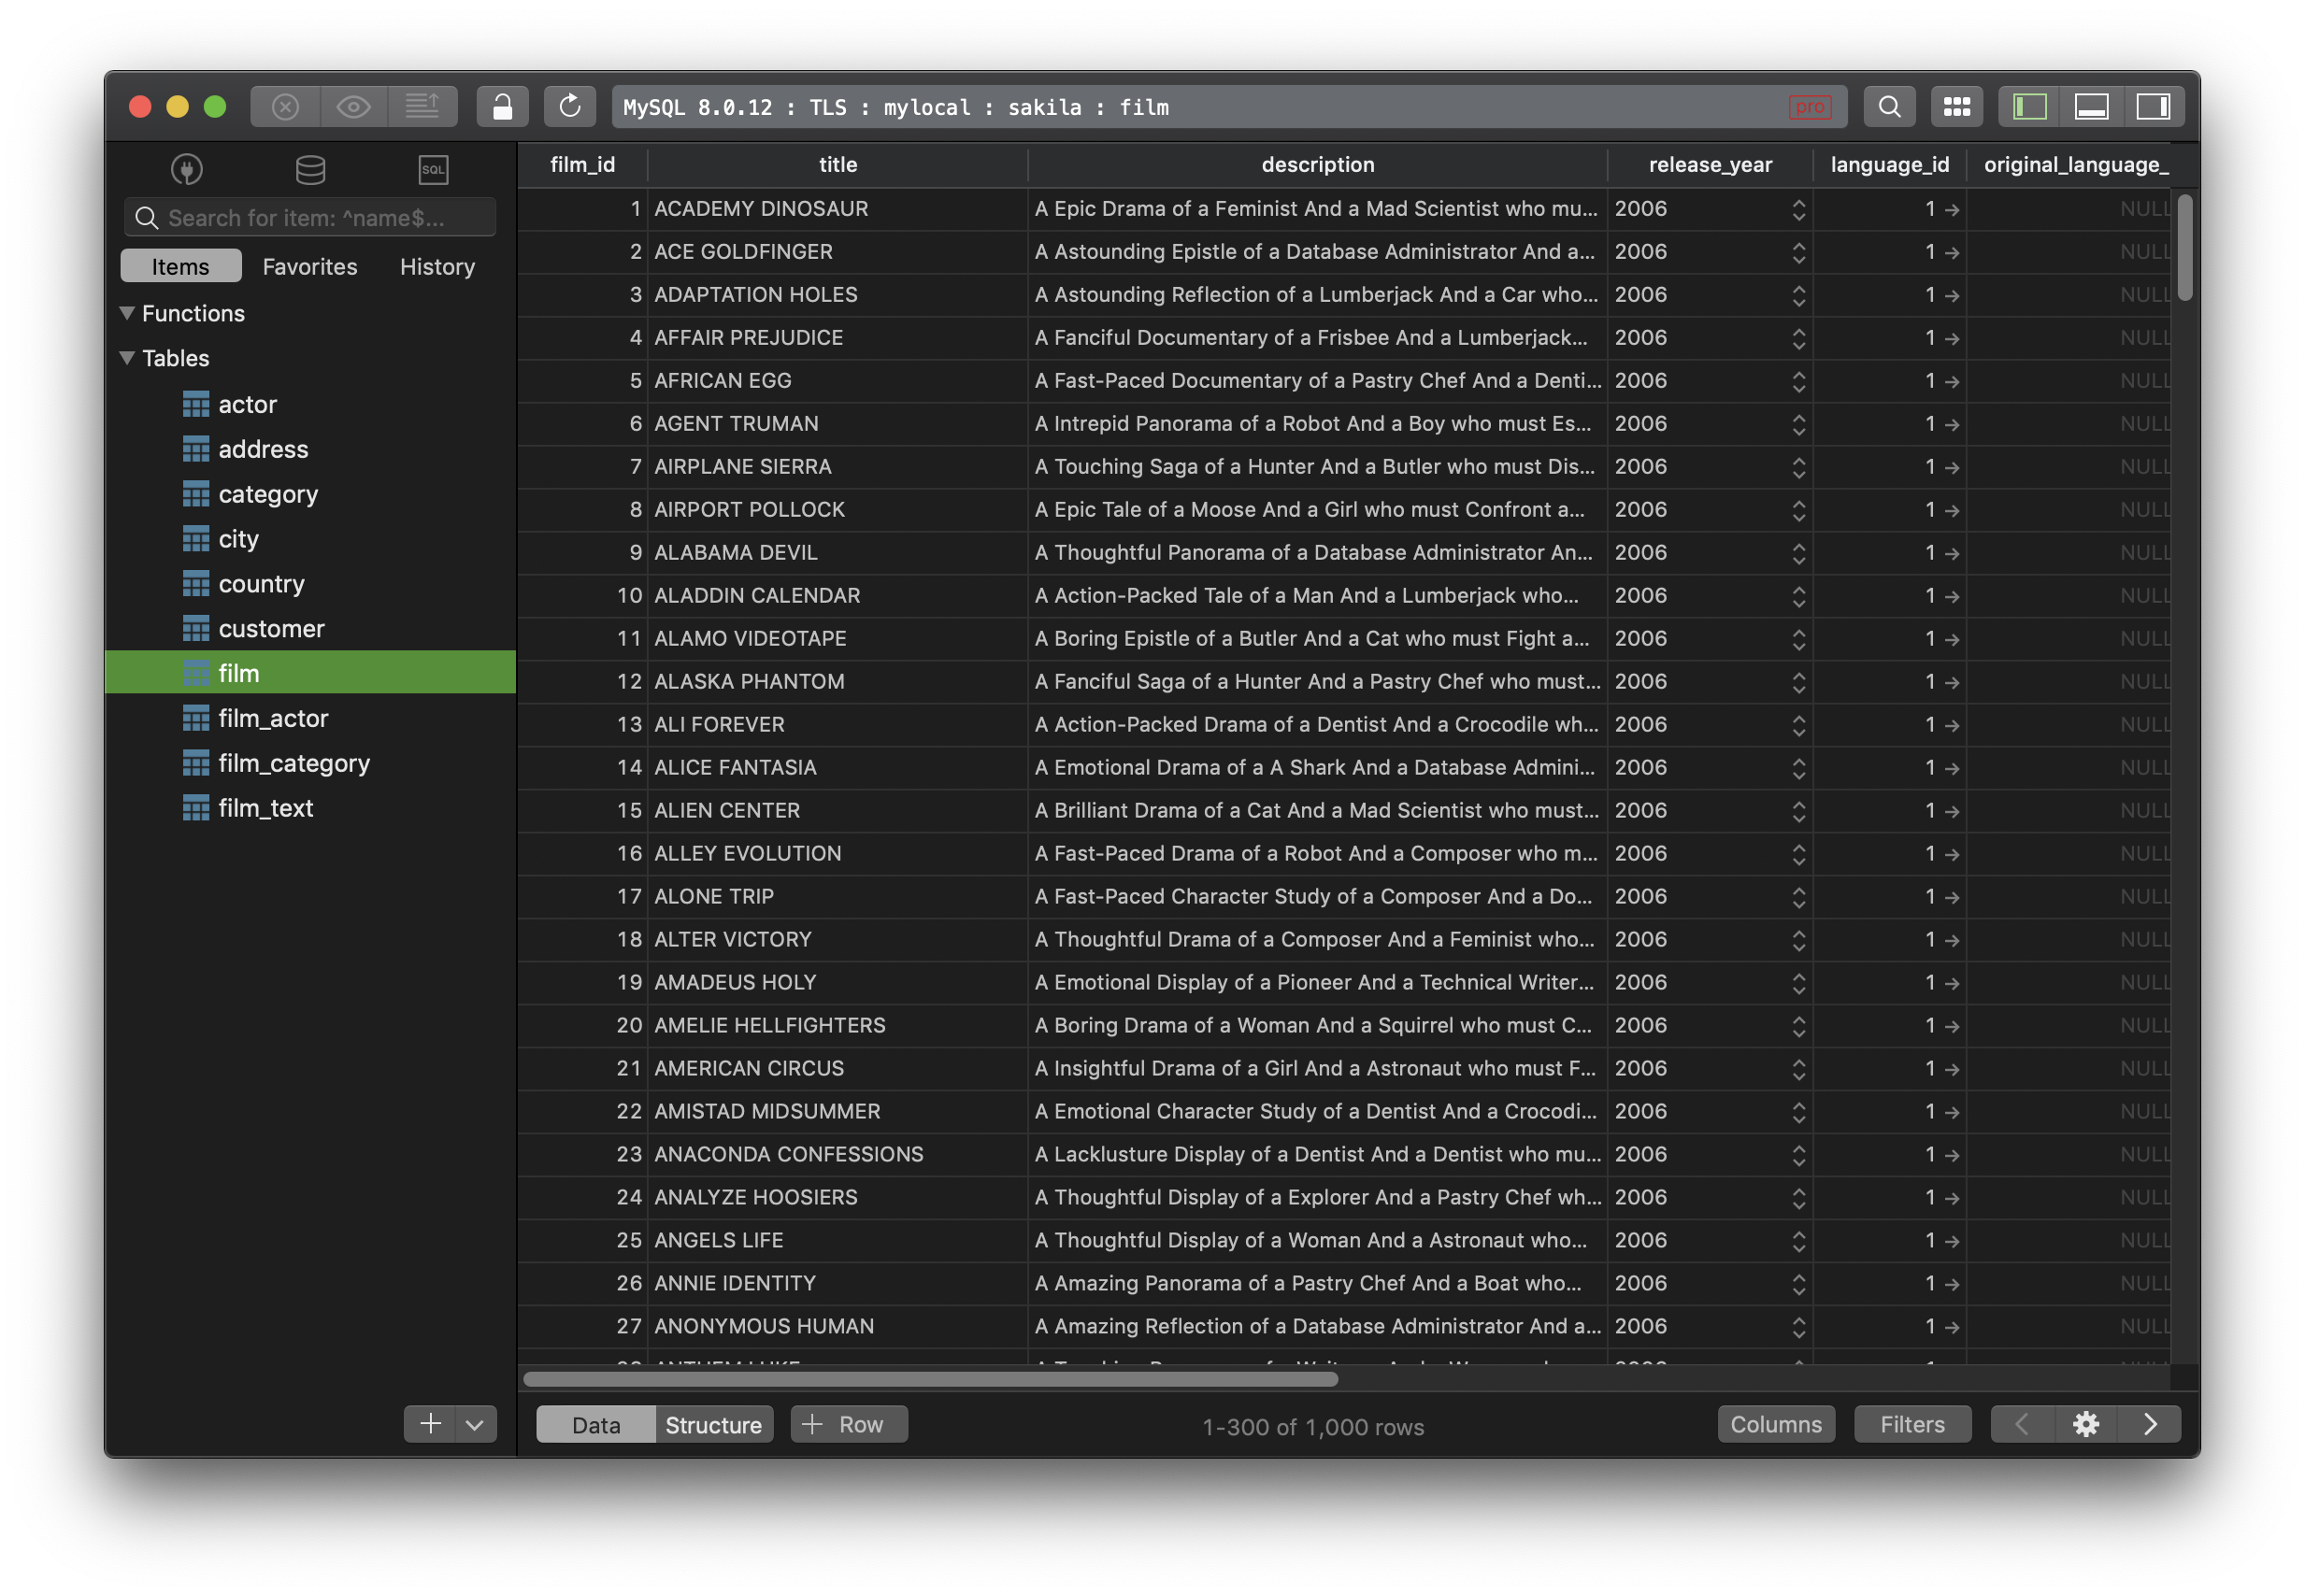
And you’re done. You have a MySQL server running locally on your Mac, a MySQL instance with the sample database sakila. It’s time to explore MySQL.
You can get yourself familiar with TablePlus using this Getting Started Guide.
Not Mac only? Download TablePlus for Windows.
Need a quick edit on the go? Download for iOS