Getting Started
This guide walks you through the basics: connecting to a database, browsing and editing data, running queries, and moving data in and out.
Create a connection
For most databases, have the host, port, username, and password ready.
For SQLite and DuckDB, you only need the path to the database file. You can also double-click a SQLite database file to open it in TablePlus.
Your database password is stored securely in the macOS Keychain. TablePlus never syncs your data to our servers.
To create a connection:
- Open TablePlus. On the welcome screen, click Create Connection at the bottom, or right-click the connection list and choose New > Connection....
- Choose a database type and click Create. You can type in the search field to find a driver quickly.
- Fill in the connection details, such as host, port, user, and password.
- Click Test to check the connection, then Connect (or Save to connect later).
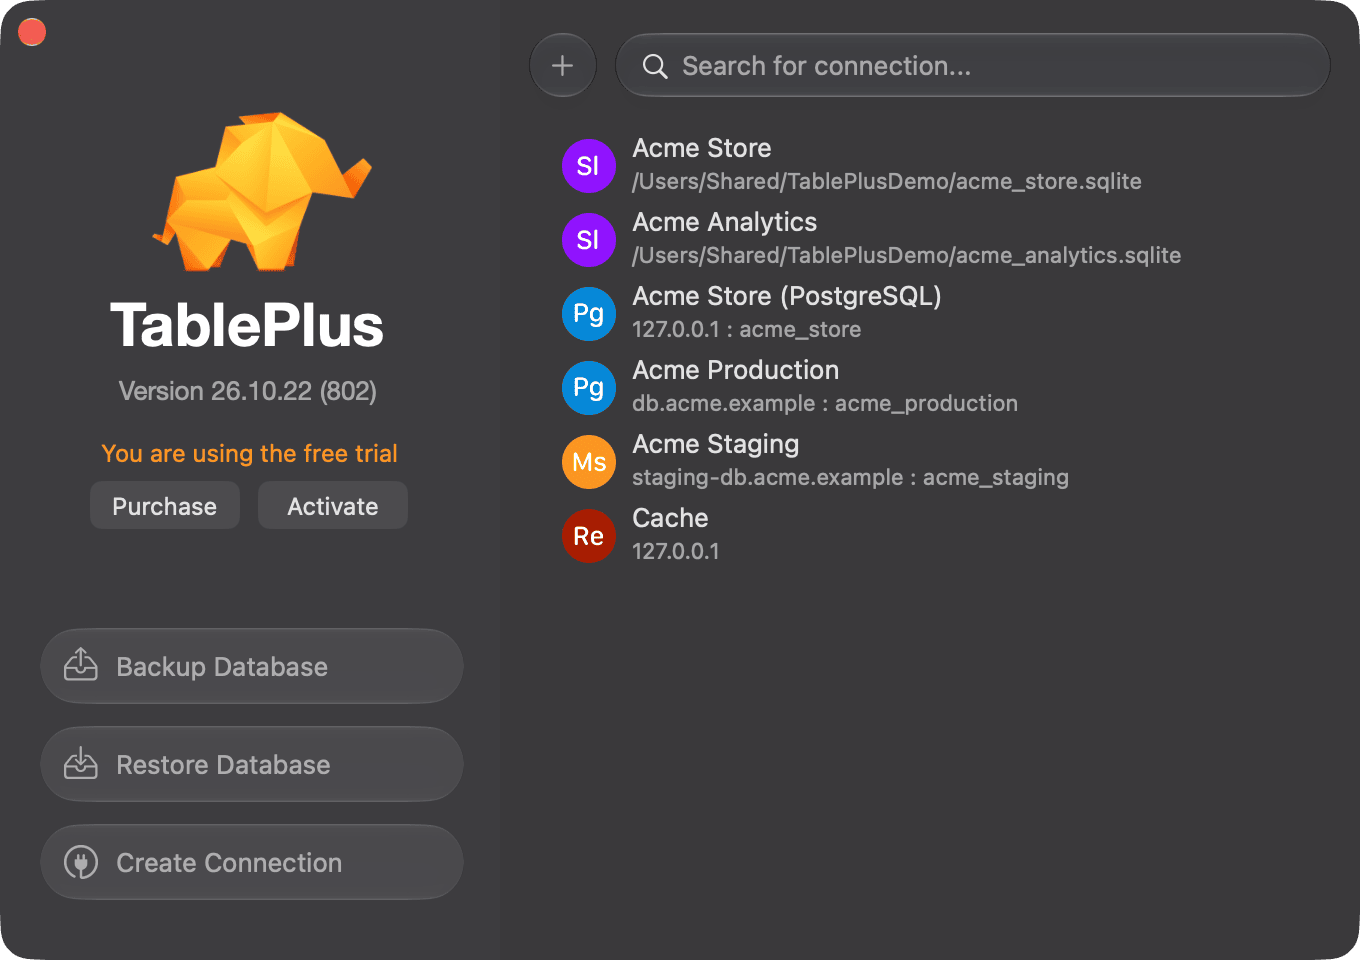
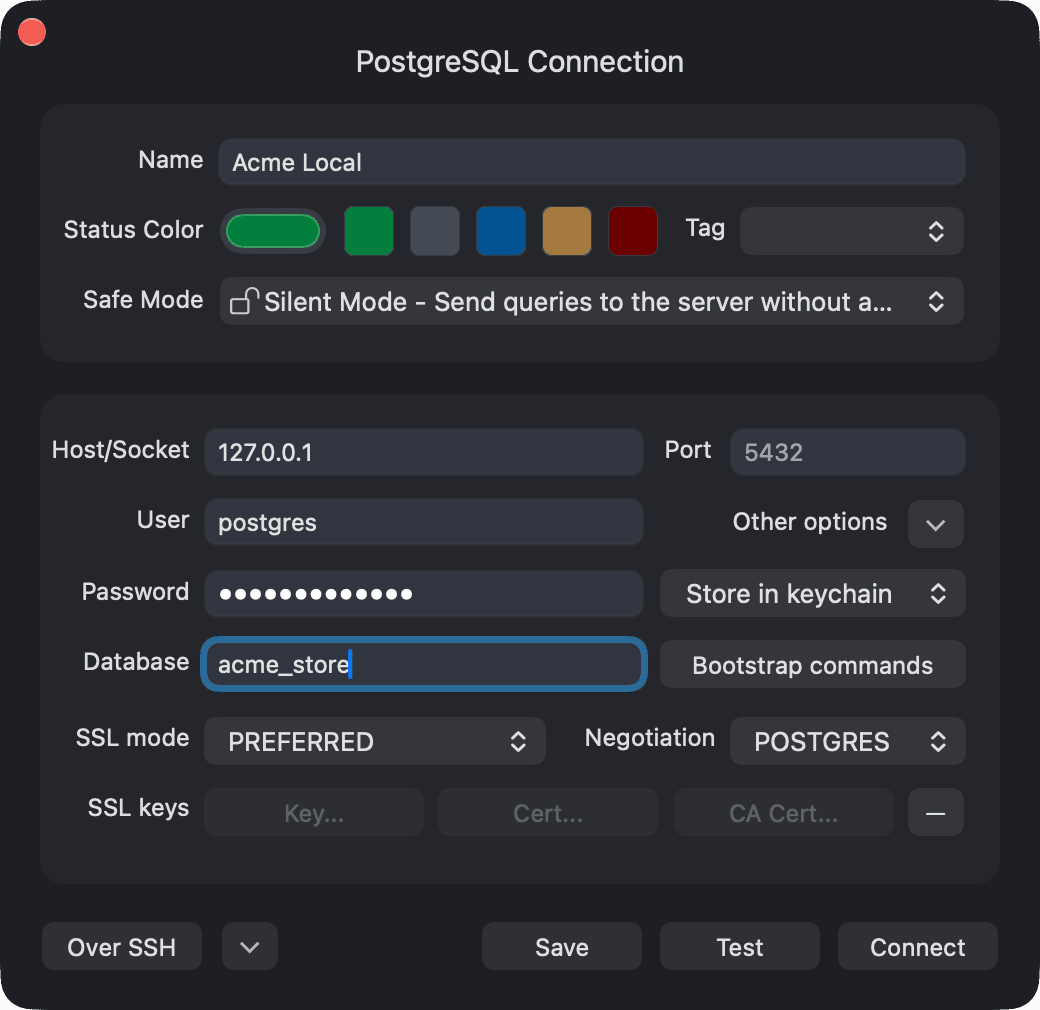
You can also import a connection from a URL. Right-click the connection list and choose Import Connection > From URL... (or click Import Connection > From URL... in the new connection window), then paste the URL from your server configuration.
For example, if you have a PostgreSQL server running locally (you can set one up in a few clicks with DBngin), import this URL:
postgresql://[email protected]
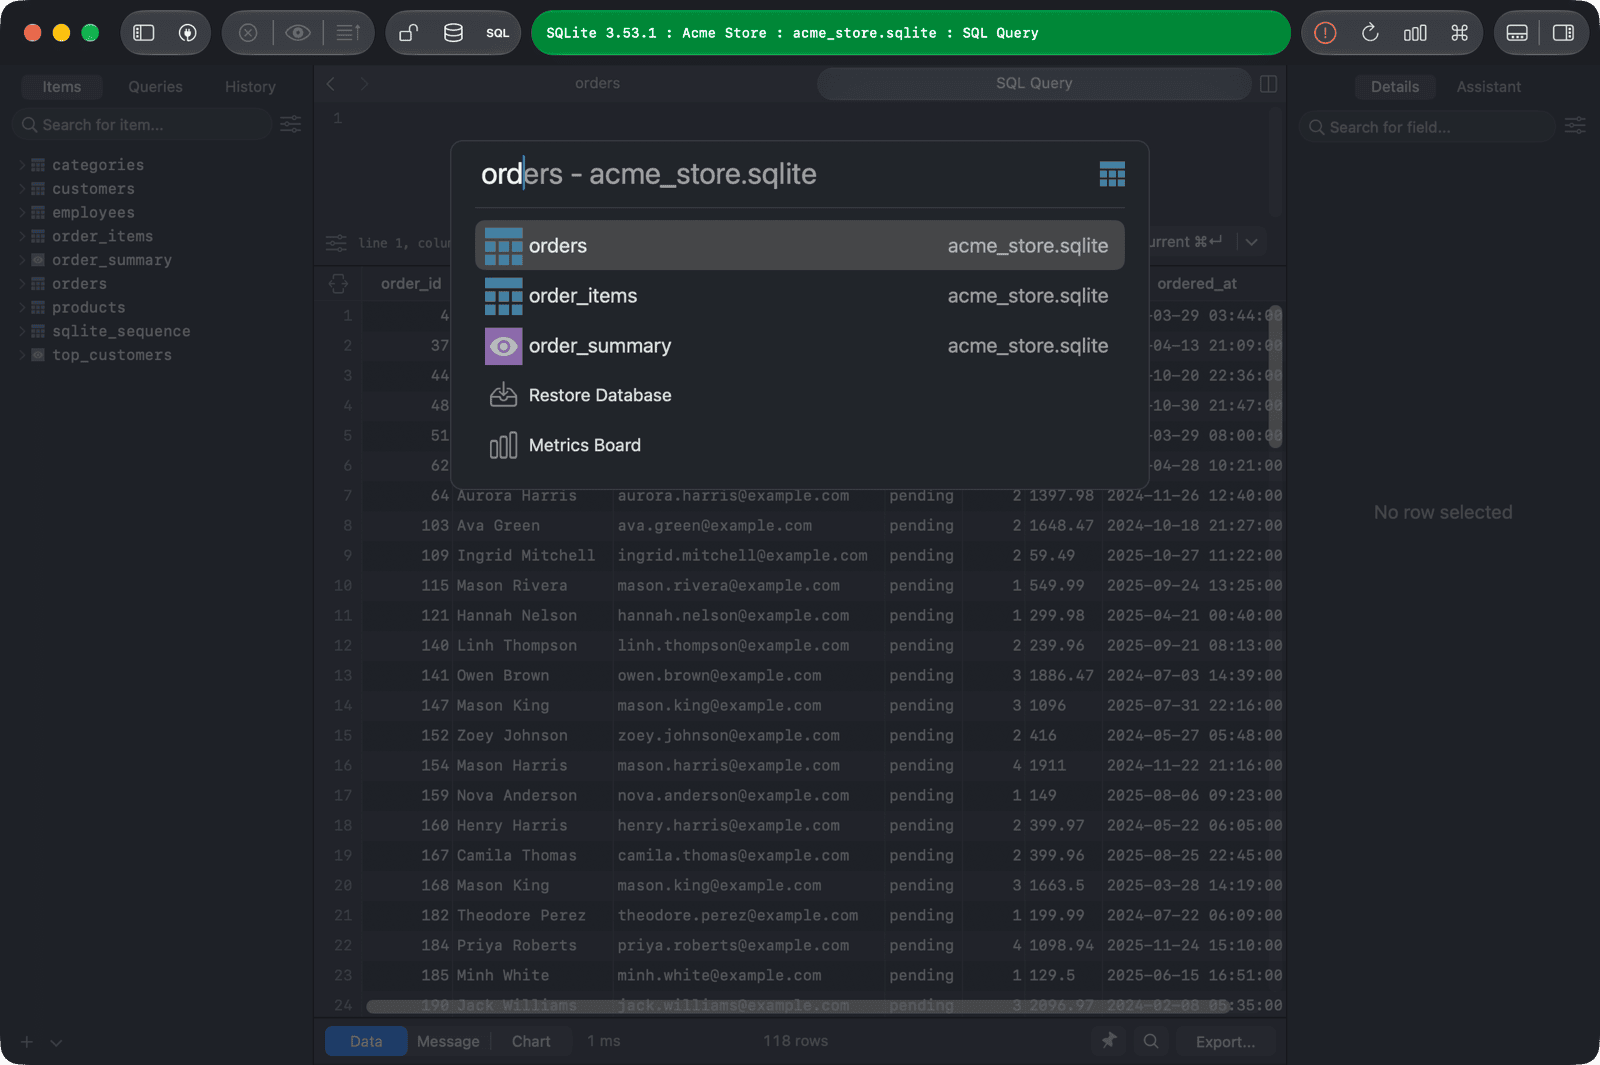
Open anything
Press ⌘ + P to quickly open any database, schema, table, view, function, and more.
Edit data
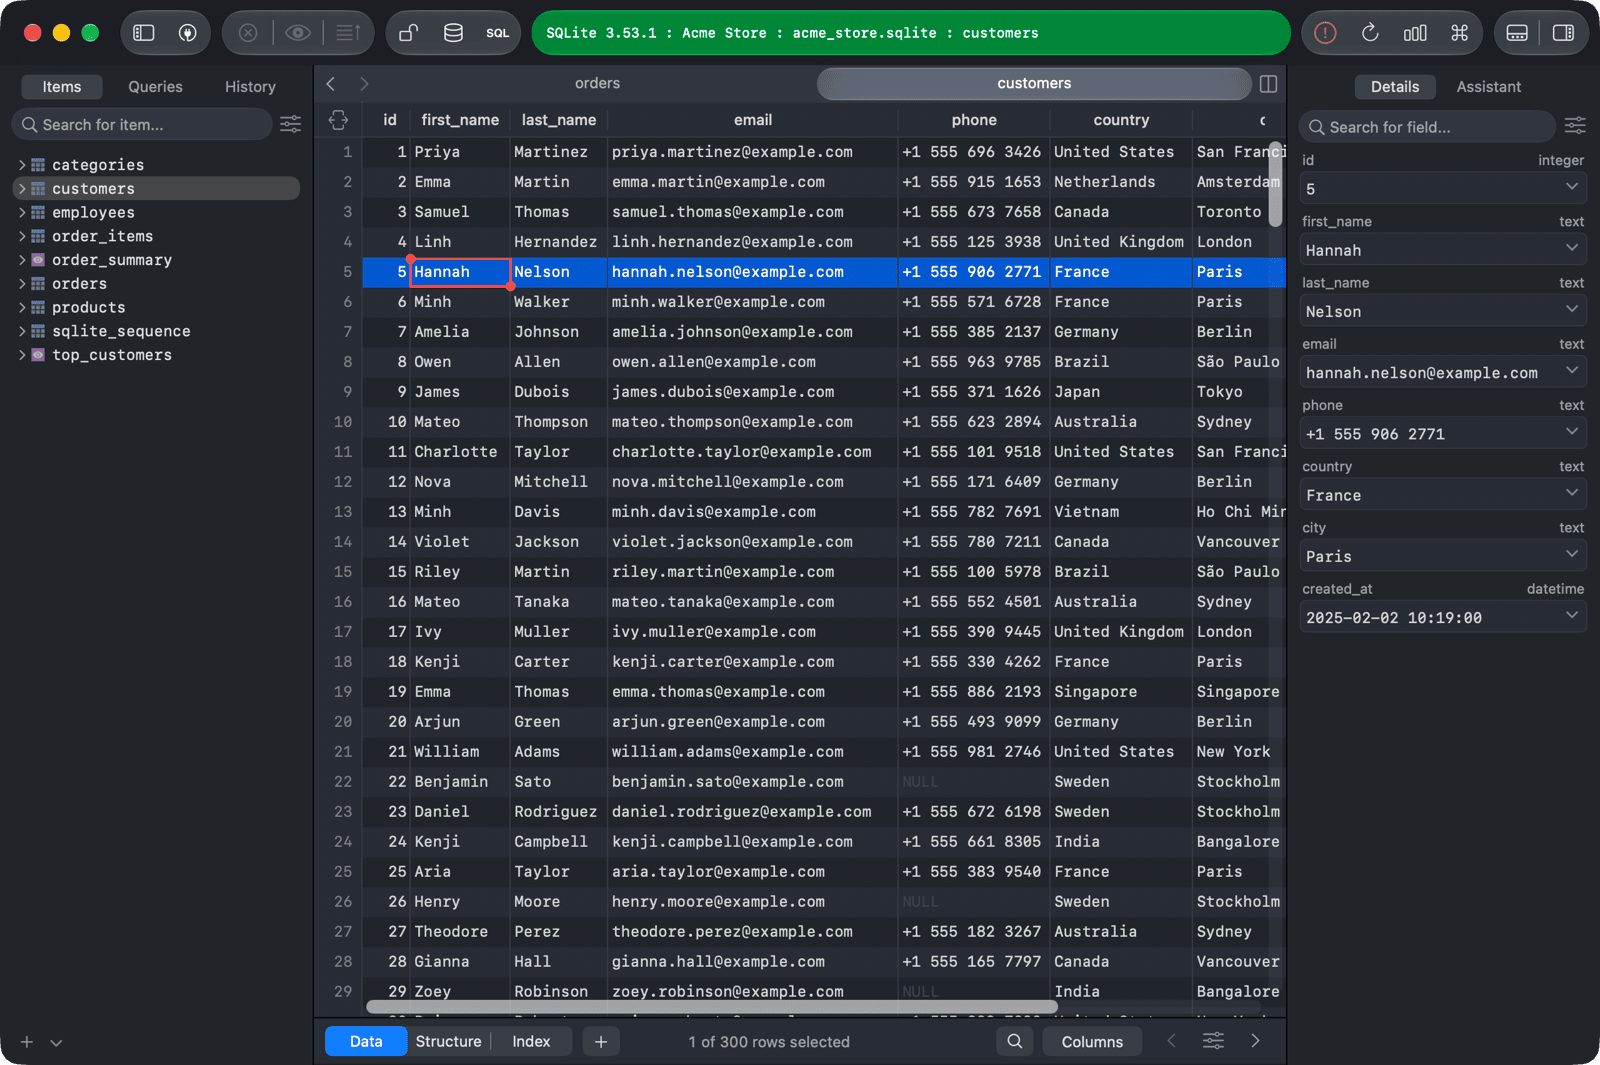
In the table data view, you can edit a cell inline by double-clicking it.
You can also edit the selected row in the right sidebar. Toggle the right sidebar with the Toggle Row Detail button at the right of the toolbar, or press Space when a row is selected.
Save changes to the database
TablePlus doesn't send changes to the server until you commit them. After editing data or structure, commit your changes to actually modify the database:
- Click the Commit button in the toolbar.
- Or press
⌘ + S.
Before committing, you can review the SQL statements TablePlus will run with Preview (⌘ + Shift + P), or throw your changes away with Discard (⌘ + Shift + Delete).
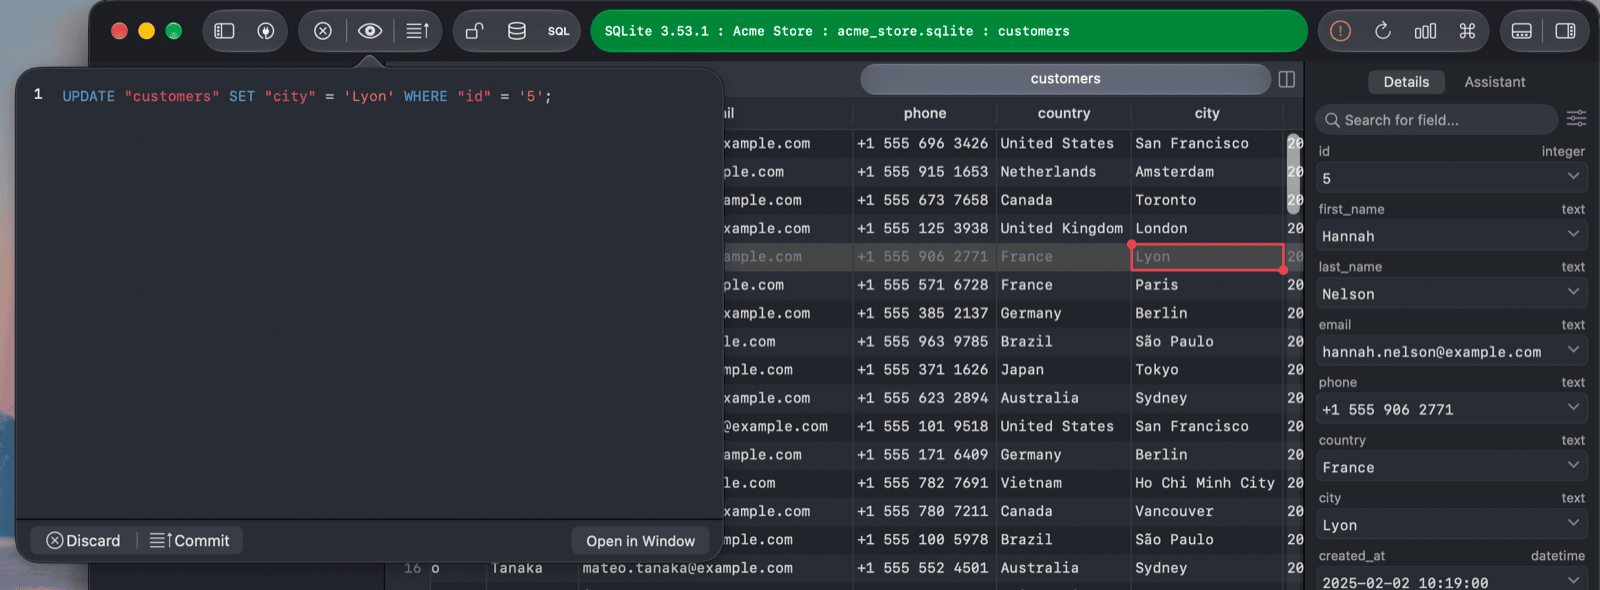
To prevent mistakes on important databases, set a safe mode level with the Safe Mode button in the toolbar. See Safe mode.
Open the SQL query editor
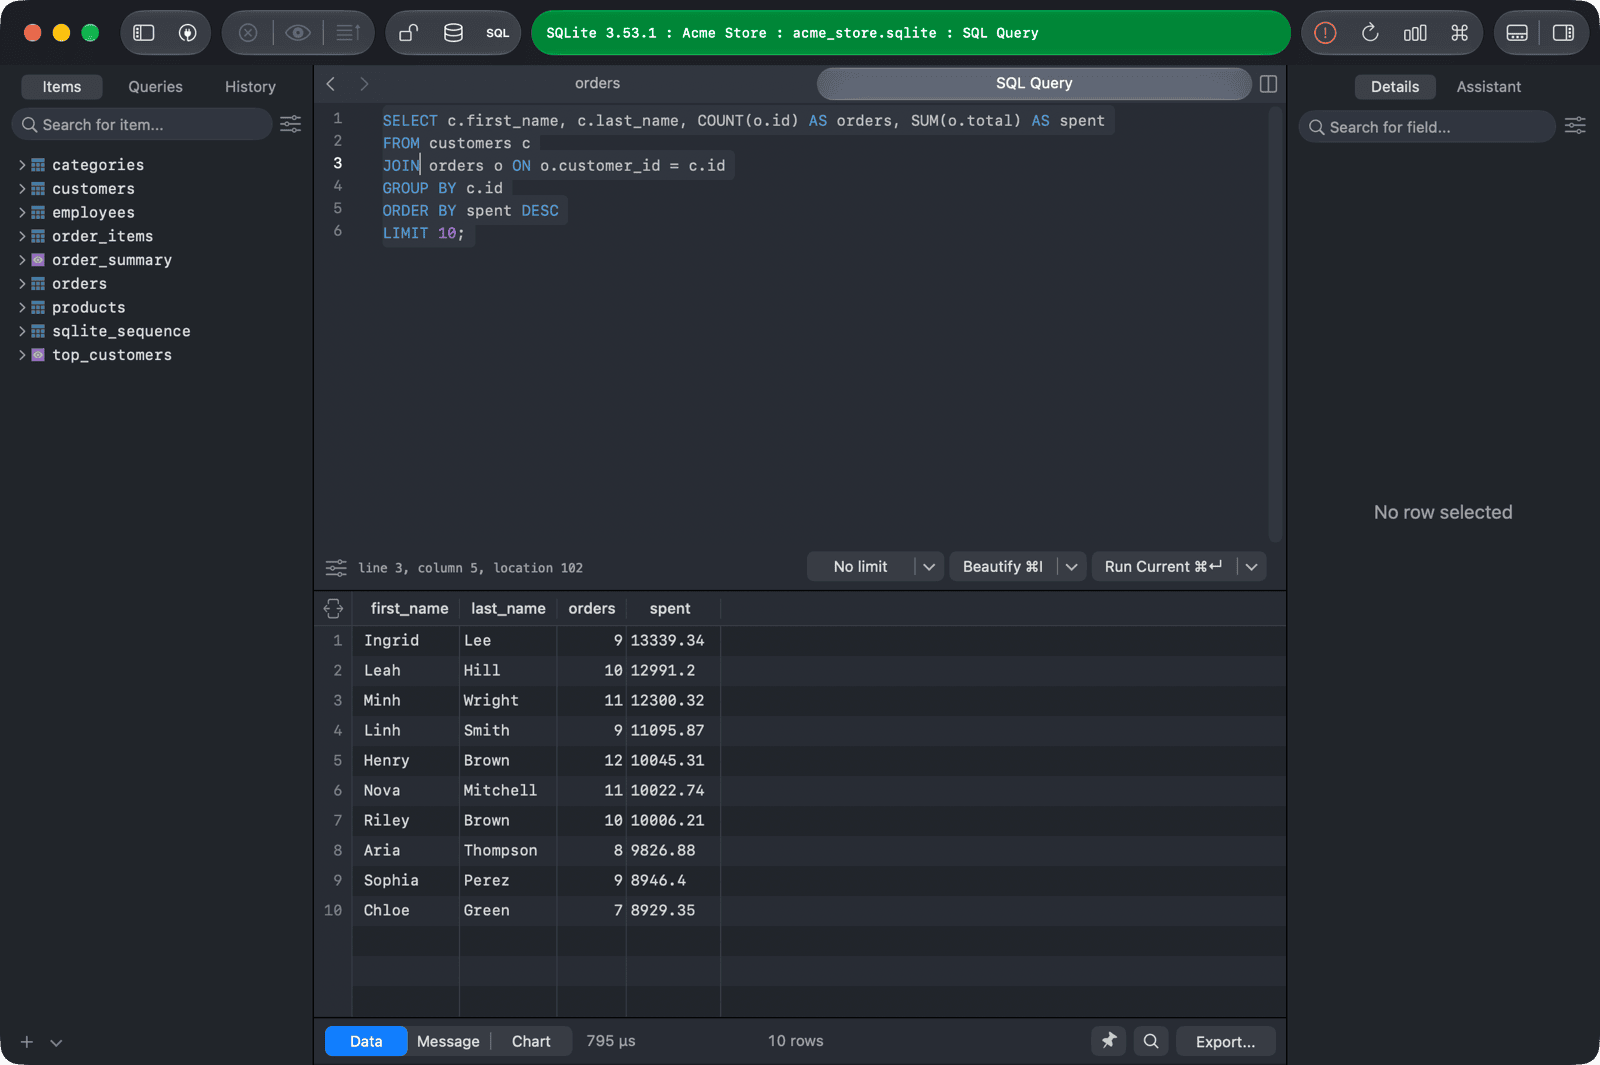
Click the SQL button (Open SQL Editor) in the toolbar, or press ⌘ + E, to open a new SQL query editor tab.
The query editor supports:
- Autocomplete
- Query parameters
- Multiple carets
- Showing invisible characters
Query parameters and invisible characters are off by default. Click the SQL Editor settings button at the bottom left of the editor to turn them on.
Run queries
After writing your queries, click the Run Current button at the bottom right of the editor, or press ⌘ + Return. TablePlus runs the statement under the cursor (or the selected text).
- To run everything in the editor, press
⌘ + Shift + Return, or choose Run All from the dropdown next to the run button. - To change what the button does by default, choose Default > Run All or Run Current from the same dropdown.
- To show each result in its own tab, open SQL Editor settings and choose Result view mode > Split results into Tabs.
Some useful shortcuts in the editor:1
⌘ + Shift + D: split the pane to the right.⌘ + D: select the next occurrence of the current word, adding a cursor.⌘ + I: beautify the selected SQL.⌘ + W: close the current tab.
See Shortcut keys for the full list.
Create a table
In the left sidebar, click the + button at the bottom and choose New Table, or right-click an item and choose New > Table.
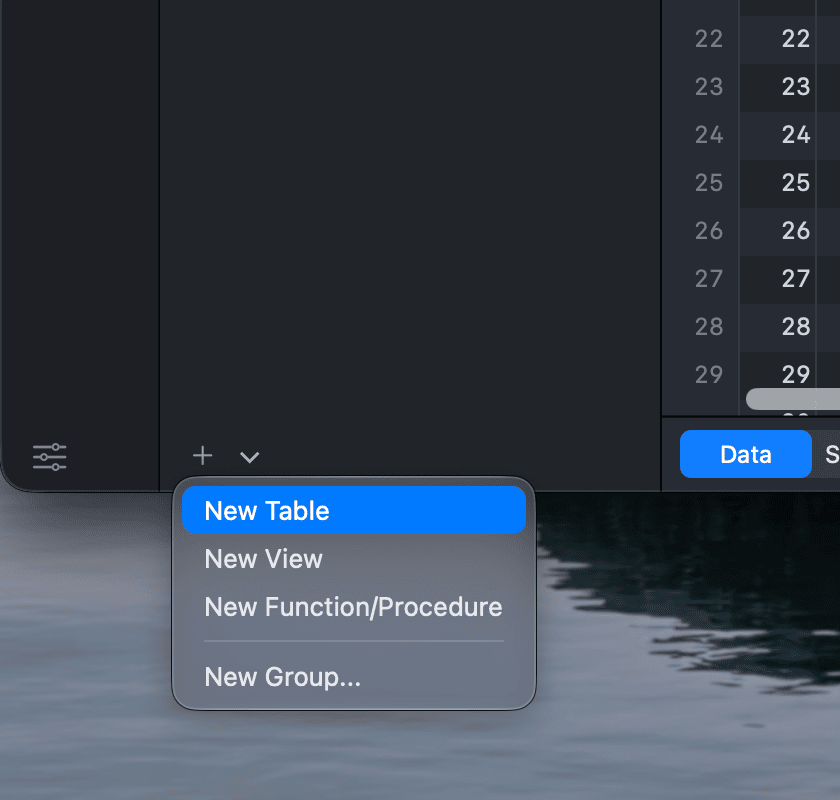
Add your columns, then click Commit or press ⌘ + S to create the table in the database.
Show only some columns
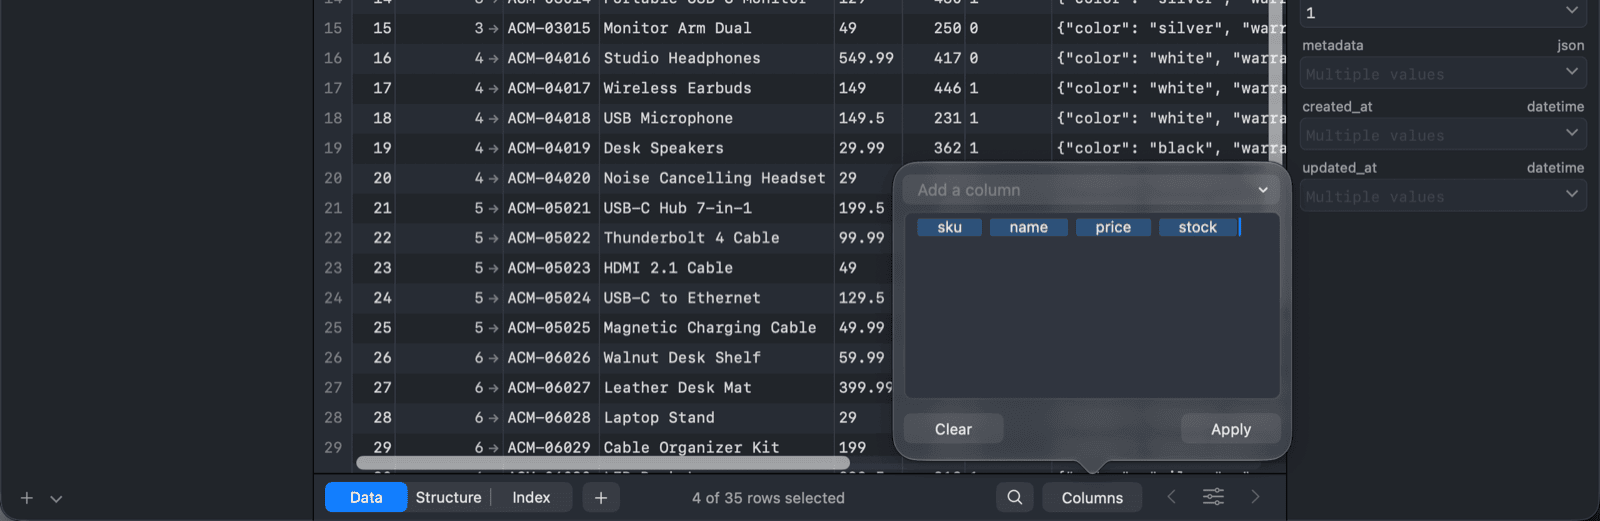
Click the Columns button at the bottom of the table data view (or press ⌘ + ⌥ + F) and choose which columns to show: type column names (comma-separated) or pick them from the Add a column menu, then click Apply.
Filter data
Click the Filters button at the bottom of the table data view, or press ⌘ + F. Each filter has:
- a list of column names
- an operator, such as
=,Contains, orIS NULL - a value
You can add multiple filters to narrow down the rows you want. Press ⌘ + Return to apply all checked filters.
To hide the filters, click the Filters button again or press ⌘ + F.
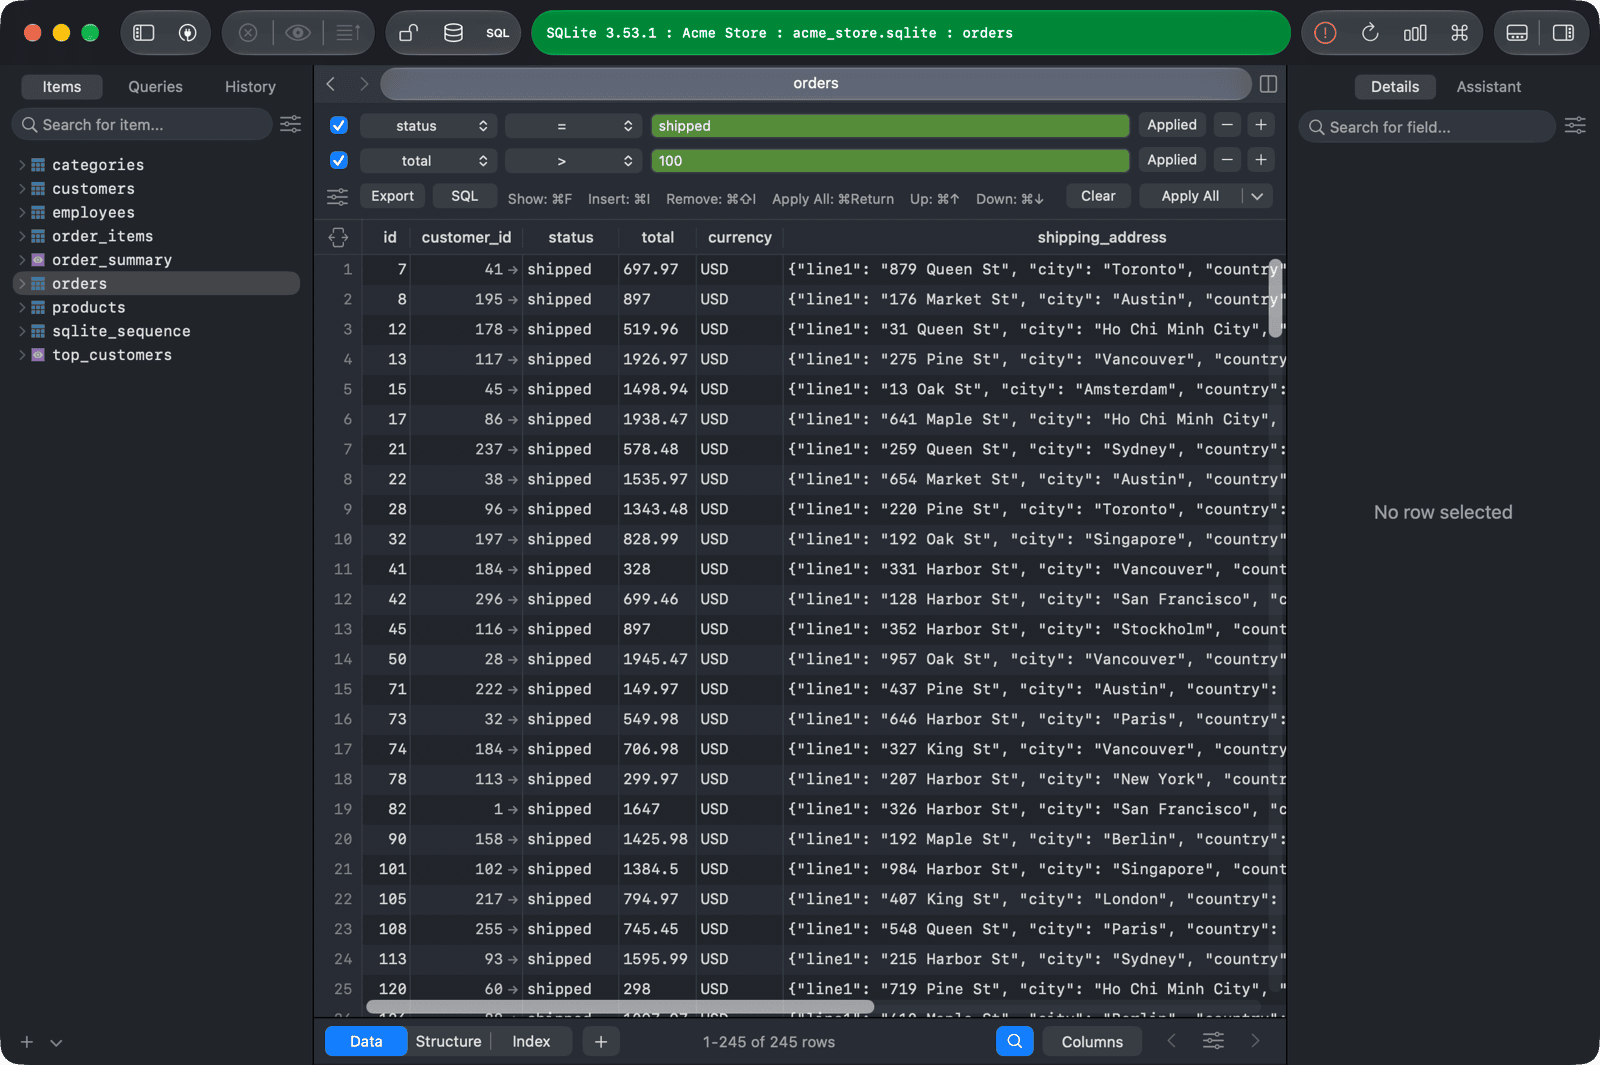
See Filter for more.
Import data
To import a CSV file into a table:
- Choose File > Import > From CSV... from the menu bar.
- Or right-click the table in the left sidebar and choose Import > From CSV....
TablePlus can also import from JSON and SQL dump files.
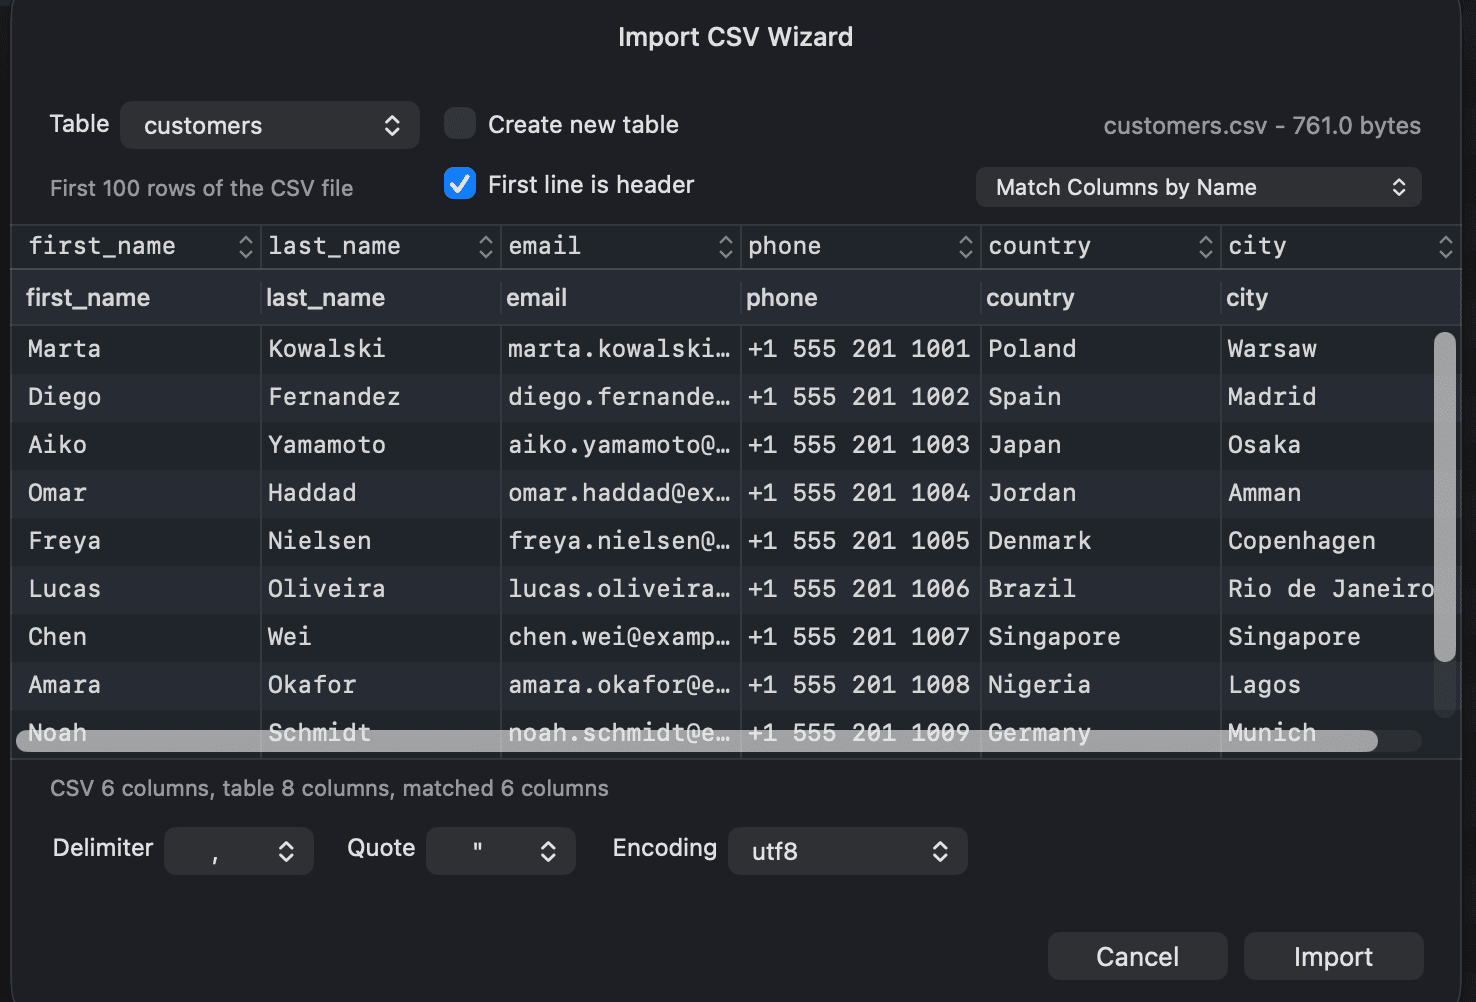
After importing, press ⌘ + R to reload the workspace.
Export data
To export tables, right-click a table in the left sidebar and choose Export > Export Tables... (or press ⌘ + Shift + E). You can export to CSV, JSON, SQL, or Excel.
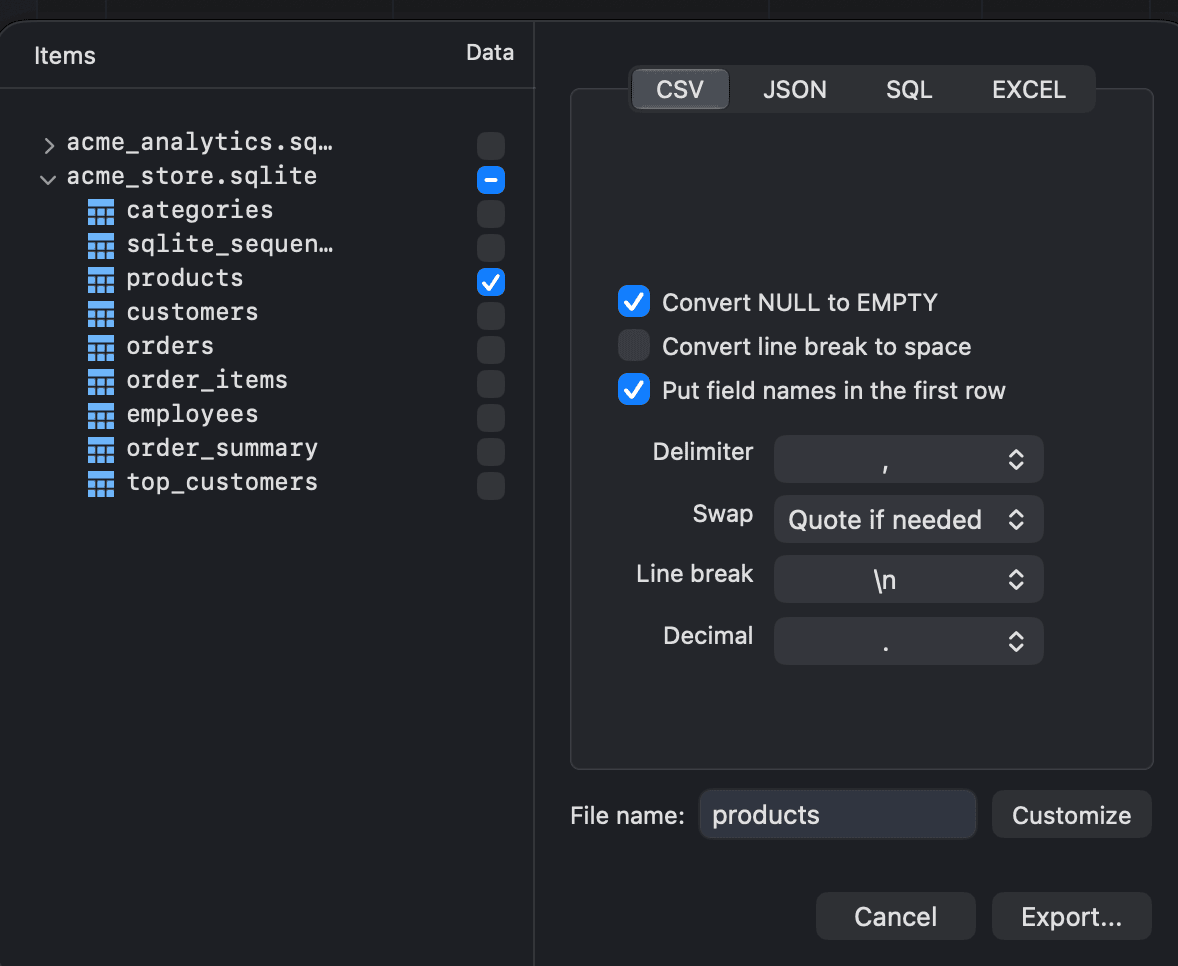
If you right-click in the data view and choose Export current page..., TablePlus exports only the rows on the current page, not the whole table.
See Import & Export for more options.
-
On Windows and Linux, use
Ctrlinstead of⌘. ↩︎