Index
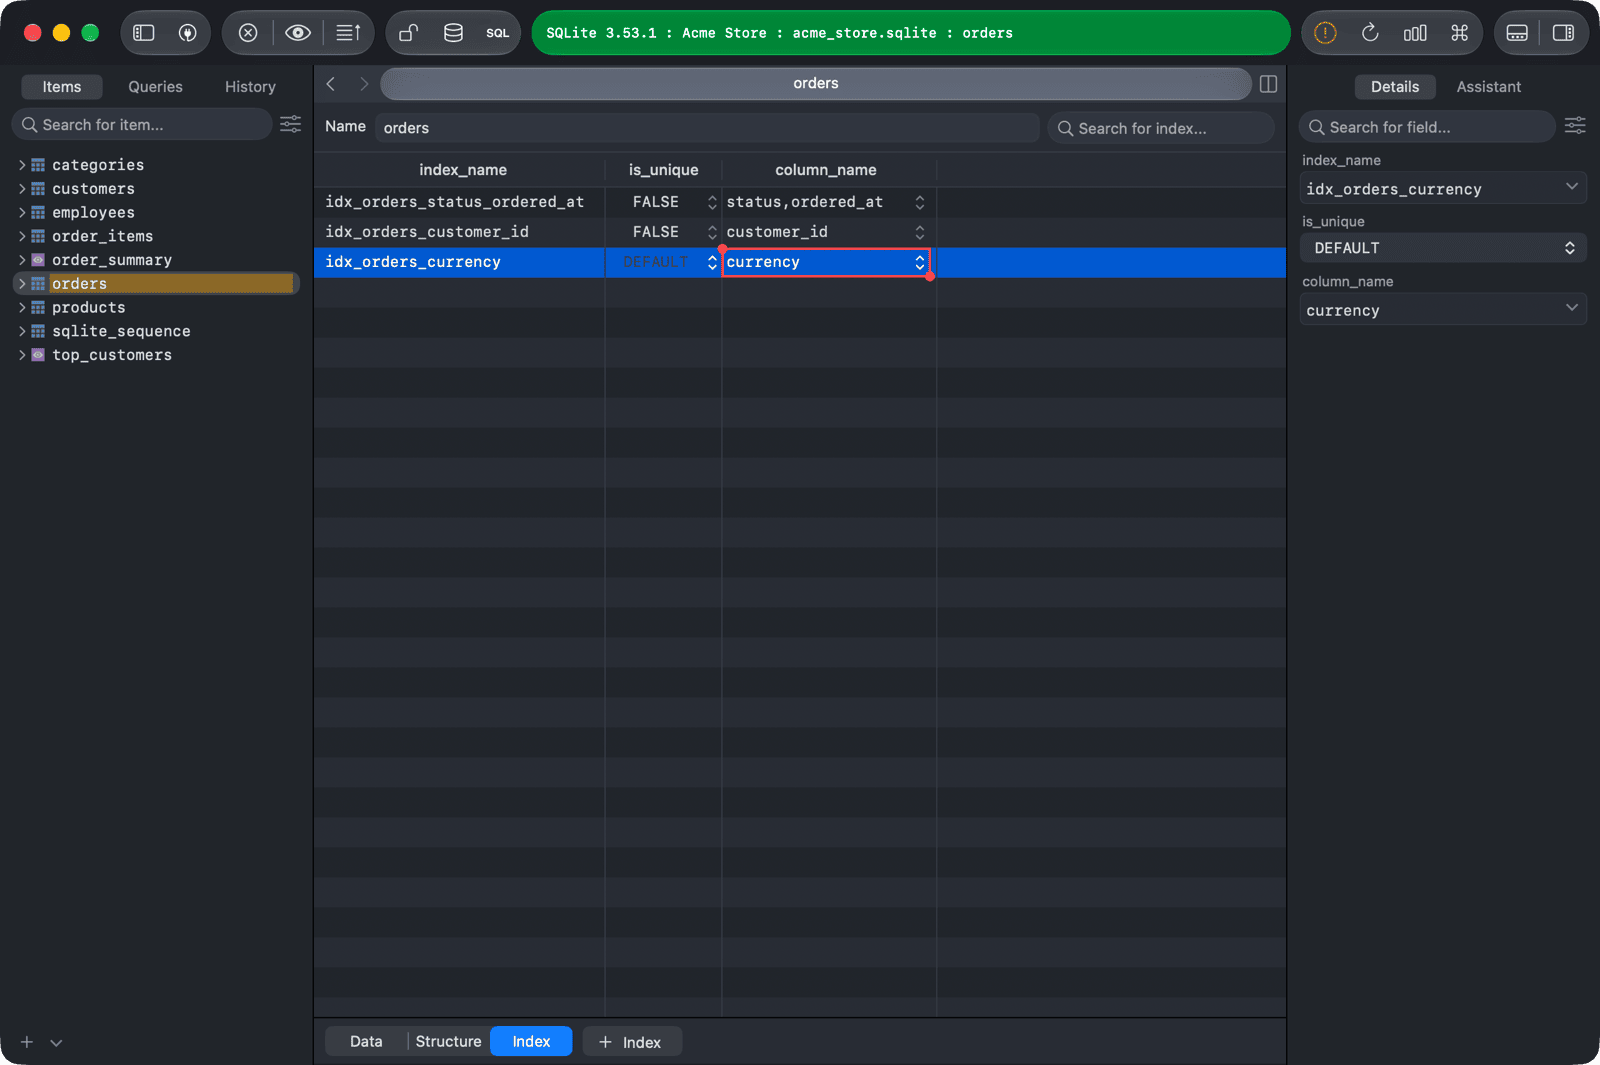
Indexes have their own Index tab. To open it, open a table and click Index at the bottom of the window. Each row in the Index tab is an index, with attributes such as index_name, is_unique, and column_name. Depending on your database, you may also see the index algorithm, a condition, and a comment.
Changes are kept locally until you press ⌘ + S1 to commit them to the server.
The Index tab isn't available for Redis, Cassandra, Snowflake, BigQuery, ClickHouse, and Elasticsearch.
Create index
- Open the table's Index tab.
- Click + Index at the bottom, press
⌘ + I, right-click and choose New Index, or double-click the empty area below the last index. - Enter the index name and the indexed columns in
column_name. For an index on several columns, separate the column names with commas. - Set
is_uniqueto TRUE for a unique index. - Press
⌘ + Sto commit the change.
Edit index
- Open the table's Index tab.
- Double-click an attribute of the index and edit it inline.
- Press
⌘ + Sto commit the change.
To find an index quickly, type its name in the search field at the top of the Index tab (⌘ + F).
Delete index
- Open the table's Index tab.
- Select the index and press
Delete, or right-click it and choose Delete. - Press
⌘ + Sto commit the change.
-
On Windows and Linux, use
Ctrl + S. ↩︎