Table Basics
This page covers viewing, creating, and changing tables. Most changes are kept locally until you commit them with ⌘ + S.1 See Commit changes.
Show table overview
To see an overview of all tables, click the Tables header in the left sidebar, or right-click any table and choose Item overview.
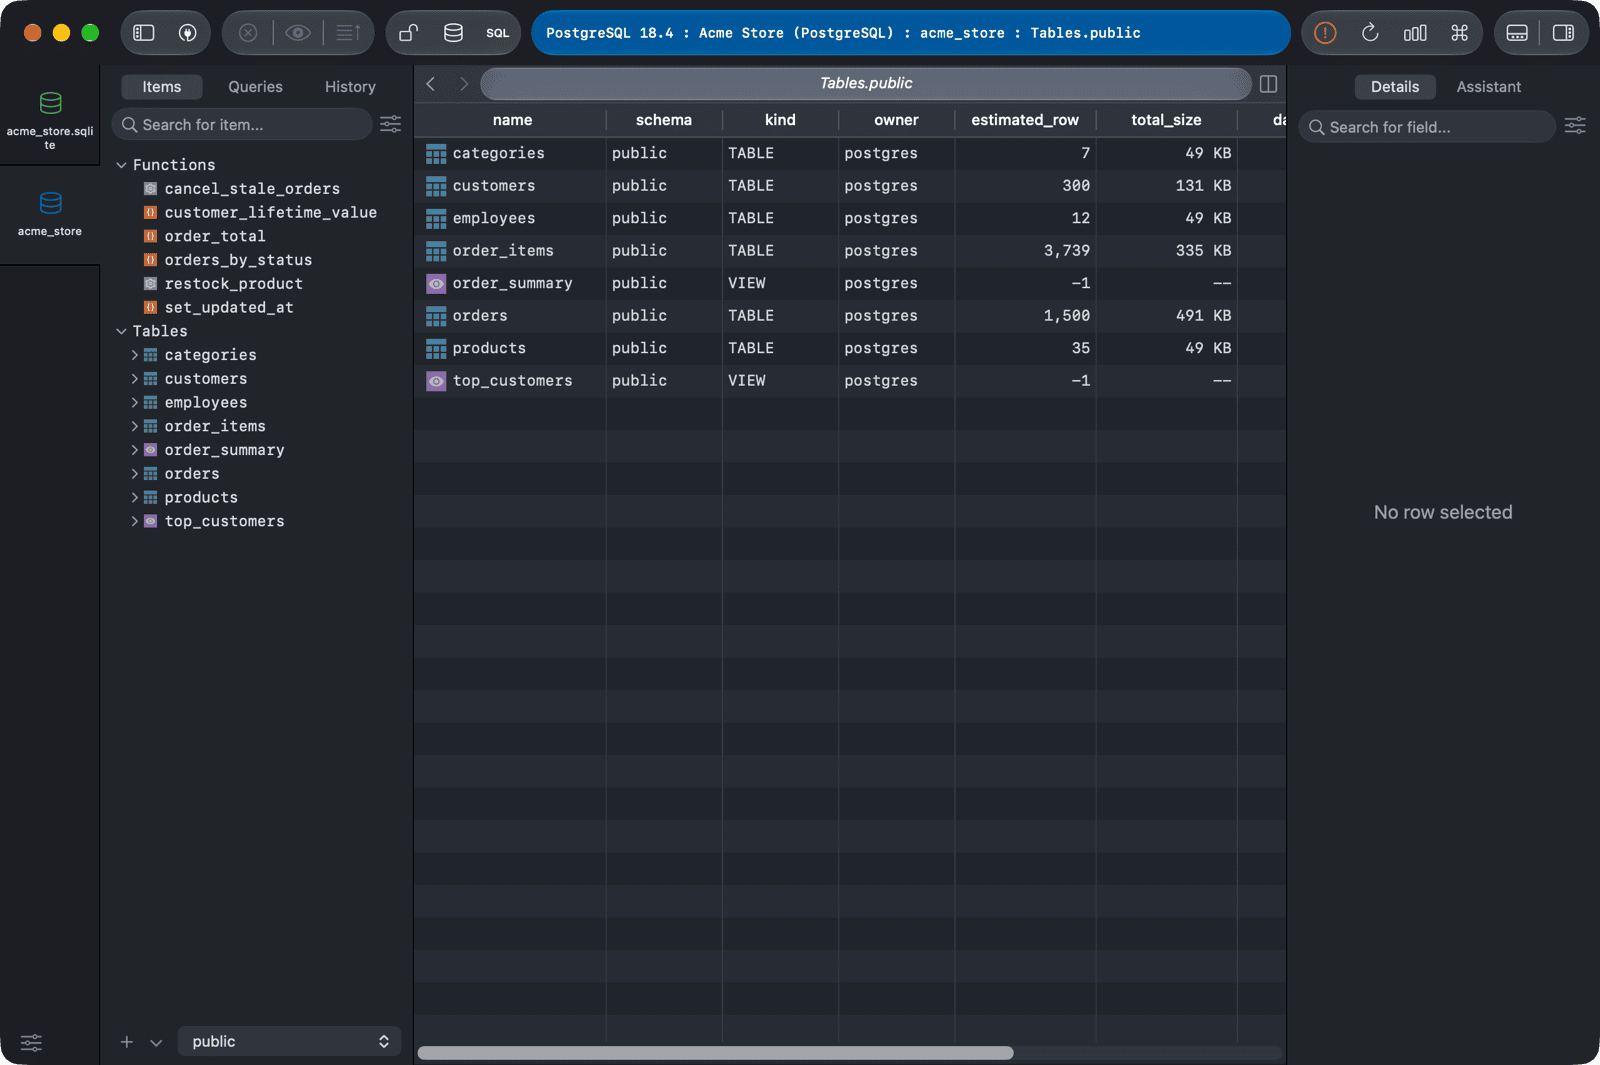
View table data
To open a table, click its name in the left sidebar, or use Open Anything (⌘ + P). To open it in a new tab, right-click it and choose Open in new tab.
To go back to the data from another tab of the table, click Data at the bottom of the window, or press ⌃ + ⌘ + [.
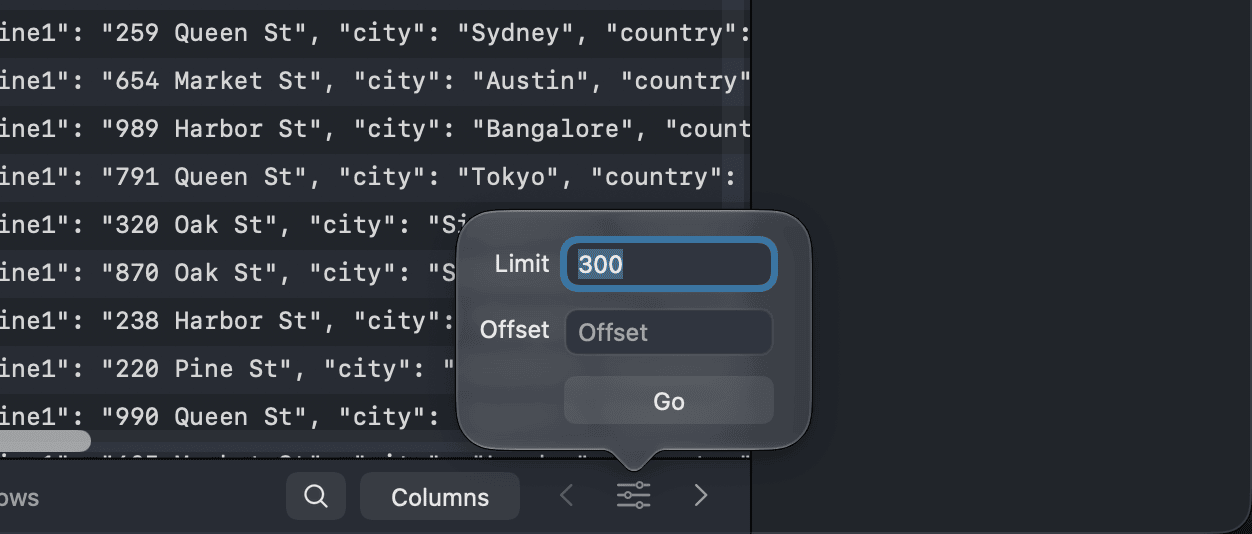
TablePlus loads table data page by page, 300 rows per page by default. Use the arrow buttons at the bottom right, or ⌘ + ← and ⌘ + →, to go to the previous or next page. To change the page size:
- Click the page settings button (between the arrows) at the bottom of the table.
- Enter the new Limit and, if needed, the Offset.
- Click Go.
For large tables, TablePlus may show an estimated row count at the bottom. Click it and choose Count to get the exact number. You can set when the estimate is used in Settings > Table.
View table structure
To view the columns of a table:
- Click Structure at the bottom of the window, or press
⌃ + ⌘ + ]. - Or right-click the table in the left sidebar and choose Open structure.
To view the indexes, click Index at the bottom of the window. See Column and Index.
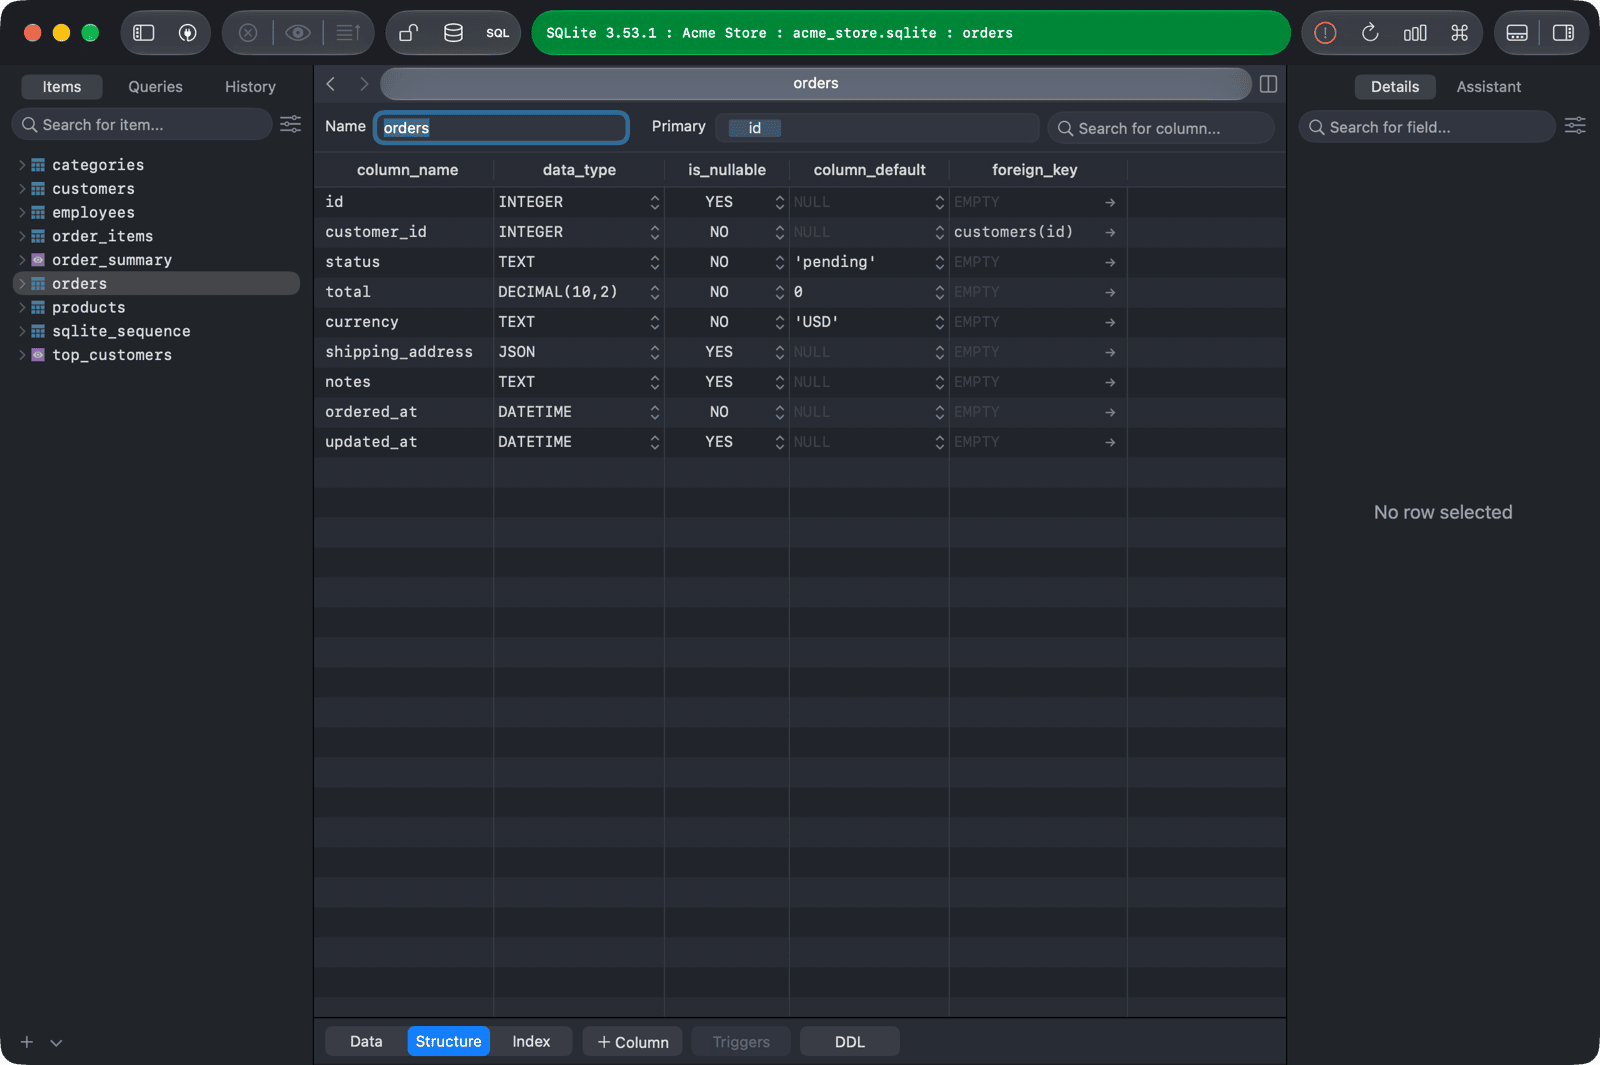
To find a column in a wide table, type in the search field at the top of the Structure tab (⌘ + F).
Show table creation
To see the CREATE TABLE statement of a table:
- Open the Structure tab and click the DDL button in the bottom bar.
- Or right-click the table in the left sidebar and choose Copy Script As > Creation. This copies the statement to the clipboard.
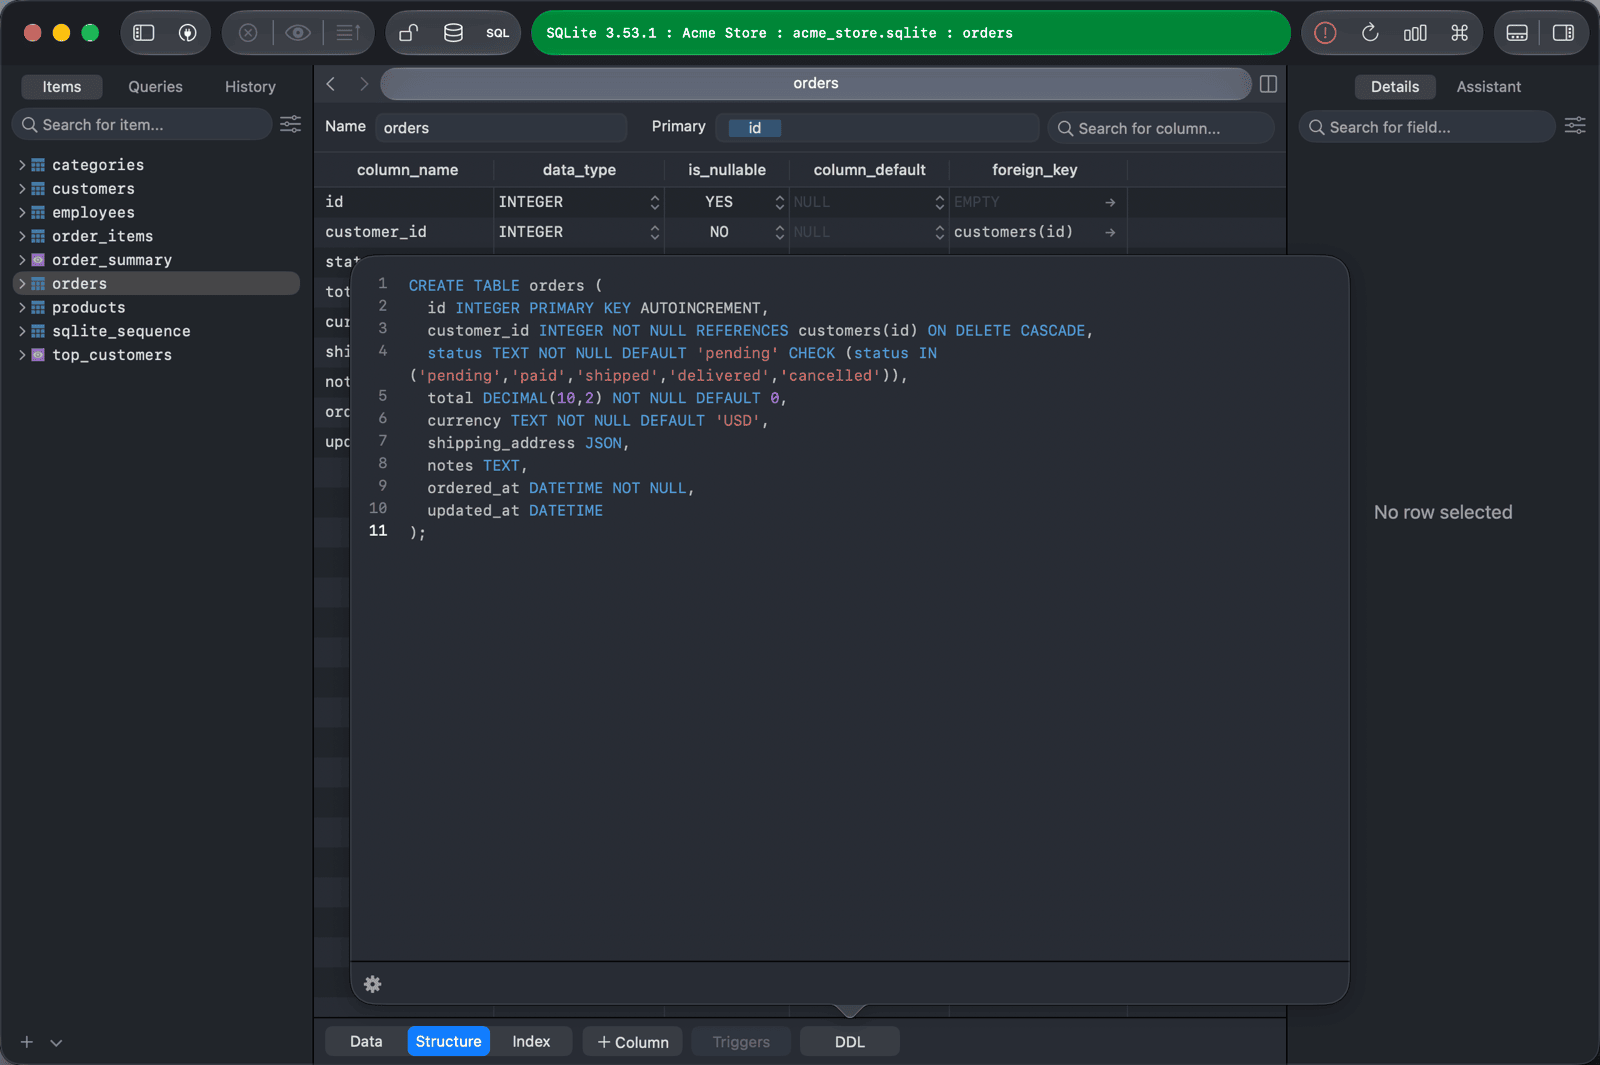
The Copy Script As menu also has Drop, Truncate, and Select top 100.
Create table
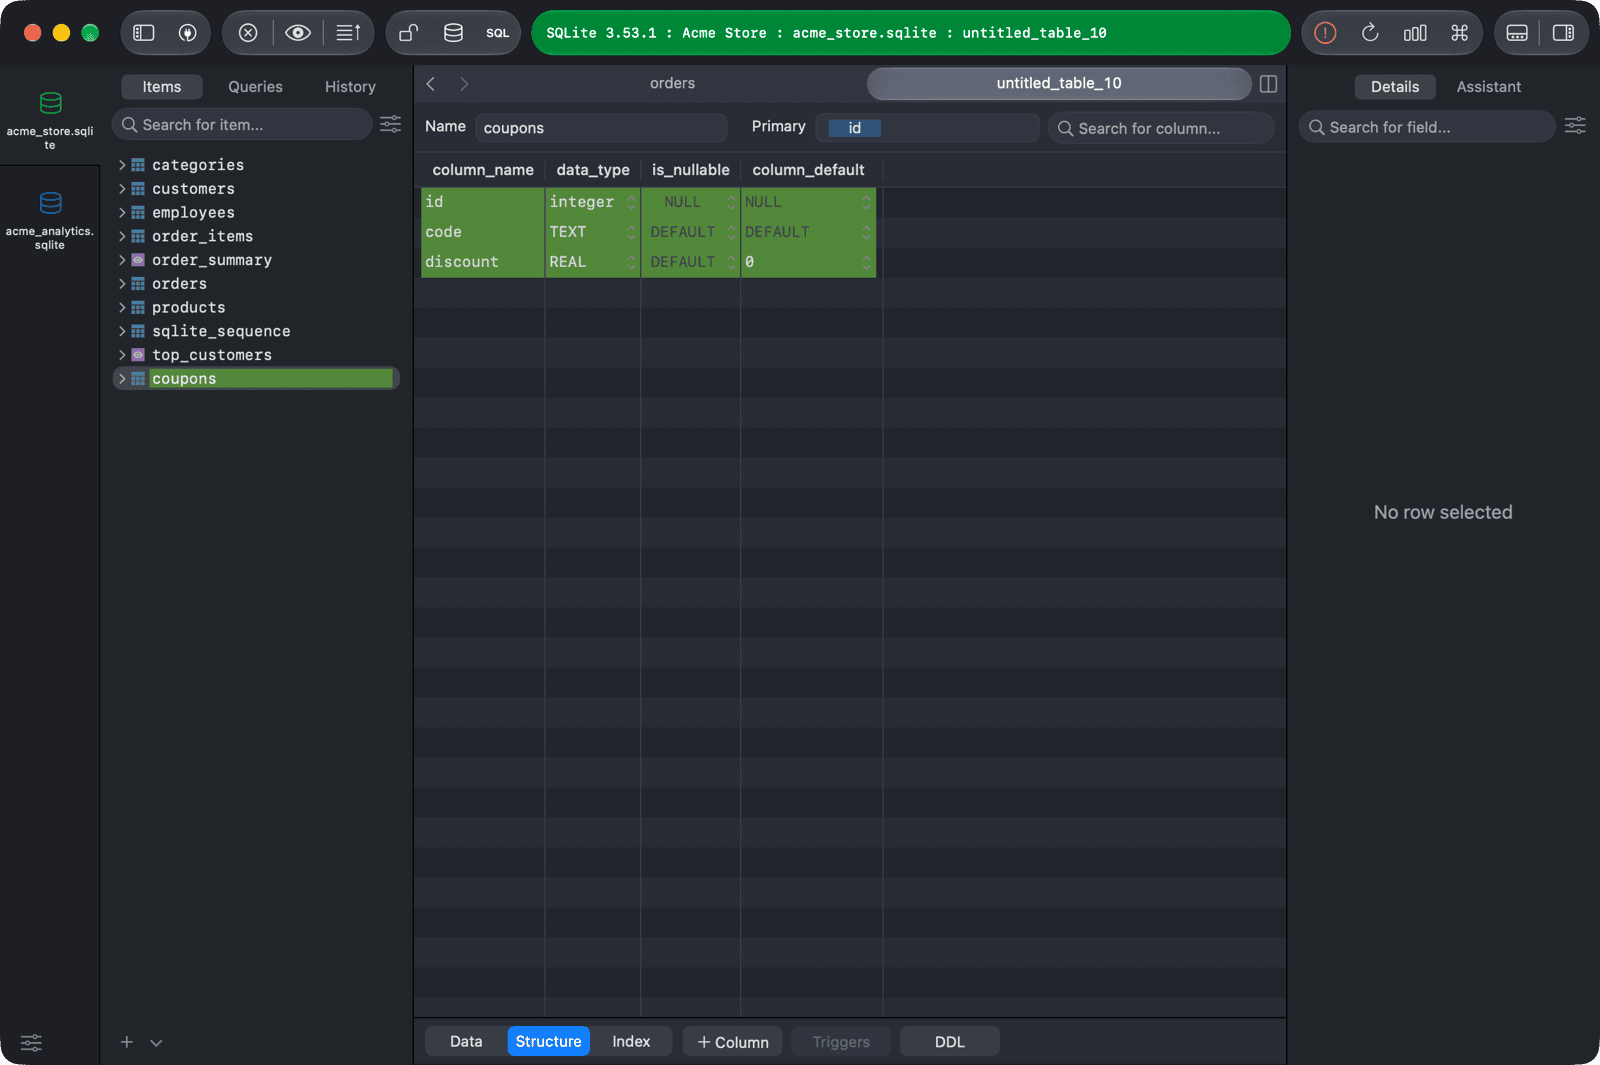
To create a new table:
- Click the + button at the bottom of the left sidebar, or right-click the left sidebar and choose New > Table.
- Enter the table name in the Name field.
- Add columns by clicking + Column at the bottom, or double-click the empty area below the last column.
- For each column, set the name, data type, nullability, and default value.
- If needed, set the table's primary key in the Primary field.
- Press
⌘ + Sto create the table.
Rename table
- Open the table's Structure tab.
- Enter the new name in the Name field at the top.
- Press
⌘ + Sto commit the change.
Clone table
To make a copy of a table:
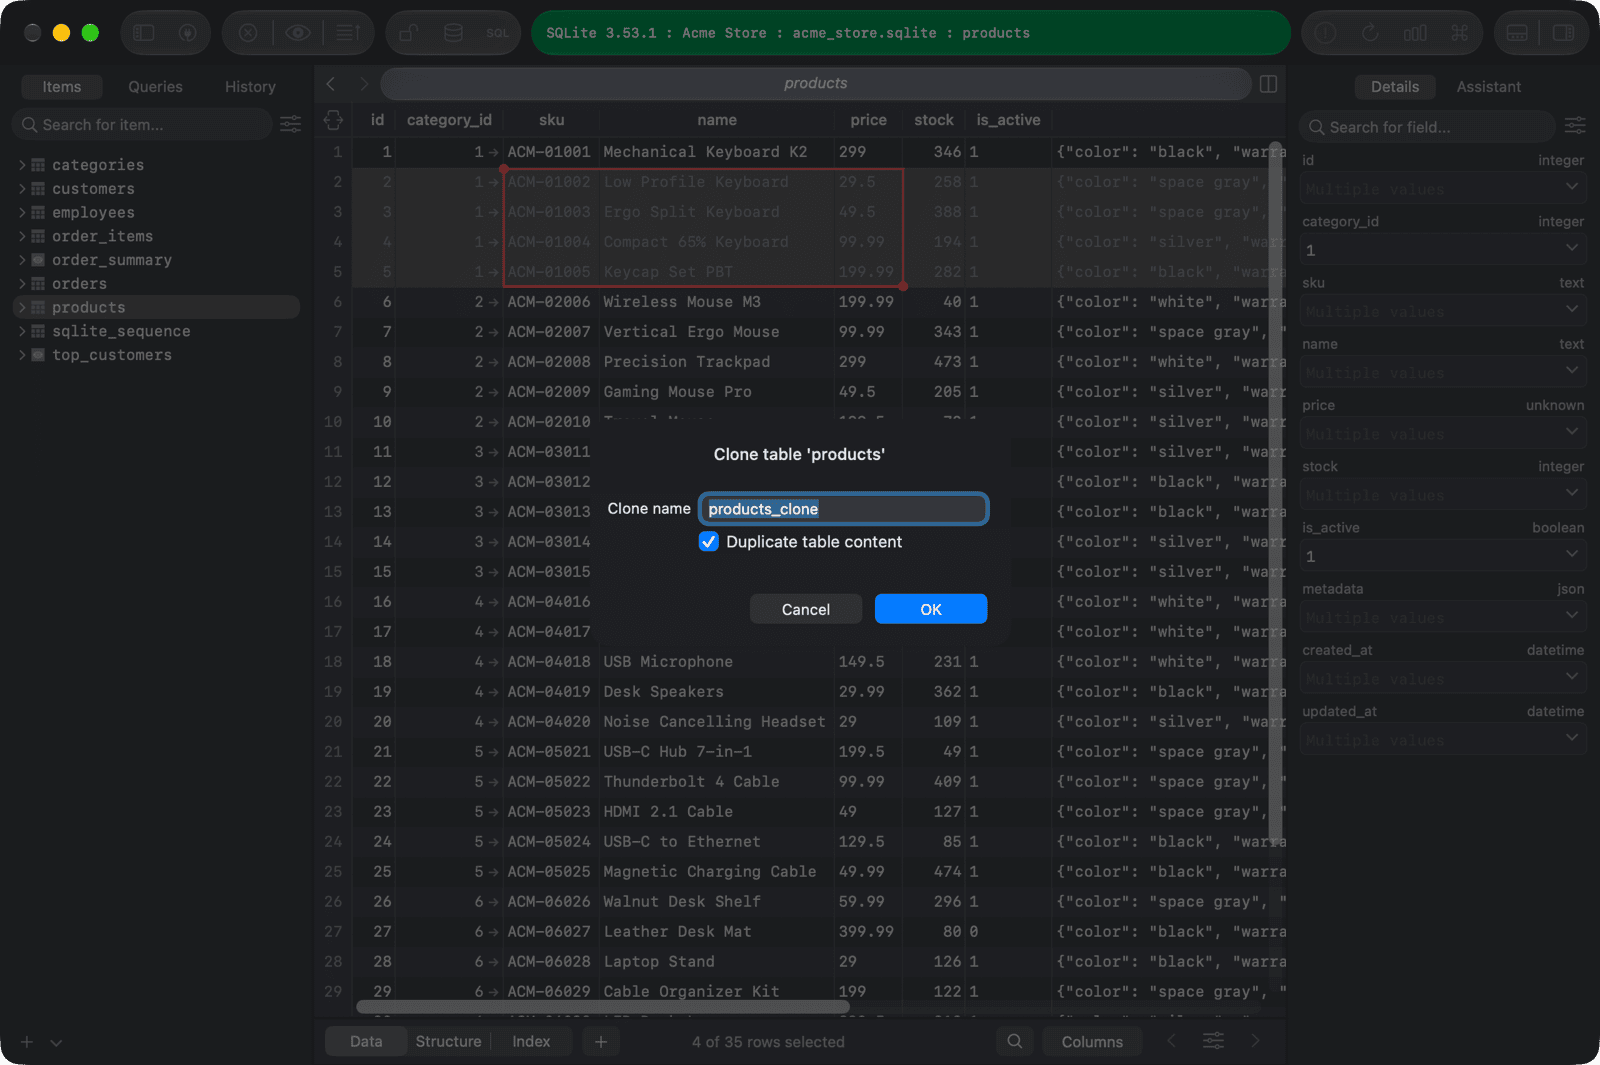
- Right-click the table in the left sidebar and choose Clone....
- Enter the name of the copy (by default, the table name followed by
_clone). Duplicate table content is ticked by default, so the rows are copied too. Untick it to create an empty copy. - Click OK, then press
⌘ + Sto commit the change.
Truncate table
To delete all rows of a table:
- Right-click the table in the left sidebar and choose Truncate....
- Choose the options your database supports, such as Cascade or Restart identity, and click OK.
- Press
⌘ + Sto commit the change.
You can also select the table and press ⌥ + Delete to truncate it without the options dialog.
Delete table
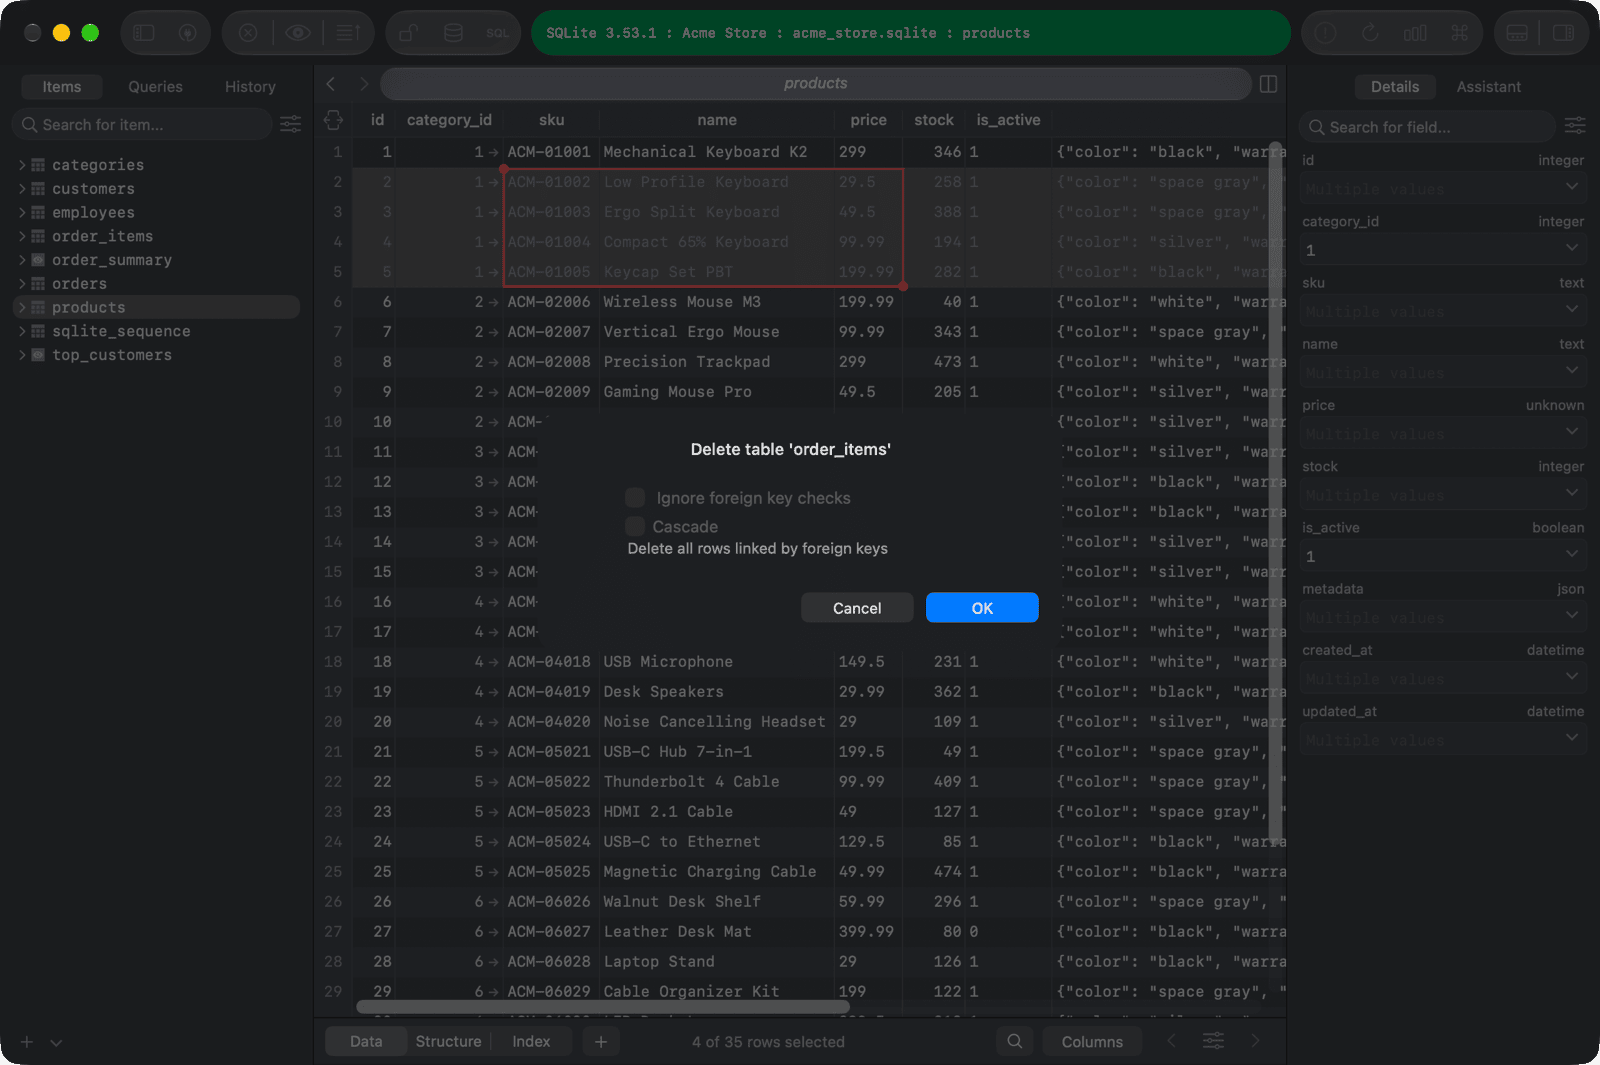
- Right-click the table in the left sidebar and choose Delete....
- Choose the options your database supports, such as Cascade, and click OK.
- Press
⌘ + Sto commit the change.
You can also select one or more tables and press Delete to delete them without the options dialog.
Change encoding
If text in a table doesn't display correctly, choose another encoding from the menu Connection > View Using Encoding.
-
On Windows and Linux, use
Ctrl + S. ↩︎